- Joined
- Jun 14, 2014
- Messages
- 410
Hi Friends,
I've been into vises for the last 6 years. This includes collecting, flipping, restoring for others, and up-cycling (turning broken vises into folk art pieces).
One of the biggest privileges I get is to restore a vise that becomes a family heirloom. Example: Someone has their Father's bench vise. That person has fond memories of the time that he or she spent with Dad, learning how to do work with the vise. These vises usually come to me as a chunk of rust. After finishing, They're like brand new. When someone consigns me to restore a vise that was passed down to them, I consider it an honor.
As a rule, I only polish up the dings because they provide some history of the vises owner. In other words, the vise's "character" stays preserved.
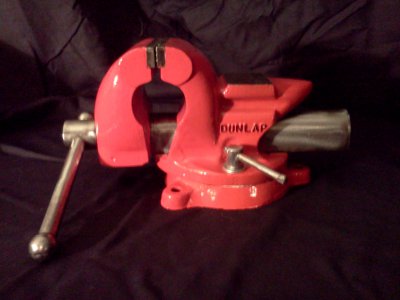
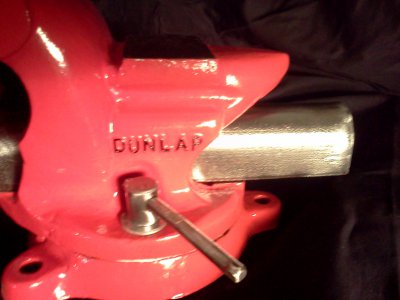
I have been consigned to restore a Dunlap No. 5244. The gentleman who enlisted my services told me that this vise belonged to his Wife's Grandfather.
About the vise: It is a Dunlap brand. Dunlap tools were the economy brand sold by Sears. The economy brand these days is Companion. It's sometimes hard to determine the date of manufacture of a vise. I think this one was built in the 1940s.
This vise is considered to be a light duty, home shop vise. However, I was surprised to find how well built this vise was. Upon inspection, I noticed that it was heavier that comparable vises. Here are some observations:
1. The casting was not as hollow as others that I've worked with.
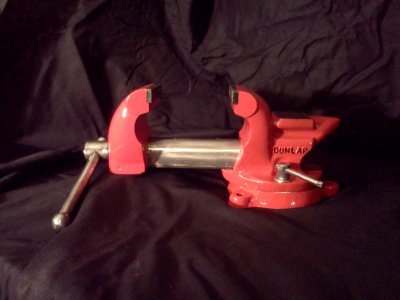
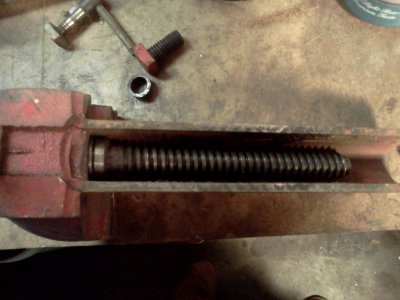
2. I also noticed that it had a formed steel slide to cover the lead screw.
3. The dynamic jaw & swivel base movement wasn't as sloppy as many light duty vises I've worked with.
4. The lead screw had an Acme thread, rather than a 60 degree thread.
5. The swivel base had a rib around the locking bolt slot.
6. There is a bushing around the swivel base pivot screw. This is the screw at the center/bottom of the base.
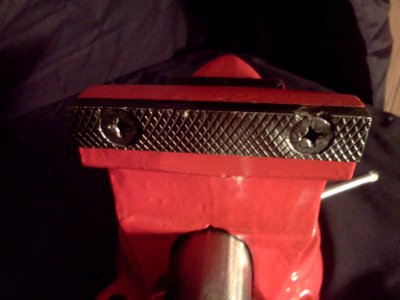
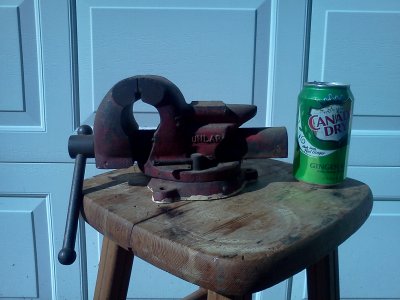
Pictured below is the start of the project:
1. The vises as received.
2. Some disassembly.
3. Some cleaning.
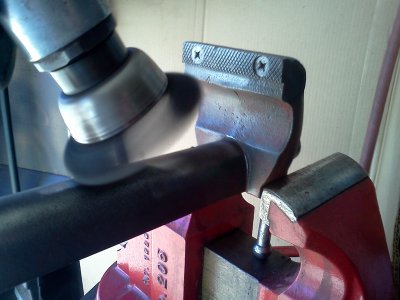
4. Some polishing.
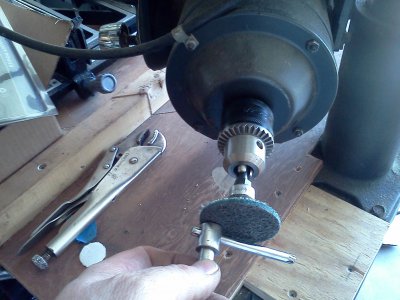
On a side note, I attached a mandrel with Scotch-Brite to the back end of my 1968 Craftsman radial arm saw for polishing small details.
Off to the paint room to mask, prime and paint.
Stay tuned for more!
Happy trails.


