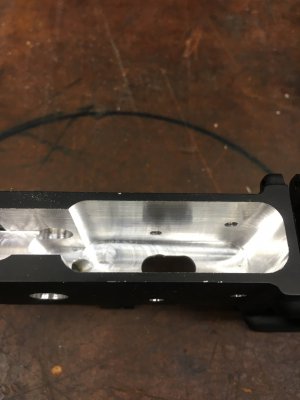
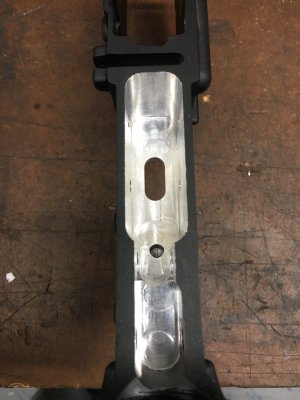
Extra long endmills for 80% lowers source

John_Dennis

Active User
Registered
Joined
Mar 5, 2014
Messages
381
I found a source for those funny extra long end mills used with 80% lower Jigs. carbidetoolsource(dot)com/specialty-items
 
I buy all the end mills for my cnc from those guys..... Very good tooling and they will make custom tools for you if you ask them....

They also sell on ebay here is thier page.....

 
I am really surprised how well this extra long 1/4" end mill is lasting.... I run 80% lowers in 1 op no tool change on the cnc with this and it's milled lots of lowers....
20200920_174812.jpg
 
I'm late to this thread, but just wondering why you use these small endmills? I have done several lowers with long cutting length 3/8 and 7/16 cutters.
 
I'm late to this thread, but just wondering why you use these small endmills? I have done several lowers with long cutting length 3/8 and 7/16 cutters.

I run them on the cnc in one operation with no tool changes..... It mills the big slot and the trigger slot at the bottom in one operation......
 
Last edited:
You guys are way too advanced for me............I use my drill press to do the trigger group/selector holes and initial hog out, then my little router to machine out the FCG cavity and trigger hole.
1C73D01D-C9C7-4824-9E98-1F6996FC526C.jpegD7170D3C-A3F5-42FB-B4F7-4B5DBD02FD7D.jpegC3B7BB78-FB2E-44F0-BAB0-BE65A9EC5351.jpeg

Here is a pic of me in my new car:
B2BE1107-5720-4CA8-B7D2-FF0B59C69B90.png

LOL
 
Last edited:
Had to clean up and fix two lowers where they used the supplied 1/4 bit. IMO way to much stick out for diameter. Especially for those using a router. :cower: This was the results. He got about .125 deep, tool was getting pulled past the jig just not good at all IMO.34ABAC30-C8DE-4B54-A013-A7D7D7C12E77.jpeg
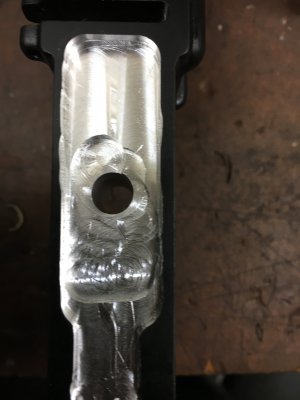
I ended up doing it in two setups. First set up to take out the trigger pocket. first drilled a 1/4 hole in trigger area for second ops mounting and to be able to use a 3/8 rougher to rough out pocket dimension. The 3/8 will not bring you to final dimension. Then I use a 7/16x3” to bring the pocket to final dimensions. A 5/16 for trigger slot and then change setup for trigger holes. Finish was near perfect for me no chatter and dimensions are spot on.
50175C01-913E-4ABA-B433-B12D6CE38F56.jpeg
You will notice the oops on the trigger slot. The PO drilled the 1st ops in the directions with a 5/16 bit and it wandered. i used a 1/4 bit on others to assure the 5/16 on final trigger slot would clean up any issues. 45B6D156-B76B-4D96-B277-FD447AD18068.jpeg
Cooter do You have any pics of the trigger pocket using that 1/4 tool. Curious on finish with the step downs for depth?
 
i might have missed it, but is that on a manual mill? if so it looks really nice, im running mine on a CNC, still need to get my speeds and feeds right to get that kind of finish.
 
Back
Top