Flashlight Build

Boswell

Hobby Machinist since 2010
H-M Lifetime Diamond Member
Joined
Feb 27, 2014
Messages
2,130
I am in the process of making a unique flashlight. What will make this flashlight different is that it will be convertible to a lighted Kite stake. In in the kite stake mode, you will be able to screw an 8" pointed state (1/4" drill rod) onto the bottom to allow it to be stuck into the ground and on the top the lens will be replaced with a top that will redirect the light out the sides so it can be see on a dark field.

This project is going to challenge my skills to the max. I have a few tools now and have been building up to this point. I plan to make the flashlight mostly out of 6061 aluminum but I am using 360 Brass for one part of the on/off switch.

I have made a proof of concept on/off switch that while not fully functional was good enough to convince me to that it will work. I am going to build 6 at the same time so if I destroy any parts in the process I hopefully will still have a few when I finish.

Don't expect this to move along quickly. I expect this will take me many months or even over a year to complete as I have many obligations on my time and interests.
 
This weekend I completed the first, and easiest, part of the flashlight. This is the moving part of the on/off switch.

I knurled some 1.5" diameter 360 Brass and bored a .750 hole as deep as I could (not deep enough for all 6 parts )
This was done on my Grizzly manual lathe and I didn't think to take any pictures of the setup.20150312_204007.jpg

Next I moved to my PM45M-CNC to machine out the insides
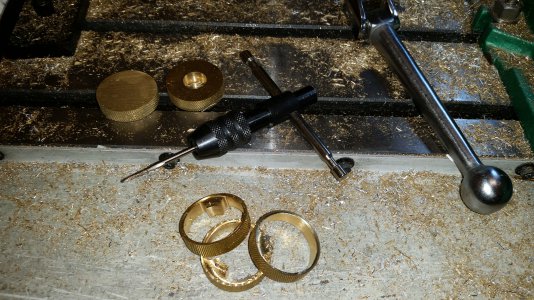
Step one was to face the parts off to exactly .375". As you can see I made a quick and dirty soft-jaw setup for vice to hold the parts.
20150314_142716.jpg

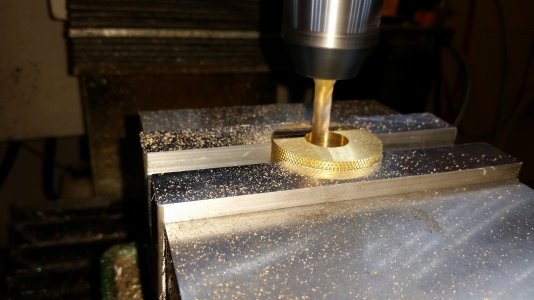
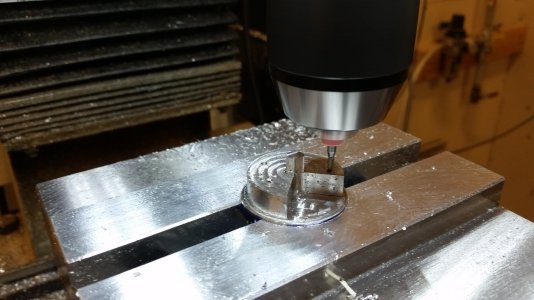
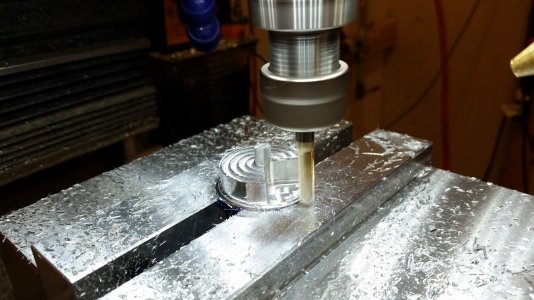
Next I machined a pocket .025" leaving a small rim on the edge. On the facing operation. I used the bottom of the part as the Z=0. for all of the other operations, I used the TOP of the part. After machining the shallow pocket, I then flipped the part over and put the same shallow pocket on the "bottom" side.
20150315_100631.jpg

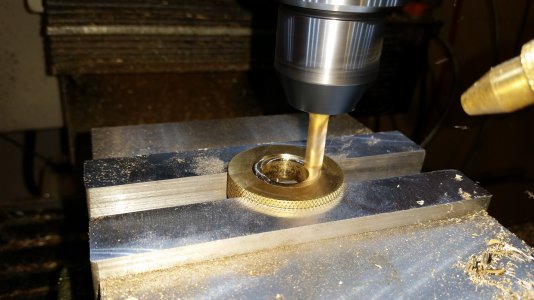
Next I machined out the inside of the ring.
20150315_100945.jpg

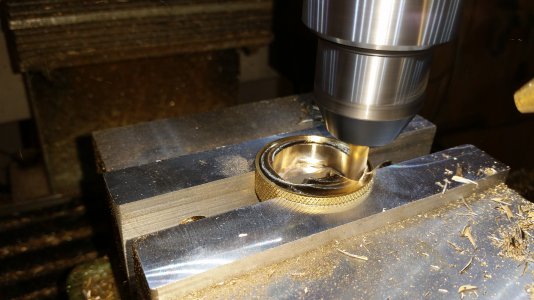
Not shown is a finishing pass with a 1/8" end two flute endmill. I hand tapped the hole using a 4-40 tap while the next part was machining.
20150315_100726.jpg

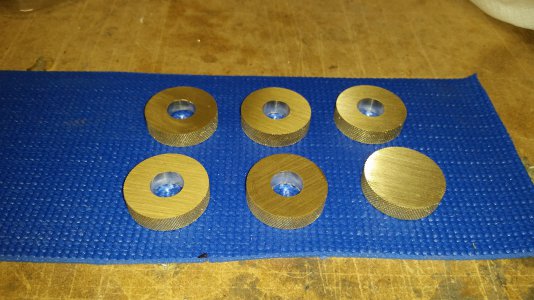
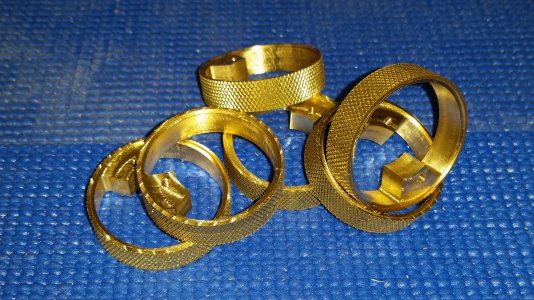
here is the almost finished part. The last step was to use a small file to sharpen the transition between the ring and the part that sticks out into the interior of the ring. When I make the next part it will be clear why this is important.
20150315_111832.jpg
 
That looks good, I will keep watching as you progress this project. Good Luck on it.
 
I had a chance to make some progress over the last couple of weekends. I am working on the part of the flashlight that has half of the switch and will hold the LED.
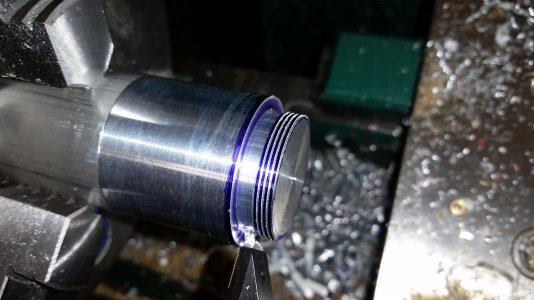
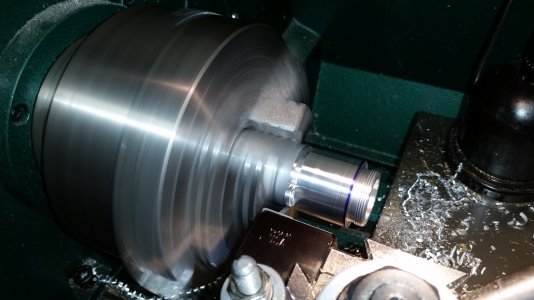
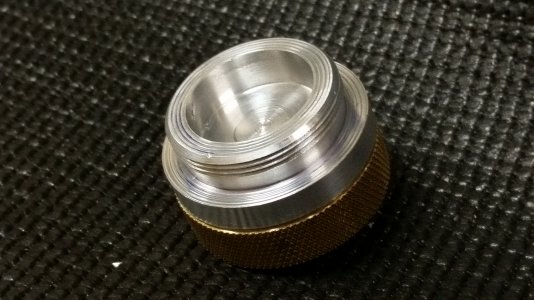
First step was to put some male threads on so that the lens section can screw on.
20150322_111046.jpg The threads are 1-1/4-24. I am getting better at single-point threading but still need a lot more practice. .
Next I cut a pocket in the end that will hold the LED. I started with a endmill held in the Tailstock and then moved to a cutting tool to enlarge the pocket.
then it was time to part the piece so I could work on the other side.
20150322_114007.jpg Ever since I got the large wide Aloris insert parting tool, I have had ZERO issues with parting (at least with aluminum)
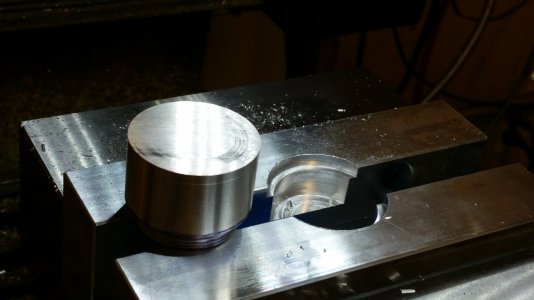
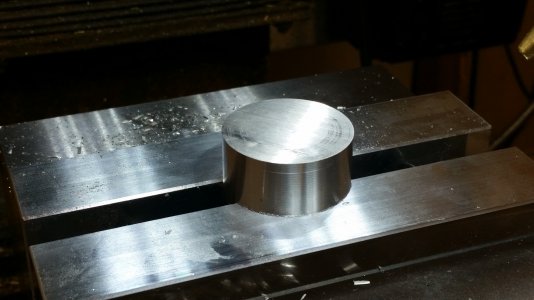
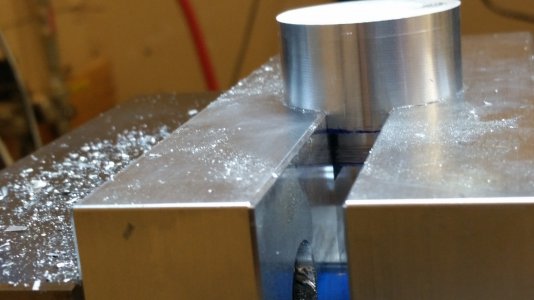
Next stop is the Mill. I cut a two step pocket in some soft-jaws to hold the part and protect the threads.
20150328_163317.jpg 20150328_163329.jpg 20150328_163336.jpg
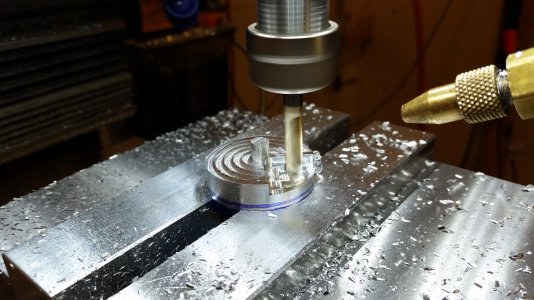
Next step is to Mill the backside that is 1/5 of the switch and mates with the Brass Ring that I started with.
20150404_183240.jpg
20150404_184822.jpg

Almost finished. Still have to tap the 4 holes to 4-40 and then drill and tap a hole to hold a spring ball that will be part of the on/off Detent.
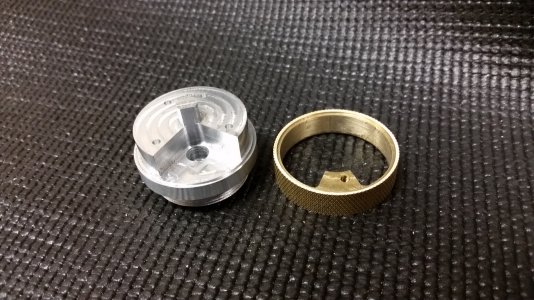
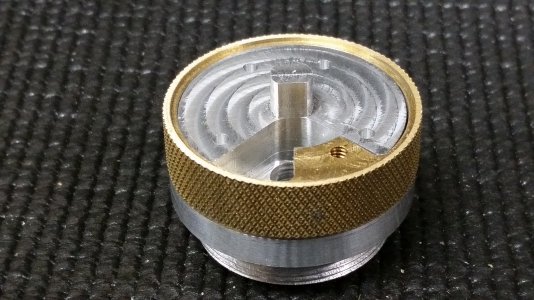
here is a test fit.
20150404_185729.jpg 20150404_185825.jpg 20150404_185852.jpg

Because I am making 6 flashlights , I now need to run the program 5 more times. Took about 35 minutes including three tool changes. 20150404_184338.jpg
 
Back
Top