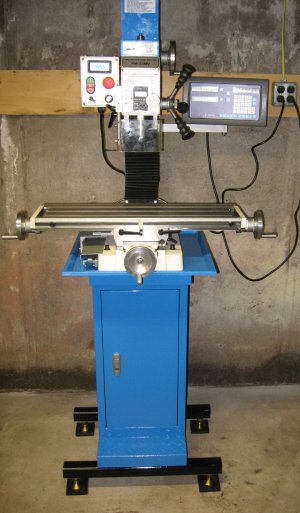
Got me a new PM 25MV

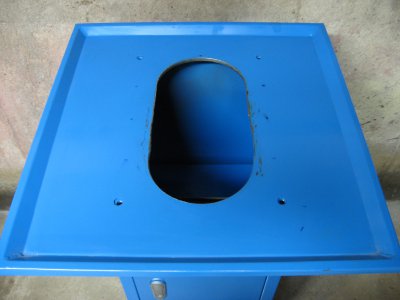
I finally finished working on my stand here's what I did. First I cut a hole on the top of the stand so I would have easy access the the bottom of the machine, it wasn't easy cutting 2 holes in 3/16 steel plate with a 6 inch hole saw and then cutting out the remainder with a sawzall.

IMG_1255.JPG

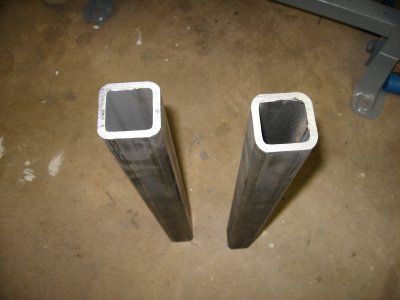
I got my 2 inch square steel tubing 24 inches long with 1/4 inch walls looks pretty heavy duty to me.

IMG_1248.JPG

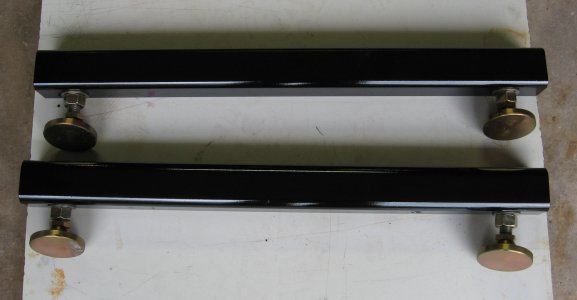
Here they are all painted with the leveling pads I am going to use.

IMG_1252.JPG

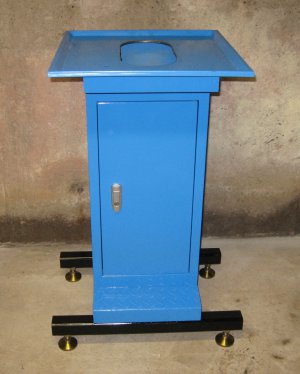
And with them mounted on the stand, I used 1/2-13 grade 8 bolts and stainless nuts only because I had them laying around.

IMG_1253.JPG

And finally the final resting place for my mill, I also put 1/2 inch thick hard rubber pads under the leveling feet.

IMG_1257.JPG

I checked the tram on the head and I adjusted left to right to within .001, front to back is off about .004 I'll have to figure out how I am going to do that. Well that's it for now

IMG_1255.JPG IMG_1248.JPG IMG_1252.JPG IMG_1253.JPG IMG_1257.JPG
 
Congrats for your new mill. It looks very nice. Are you going to try to take that .004 difference front to back. I just checked tram on my new PM-932 and found .0015 front to back. Just left it as it is for now. Will be watching what you do with yours.
 
Nice work Ed, everything looks great. I am going to have to do something like you did for a base because the mobile base I got is not stable enough. I like the bracket you made for the x axis. I am eager to see what you do for a way cover as I will be in the same situation. I have some ballistic nylon that I may try to use. It would be simple to sew up something I will let you know if it works.
 
Wow, we are on very similar paths! In talking to CO the other day, I asked if the Y axis nut was adjustable like the one on X, and Paul said yes you get to it from the bottom of the mill. So when I asked how you do that with the new chip tray in place he was like "oh crap, we didn't think of that". They will probably be modifying the design soon.

So yesterday I was at Ace buying a hole saw and holder. I already have the sawzall. Always something... :)
 
I want to try and fix my .004 front to back but they seemed to use bondo where the column and base meet I already found that out taking the front handwheel plate off the Y way. Big chunks of bondo (or real thick paint) came off and looks terrible, now I have to touch it up. As far as a way cover goes I am going to try a bellows type cover like they have on the Z axis. Maybe I can find some kind of heavy duty window covering and modify it to fit.
 
Wow, we are on very similar paths! In talking to CO the other day, I asked if the Y axis nut was adjustable like the one on X, and Paul said yes you get to it from the bottom of the mill. So when I asked how you do that with the new chip tray in place he was like "oh crap, we didn't think of that". They will probably be modifying the design soon.

So yesterday I was at Ace buying a hole saw and holder. I already have the sawzall. Always something... :)
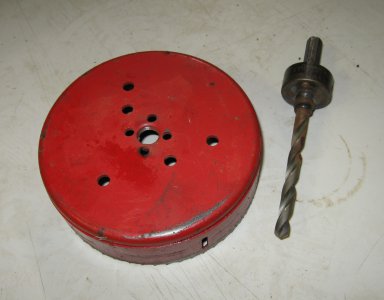
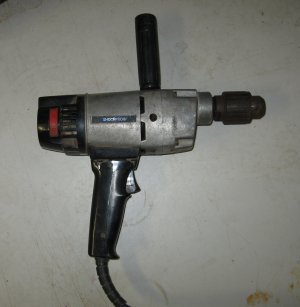
I hope you bought a heavy duty hole saw, I don't think a home use one will do it. Also make sure you have a heavy duty drill you know the kind that will rip your arm off if your mot paying attention, a cordless wont cut it.

IMG_1258.JPG

IMG_1262.JPG

Good Luck

IMG_1258.JPG IMG_1262.JPG
 
Those pictures remind me of a remodeling job I did the heating and AC for, last winter.

In my area 'ventilation' is part of the heating and AC license... ventilation, including the metal duct for the hood over a cooking area.
I had to cut an 6" hole (yes, 6" holesaw), and drill the hole through a 6x12 wood beam in a house that was built in 1920. Yes, the wood was original, and it was HARD! The part that gets old: is after drilling about an inch... you have to take the holesaw out and remove the wood... both of which are HOT and the wood has expanded, so it is stuck in the wood... and of course this was a high ceiling house, so this was ladder work. Time consuming and messy, may have been understatements.
I have a Ridged low RPM angle head drill; even with that tool it took a bit of work to cut the hole...

Next time... I think I will let someone else do the hole... I will do the duct... :)

Just commenting: be careful using a hole-saw on metal... lots of things can happen. Take your time (do not feed too aggressively), and might want to keep some WD40 on the cut. If it were me, I would use a low RPM drill if one is available... tends to do less damage to your body if it 'snatches'... which it probably will... perhaps a number of times.
 
Milwaukee 4" bi-metal and a older Craftsman 1/2" variable speed electrical drill (yes, it will take your arm off if you aren't paying attention).

And I'm only going through the chip tray (0.15"?) so I 'should' be able to get this done. We'll see. :)
 
Back
Top