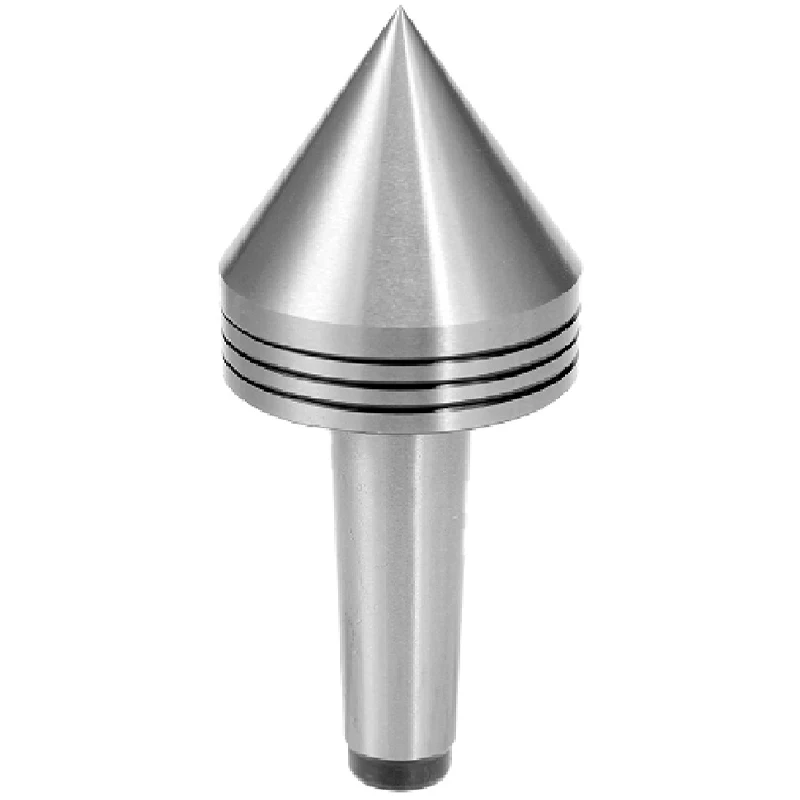
Homemade live center

Very interesting.......

There is absolutely no precision required in making up the other parts.

I guess the one place you need to get things close is the total length out the back to retain the ability to eject from the tailstock.

Thanks for sharing this!
-brino
 
Hi Brino,
The end mill holder originally ejected well at a point within the last inch of quill travel.
Therefor I planned on adding as little as possible on the end of the holder to keep the new ejection point close to the original point.

Once the extension of the end mill in the holder is decided and the other parts measured, it is a simple matter to calculate how long the spacer rod has to be. There is also the possibility of using the set screw and jam nut somewhat for minor adjustments.

Because the end mill center is free floating I was concerned about it falling out accidentally during handling. It turns out that once the holder is filled with oil, suction will keep the end mill from falling out.

It was also interesting to note that there was no oil loss from around the end mill. I did not have to add oil at all after 20 mins of run time. This would indicate how good the parts fit.

MT3 end mill holders are currently on sale at Busy Bee Tools for 25 CAD. Broken end mills should not be too hard to come by but even a new one is only around 10$. Considering how straightforward and fun it is to make up one of these live centres there is no reason for a hobbyist to be without one for that price.

My plan now is to buy a new 1/2 - 1/2 four flute end mill and grind the end to a 60 deg point. Then dedicate my MT3 1/2 holder as a live center. With the longer end mill it should be possible to run it at the right depth in the holder.
 
Last edited:
For $12 why bother, I've had this for years, works great plus it can be used as a bullnose


I picked up one of these. The only problem is that the taper end is too short to be knocked out by the tail stock. I will probably have to build up the end with my MIG and then grind it down to a nice profile.
 
I was going to try and beat him too it but I can't find the write up.
I did but just for a project. I use it when tolerances are not needed.
You need to grind it in with a toolpost grinder at a minimum while spinning the center.
Would you elaborate on how you set things up to grind the point while spinning the center please?
I am all ears for anyone else who has a way to do this.
 
Last edited:
You have to grind the point in the bearings.
If I recall I put the center in the TS and spun the tip with a cordless drill using a strong rubber band while using the tool post grinder to grind the tip. I needed someone to help hold the drill but got it done. The result was not acceptable imo with .0004" TIR.

By the way what happened to Mikey's write up? Hawaiian time can't be this slow.
 
Here is something that is not in that article and as I mentioned earlier, it was learned from a mistake. I said that the tips must be shaped by using the housing as a mandrel, right? The reason I know that is because I made a shaping mandrel and I was really careful when I made it but those tips had so much run out that you could use it to stir coffee under power! I was trying not to risk marring the housing but eventually found that it was the only way to assure concentricity. Lesson learned.

Say mikey, is it OK if I ask you in this thread for more detail on the set up you recommend for cutting/grinding the point?
 
Say mikey, is it OK if I ask you in this thread for more detail on the set up you recommend for cutting/grinding the point?

Sure, what do you want to know?
 
What did you use to hold the housing, an independant 4 jaw or other means? Was the housing held stationary while the center was spun? How did you spin the center and at what speed? Did you use a single point cutter or a tool post grinder?
Sorry if its in your write up but I missed it.
 
What did you use to hold the housing, an independant 4 jaw or other means? Was the housing held stationary while the center was spun? How did you spin the center and at what speed? Did you use a single point cutter or a tool post grinder?
Sorry if its in your write up but I missed it.

I had the advantage of the bearing housing being separate from the bearing and arbor so it was easy to hold in a 4 jaw chuck. In order for the tips to be accurate, they MUST be mounted in the housing in which they will be used. Even Royal has to do it this way, although they grind the tips instead of cut them. So yes, hold the bearing housing in a 4 jaw and get it dialed in to ZERO, not close to zero. I used aluminum flashing to protect the finish from the jaws.

Once the housing is dialed in and locked in the 4 jaw, the tips were mounted into the housing. My tips are threaded so they just screw into the housing. The tips are made from O-1 steel. I used a compound slide set at 30 degrees to cut the taper on the tips on the backside of the part. I used a brazed carbide cutter mounted upside down to rough them out, then I switched to a very sharp HSS tool to put a nice finish on them. O-1 likes to rough slow and finish fast. By slow, I think I went with 60 sfm to rough and as fast as my lathe could go and with a slow feed when taking light finishing cuts.

Hope this helps. If this is not clear, let me know.
 
Back
Top