How to calibrate German made Quick Test I/D Snap gauge

ltlvt

H-M Supporter - Sustaining Member
H-M Platinum Supporter
Joined
Aug 29, 2019
Messages
510
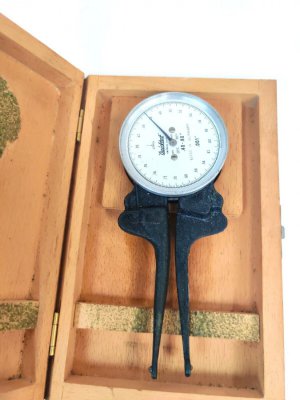
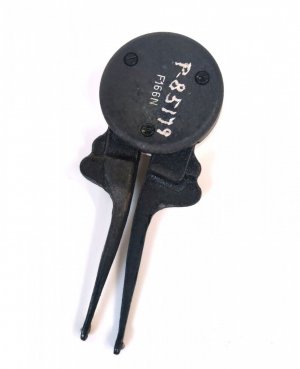
I recently acquired a Quick Test Comparator style inside diameter snap gauge. Unlike most dial indicators the Zero is not movable or at least I do not know how to do it. It is made to measure between .400 and .800 inches. So, the way to set it would be to use an outside micrometer on a stand. I have tried this, and it is always about .005 undersize on the dial. I have a similar gage made in Japan and it is for .375 to 1.250 and it does have the movable dial so you can set it at zero and simply compare the diameter of what you are boring to the zero on the gage. Does anyone have experience with the German Quick Test gage? There must be a way to calibrate it. I will provide pictures tomorrow. Thanks in advance.
 
I have three Tesa snap mics, they all calibrate by adjusting the outer part of the micrometer body to adjust the plunger not the comparator gauge. The gauge is what it is, you index the plunger to it for zero. I think you might be talking about a different tool, though. Got a pictures?
 
I have three Tesa snap mics, they all calibrate by adjusting the outer part of the micrometer body to adjust the plunger not the comparator gauge. The gauge is what it is, you index the plunger to it for zero. I think you might be talking about a different tool, though. Got a picture?
I will upload a picture tomorrow. Thanks for the reply
 

Attachments

  • s-l1600 (1).jpg
    s-l1600 (1).jpg
    195.9 KB · Views: 8
  • s-l1600 (2).jpg
    s-l1600 (2).jpg
    102.6 KB · Views: 8
This is the gage Made in Germany I have s-l1600 (1).jpgs-l1600 (2).jpgs-l1600.jpg
 
Last edited:
This is the one made in Japan,s-l1600 (3).jpgs-l1600 (4).jpg and I love it. No problems at all calibrating it.
 
Your gauge is similar to a "Diatest" made by Tesa if I remember correctly. Our machinists would check internal grooves in bored shafts with them. They can be finicky. Best to set it with a ring gauge; noting any difference and doing some math.
The more adventurous approach depending on it's construction is to look for what appears to be a set screw where the arms pivot and play with that. Check your work with a ring gauge or micrometer. Be warned, depending on the wear of the gauge tips plus internal moving pieces you may wind up with German wall art. I never understood why a set of inside calipers couldn't be utilized and measured with a micrometer.
Good luck.
 
This is a wild guess, but I wonder if you loosened the three screws on the back of the dial if the aluminum bezel would turn.
 
This is a wild guess, but I wonder if you loosened the three screws on the back of the dial if the aluminum bezel would turn.
I can get the bezel to turn but it does not affect the dial or the pointer. I may try the screws and see what happens. I love the one made in Japan. Was really excited to own something made by the Germans but if it cannot be trusted it is as Bone Head said it is no more than German Wall Art. LOL
 
I can get the bezel to turn but it does not affect the dial or the pointer. I may try the screws and see what happens. I love the one made in Japan. Was really excited to own something made by the Germans but if it cannot be trusted it is as Bone Head said it is no more than German Wall Art. LOL
If you want, send it to a qualified gauge repair outfit. Here in the forum Long Island Gauge Repair seems a favorite; they have a good reputation.
 
There has to be a calibration adjustment. I've never encountered a quality management system that does not require it for all measuring instruments. That just cannot be a disposable tool!
 
Back
Top