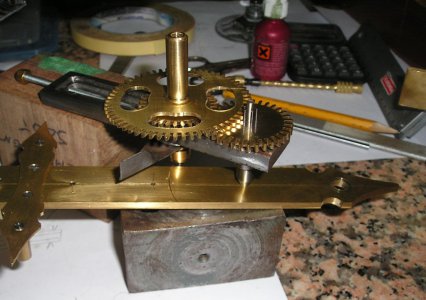
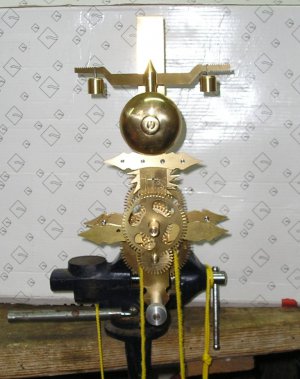
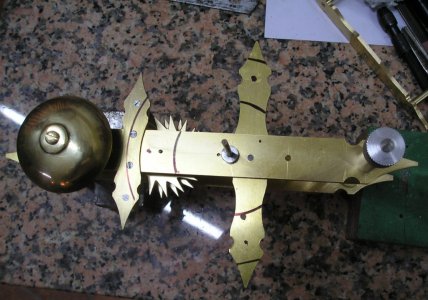
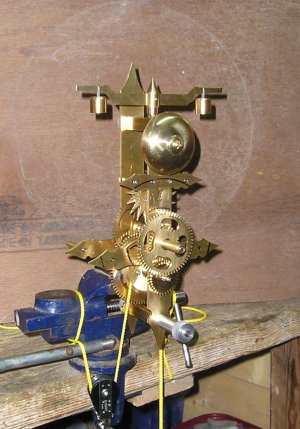
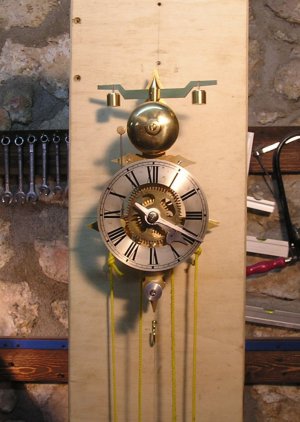
Jane's Clock.

It's coming along well Brian. I'll be looking forward to seeing it run.

And thanks for posting the build, it's definitely an inspiration for other would be clock builders.

Tom
 
Thanks for the comments , i am glad you are enjoying it.

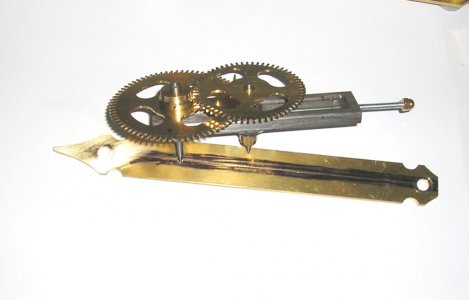
The next step is to plant the position of the gears.
the gears are set up in the depthing tool and adjusted to get a smooth action.
One point of the tool is located in the existing hole,
P1011670.JPG

and an arc struck across the centre line with the other point of the tool.

The mark is then enlarged.
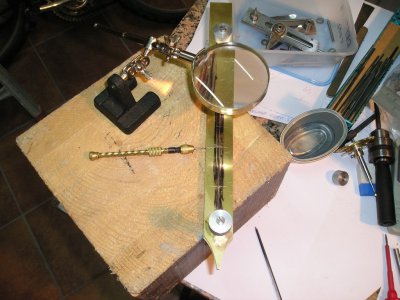
P1011671.JPG

A drill is selected , smaller than the pivot size, and also a taperd broach .
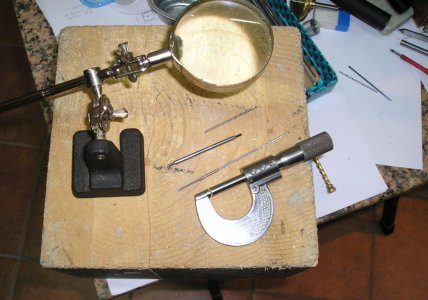
P1011672.JPG

After drilling the hole with the two plates pined together, the holes are opened up from both sides until the pivot just fits.
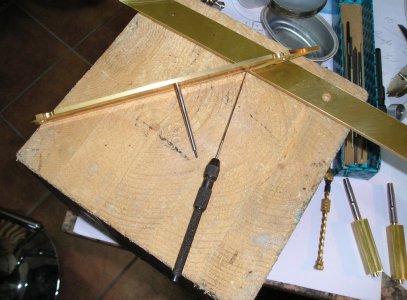
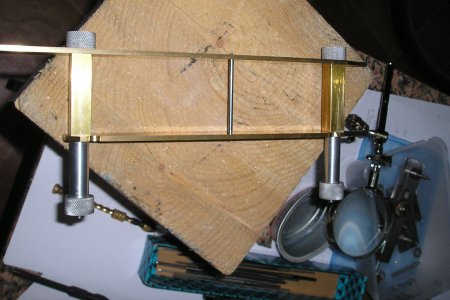
P1011673.JPG

P1011674.JPG

When all the pivots are finished the gears are assembled for a trial.
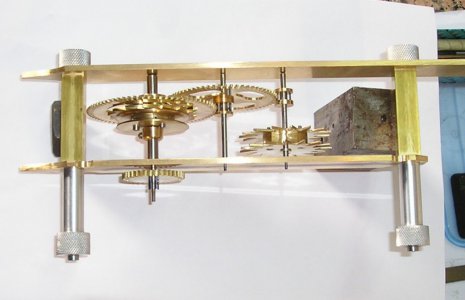
P1011677.JPG

Assemble the escapement and the movement can be run on test. Easy to say, but can take a long time to get it right.
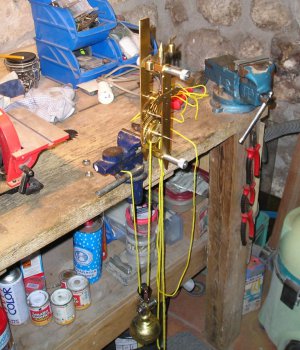
P1011682.JPG

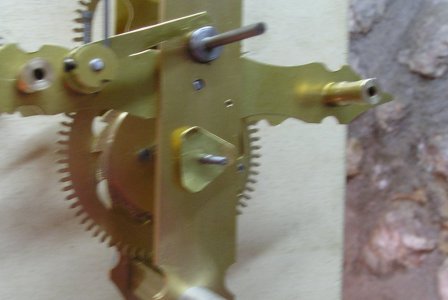
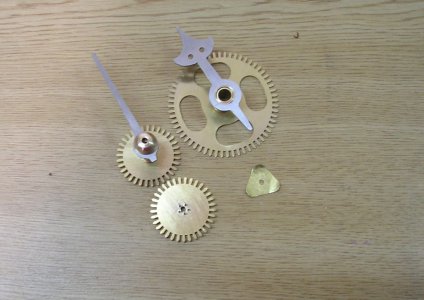
With the movement running we can turn to the motion work, the gears are mounted on pipes that carry the hands,
These have been made over length so I can find room for the striking trip pin, and get the position of the dial. before triming them to length for the hands.
This is what happens when you build without plans!!
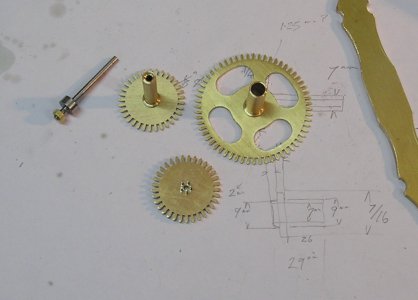
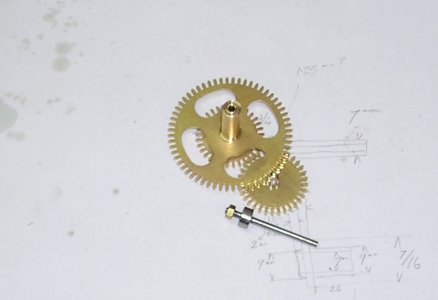
P1011684.JPG

P1011681.JPG

Brian.
P1011670.JPG P1011671.JPG P1011672.JPG P1011673.JPG P1011674.JPG P1011677.JPG P1011682.JPG P1011684.JPG P1011681.JPG
 
No problems Prof,

We make the blanks the size to get the centres correct, then cut the teeth with the next number up,
the result is the teeth are very slightly thinner, but backlash is not a problem in clocks, its a one way machine.

As both gears are cut to the same number the 1-1 ratio is preserved.

As you say silly questions do not exist on this forum, it all helps the understanding of the thread,
and helps those as yet too timid to ask.

Thank you --Brian.
 
To continue. we now have all the parts of the drive for the hands. so we can how plant the gear train and position the pin that supports the gears.
In this picture I have scribed the arc firmly so you can see the point that the hole must be drilled.

P1011685.JPG

After drilling, the gear train is now assembled and the clock tested.

P1011687.JPG

Now we are shure it all works the positions of the dial posts are marked and the supports of the striking system marked.

P1011689.JPG

The positions have been drilled and its back on test for a overnite run, thats all for today.

P1011690.JPG

Brian.
P1011685.JPG P1011687.JPG P1011689.JPG P1011690.JPG
 
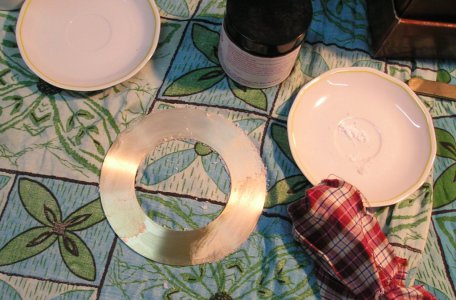
Having made the dial pillars the next job was to silver the dial, this is done by rubbing silvering powder ( silver nitrate I think ? ) onto the slightly wet dial keeping at it until all is covered and then rinse and rub with cream of tatarter to bring up the whitenes of the silver.

P1011693.JPG

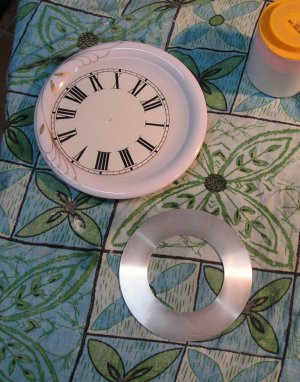
Next fix the dial transfer.

P1011694.JPG

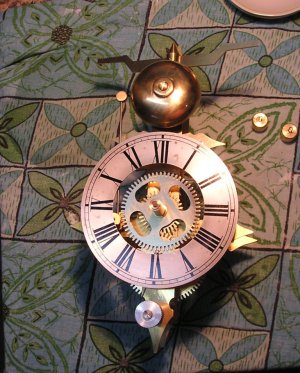
Fix dial in place.

P1011695.JPG

and put back on test while the hands are made.

P1011700.JPG

The hands are cut out roughly with the saw after drilling the holes.

P1011701.JPG

Then finished to size ready for blueing when the clock is finished.

P1011703.JPG

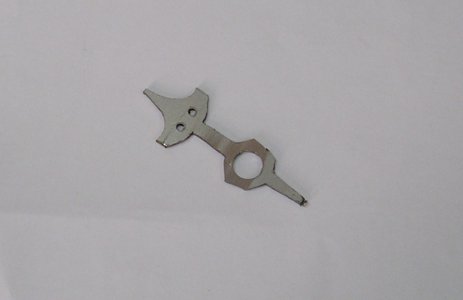
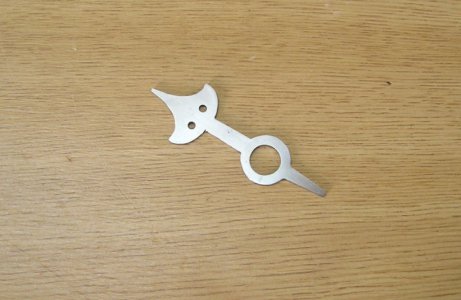
The clutch spring fits behind the reverse minute wheel to allow the hands to be set .

P1011704.JPG

The motion work.

P1011706.JPG

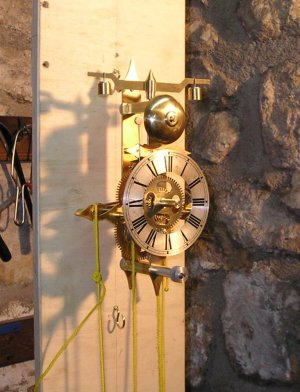
The clock was running just in time. JANE ARIVED.

P1011710.JPG

I now have to make the drive weight case and pully But the heat is off, I have a very happy step daughter.

Beian.

P1011693.JPG P1011694.JPG P1011695.JPG P1011700.JPG P1011701.JPG P1011703.JPG P1011704.JPG P1011706.JPG P1011710.JPG
 
Brian,

So when will you be starting on "Tom's clock"? :)

Great job! It's always a great feeling of accomplishment to design and build something yourself. You must be very happy.

And thanks for taking the time to include us in the build via your pictures and descriptions.

Tom
 
Back
Top