- Joined
- Jun 7, 2019
- Messages
- 151
I decided to use the guys that some of the machinery dealers use. 600 bucks, which was a lot for me but after the fact i would say it was a great deal.Did you use body filler after stripping it, or just accept how it would look. I can't tell from the pictures how smooth the finish is. And how on earth did you get rid of ALL the oil and grease? Seems like that stuff would have soaked into the existing filler and been impossible to get out completely.
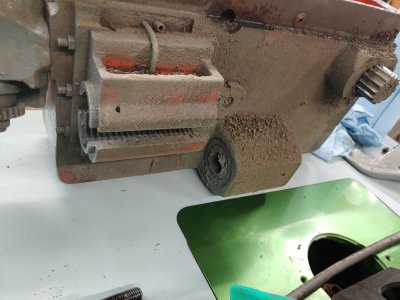
They started with cleaning and degreasing. Then wire wheels, neddle scraper, sanding to mostly bare metal, clean and a coat if primer, then filler, sand, Prime again, more filler, then clean prime paint. 830am to 3pm.
Sent from my LM-V405 using Tapatalk