We have been tinkering with clocks for many years, torsion type preferred as less winding.
Atmos is favorite, but 400 and 1000 day clocks can be a challenge.
Major issue is the mainspring often needs to be cleaned and relubricated.
On Atmos it is easy to wind the spring in and out, not so on others as the spring is very strong.
Commercial units are very expensive, and some hard to find.
Many use a simple crank with a ratchet and or brake to hold it still, others require one to just hold it while they slip in a retainer.
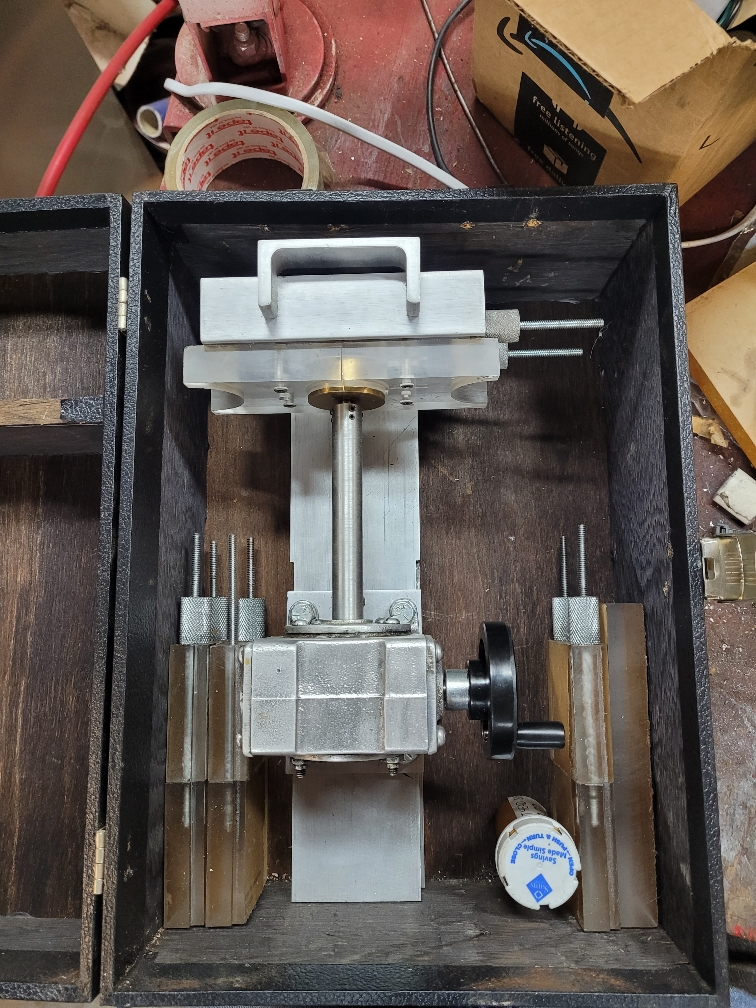
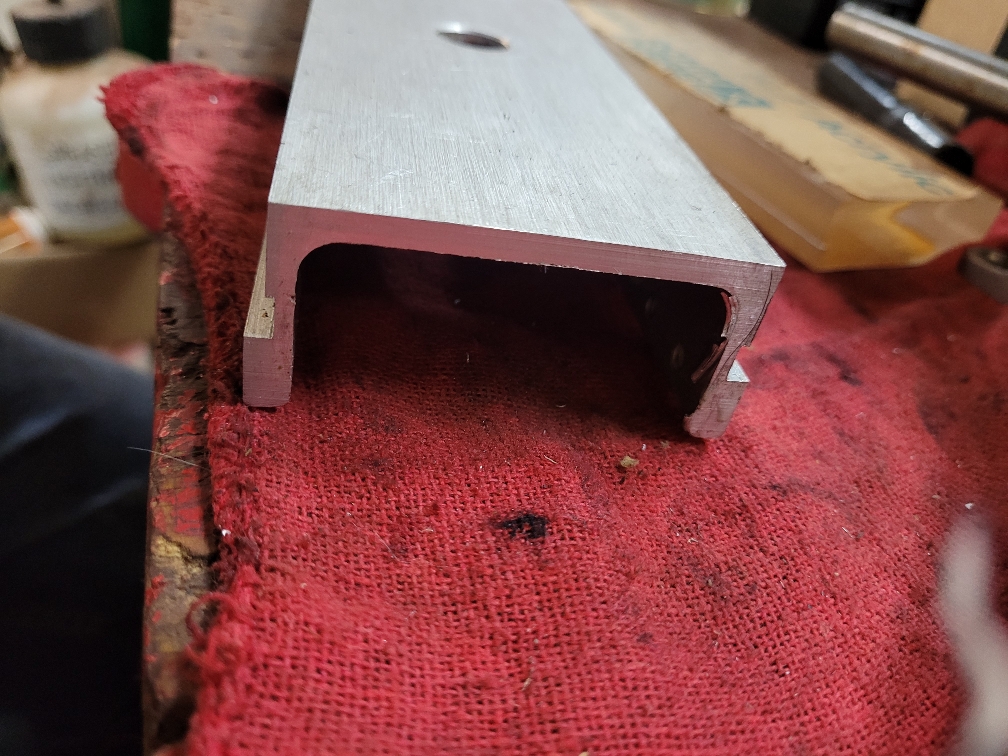
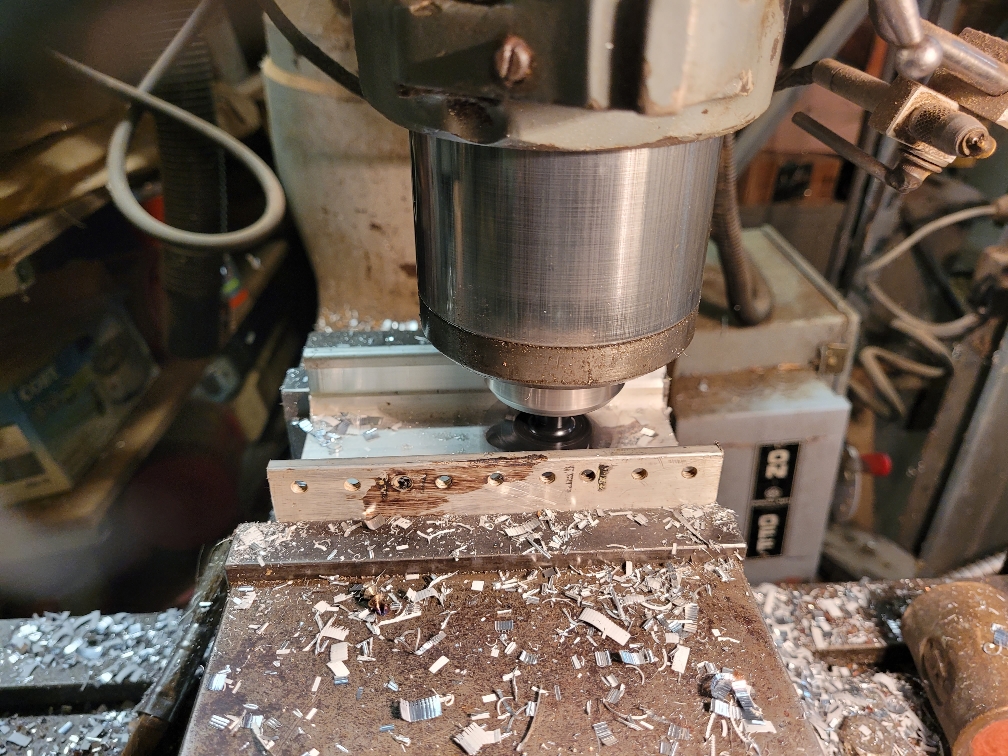
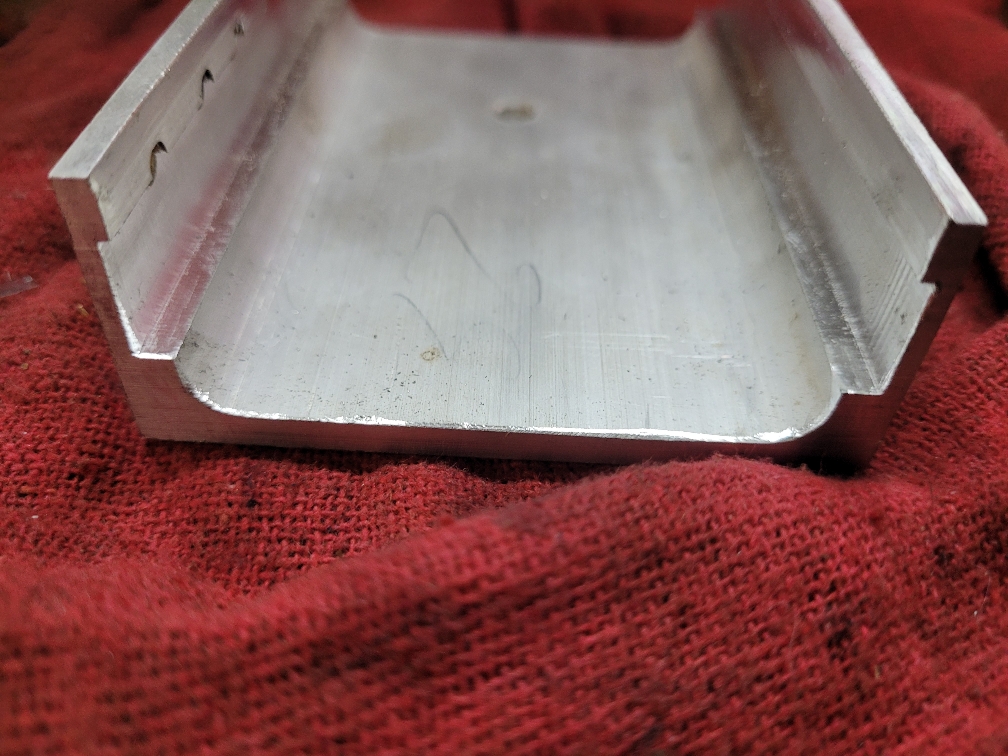
So we look in the collection of materials, we start with radio racking rail, this is gummy aluminum extrusion, 3 inch wide by about 1.25 side rails.
We picked up a bunch at an estate sale, nasty stuff to mill as it is very gummy, but ATF seems to work.
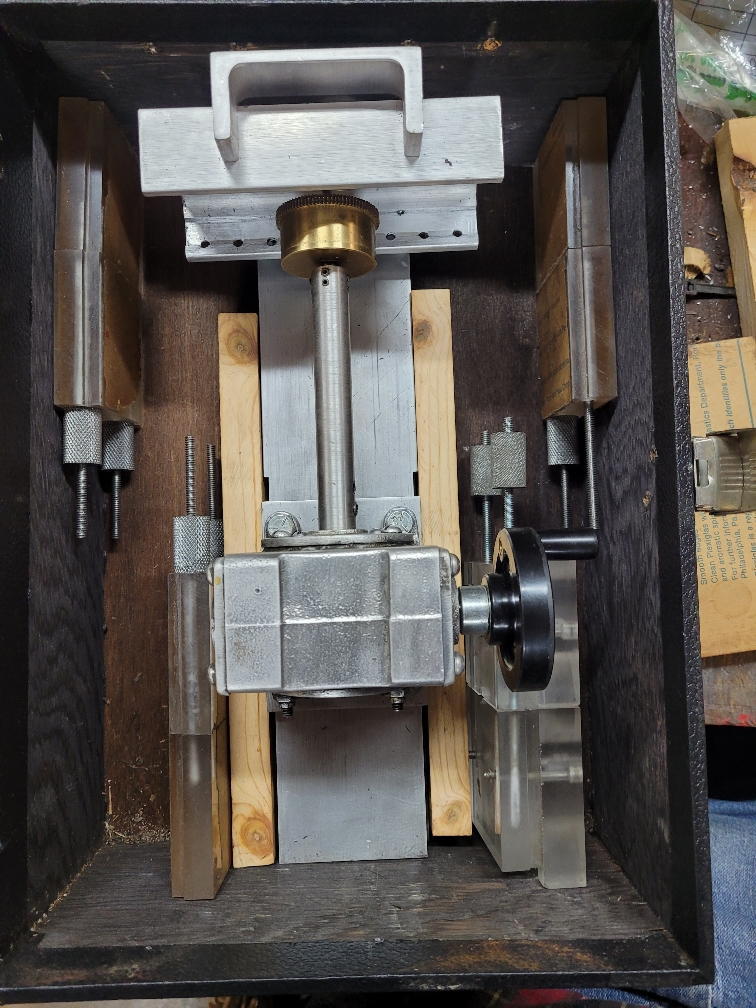
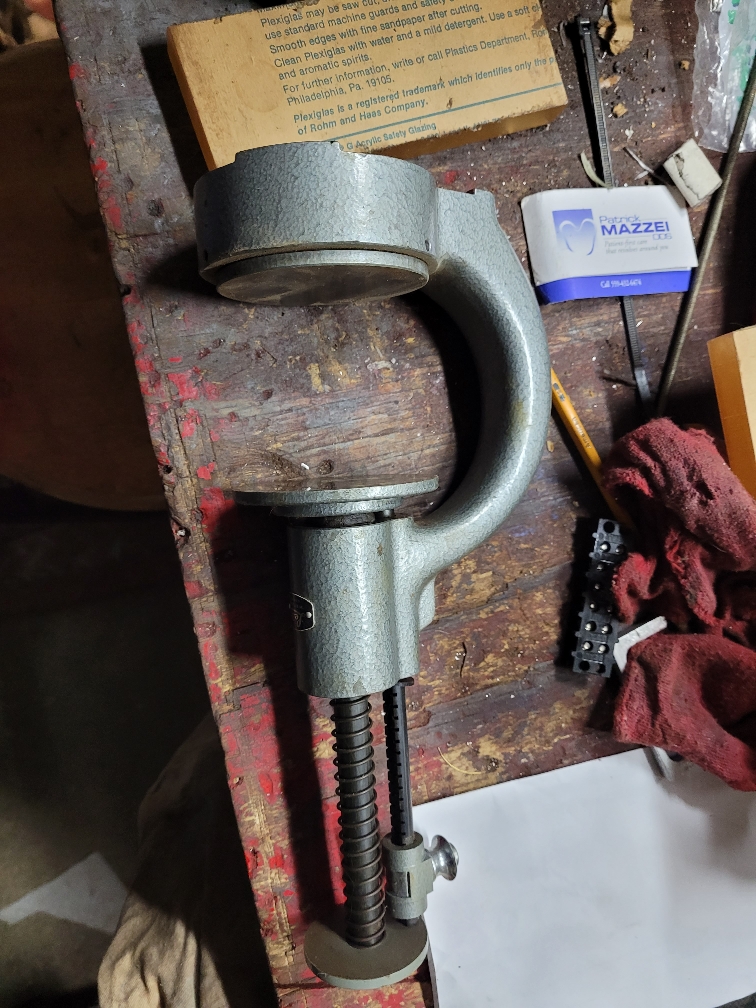
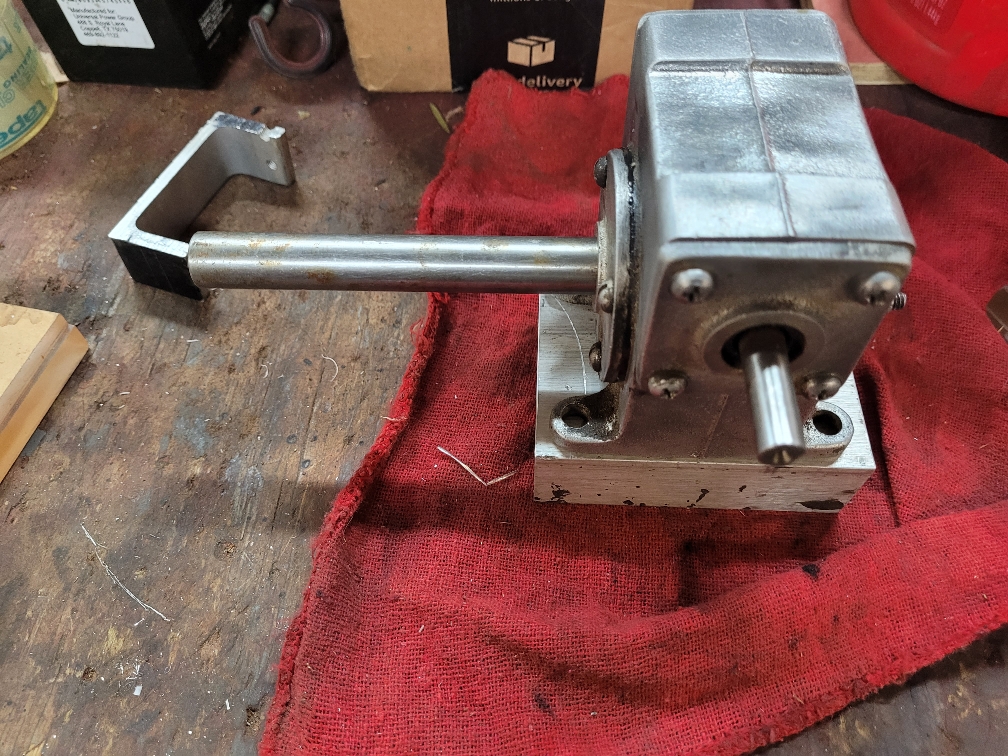
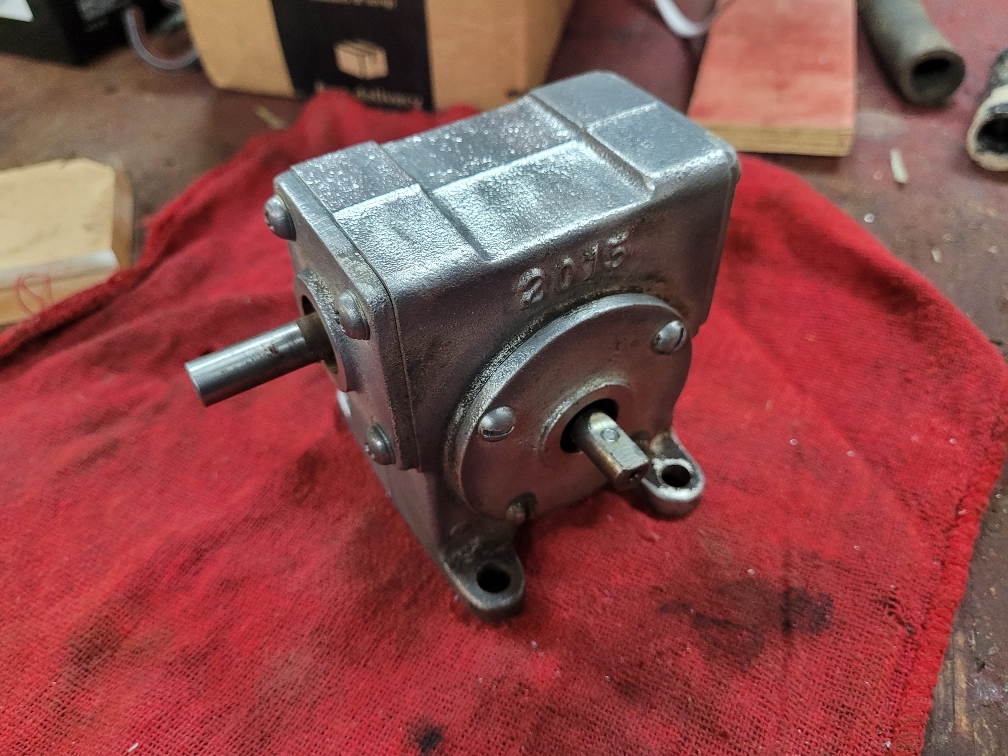
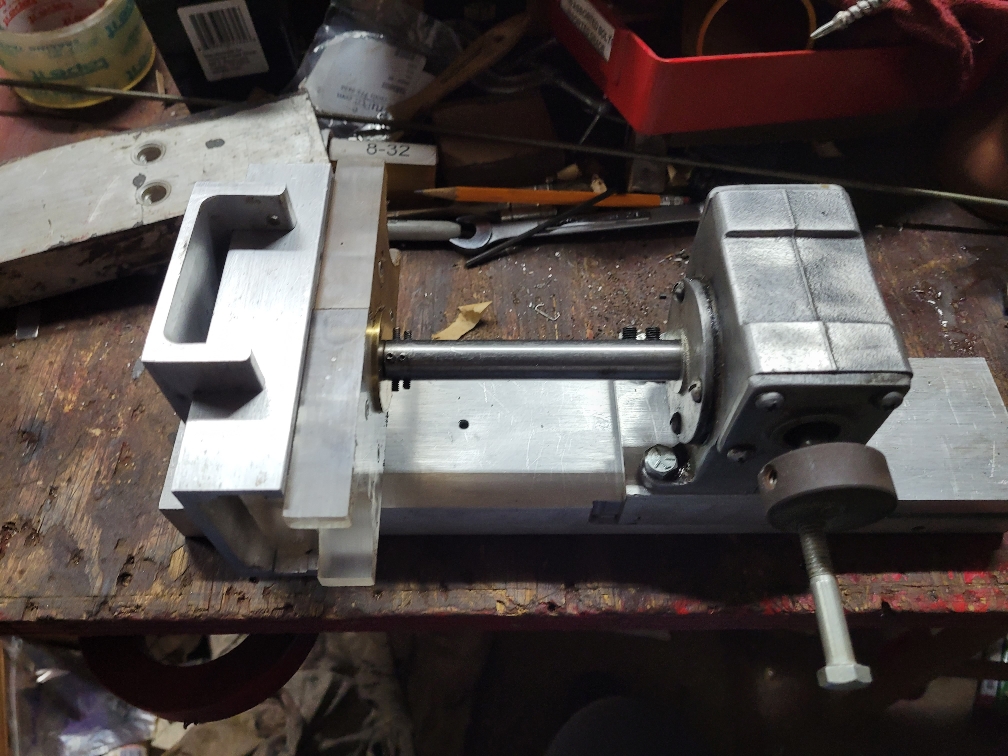
Next, we needed to make the spindle and crank, found assorted sealed bearings and figured we could make something, but we stumbled across a small worm gearbox, about 10 to 1 or so ratio, so it winds the spring easy, does require more turns, 10 times more, but a smaller lever and no brake needed make up for it.
It has bearings on both shafts so it is already a head stock.
Just need to make a shaft to drive the spring and handle to operate it
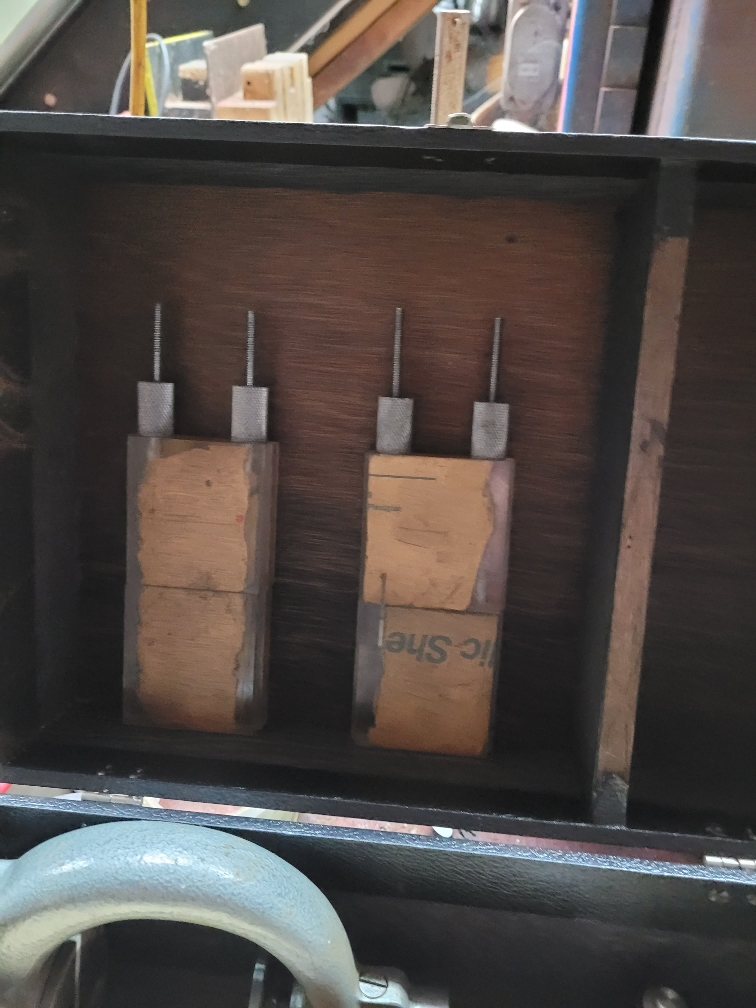
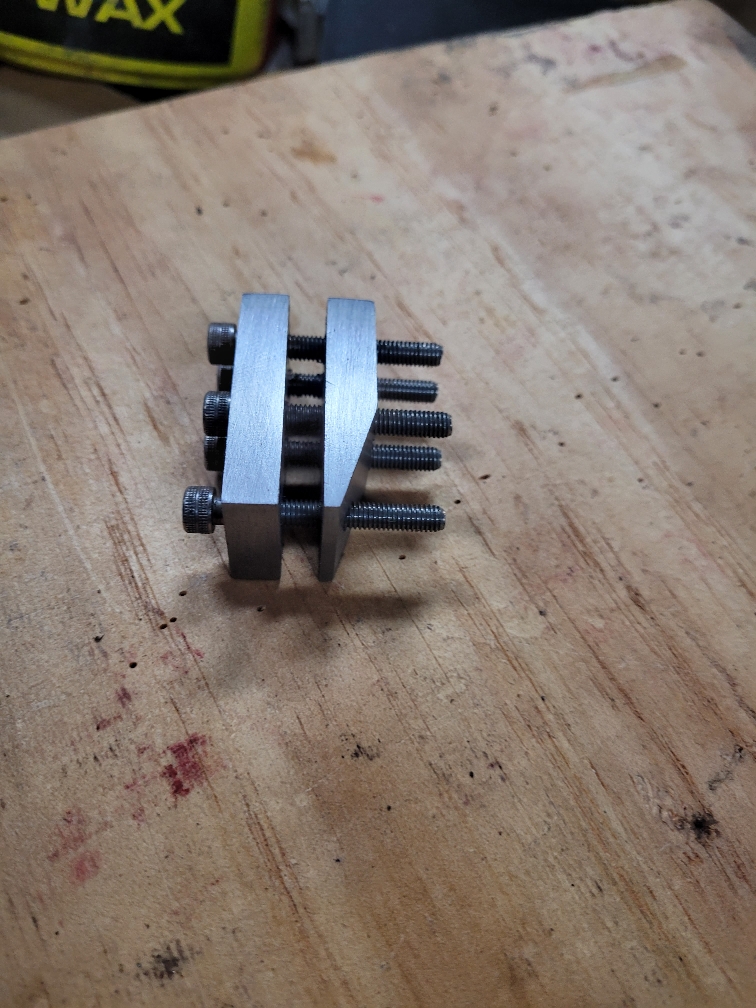
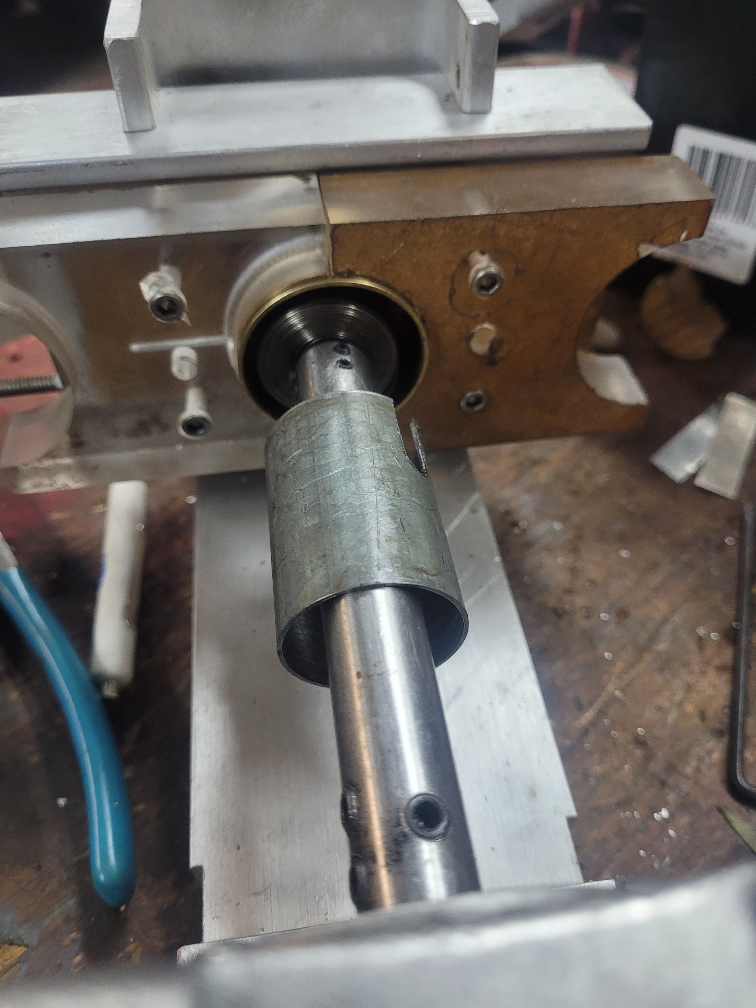
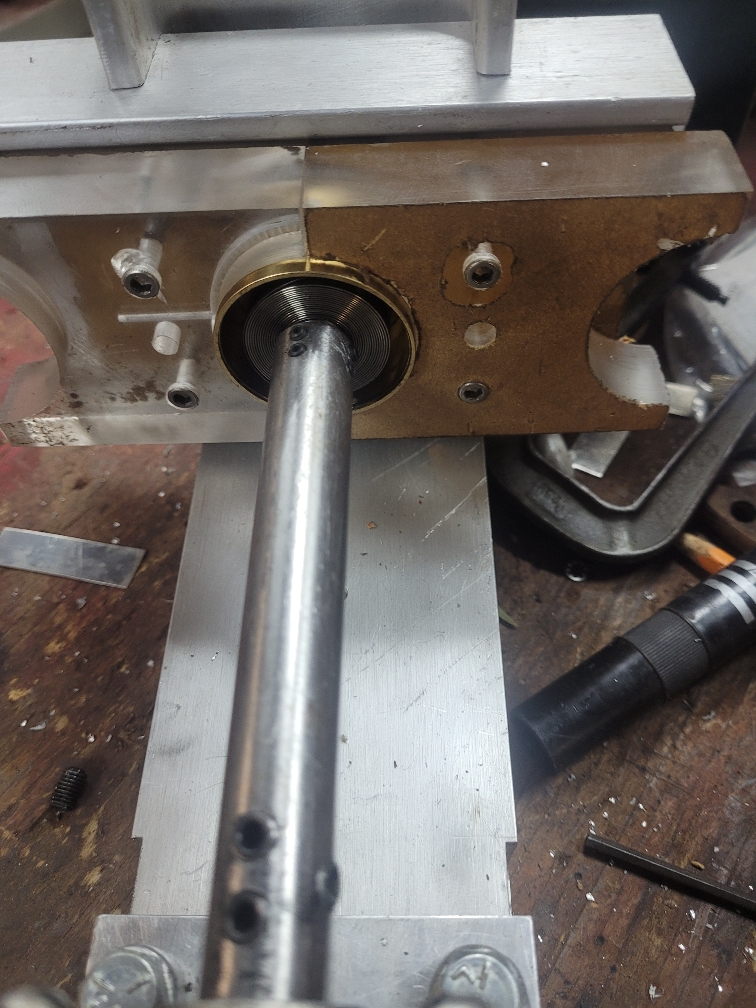
To hold the barrel springs, some winders have angled jaws that require a lot of pressure.
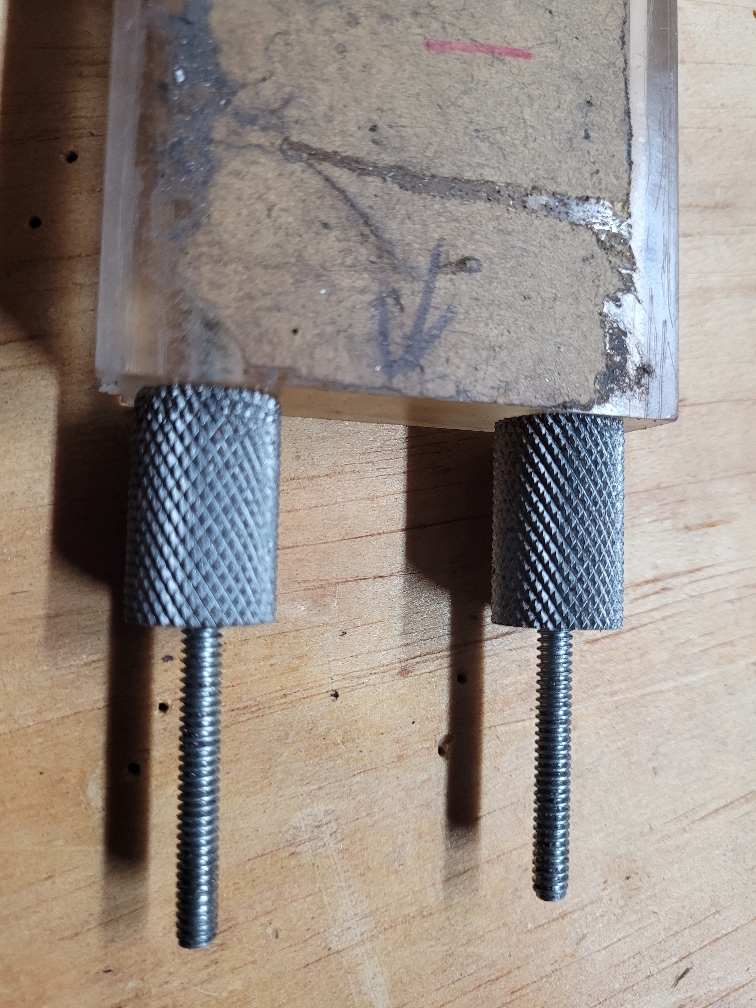
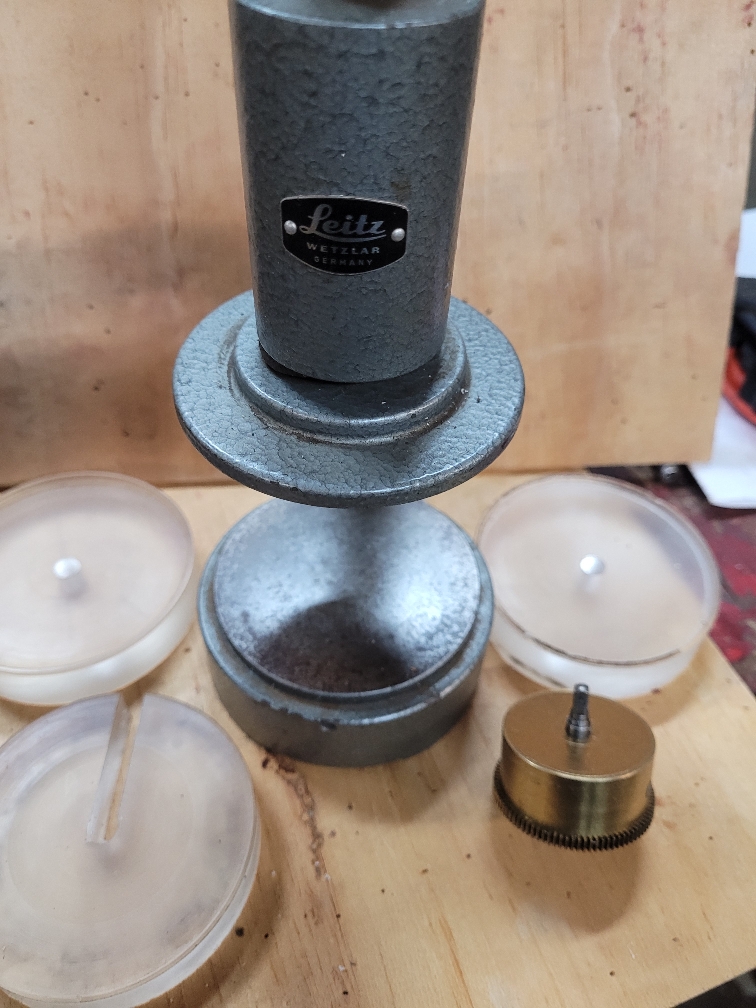
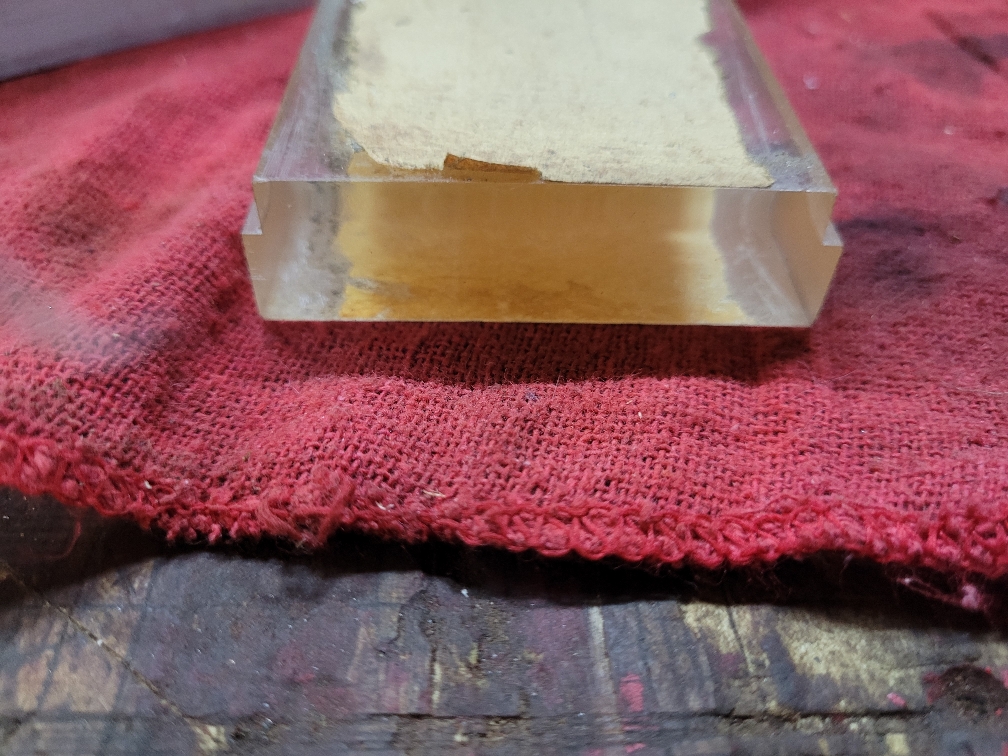
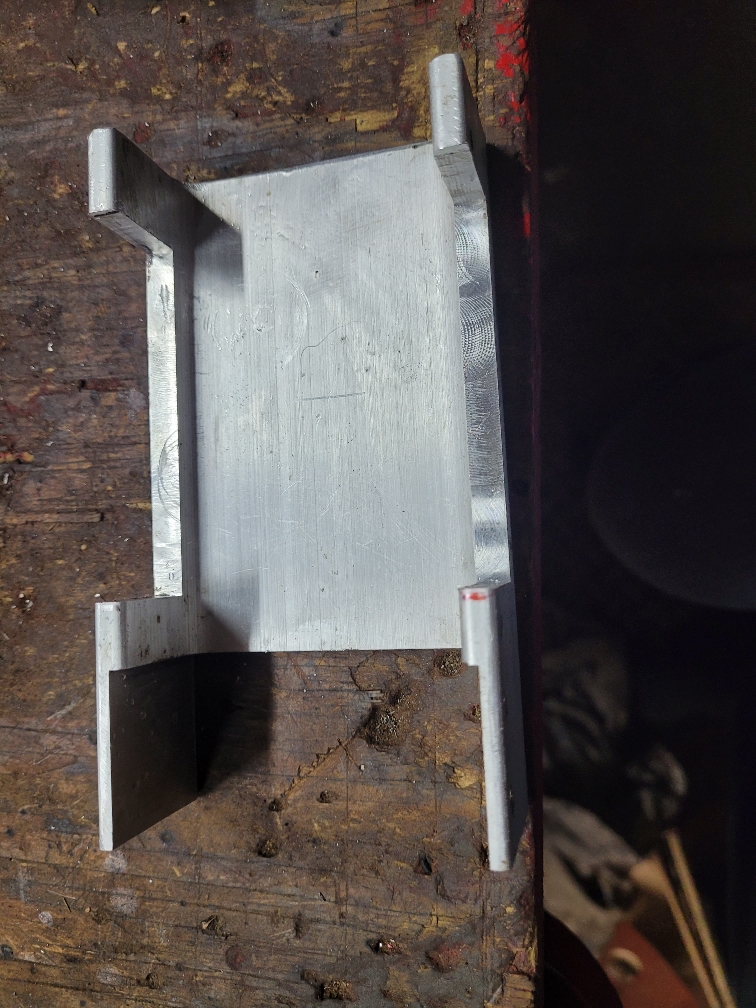
We made a sliding jaw device with sliding mounts made from 0.750 thick plexiglass.
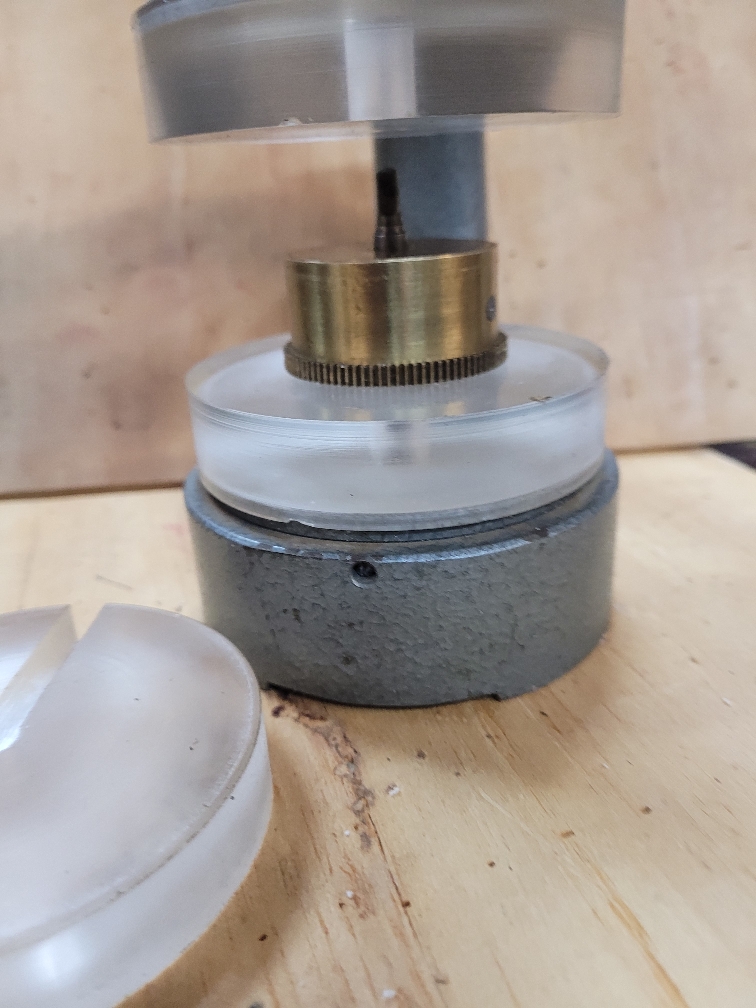
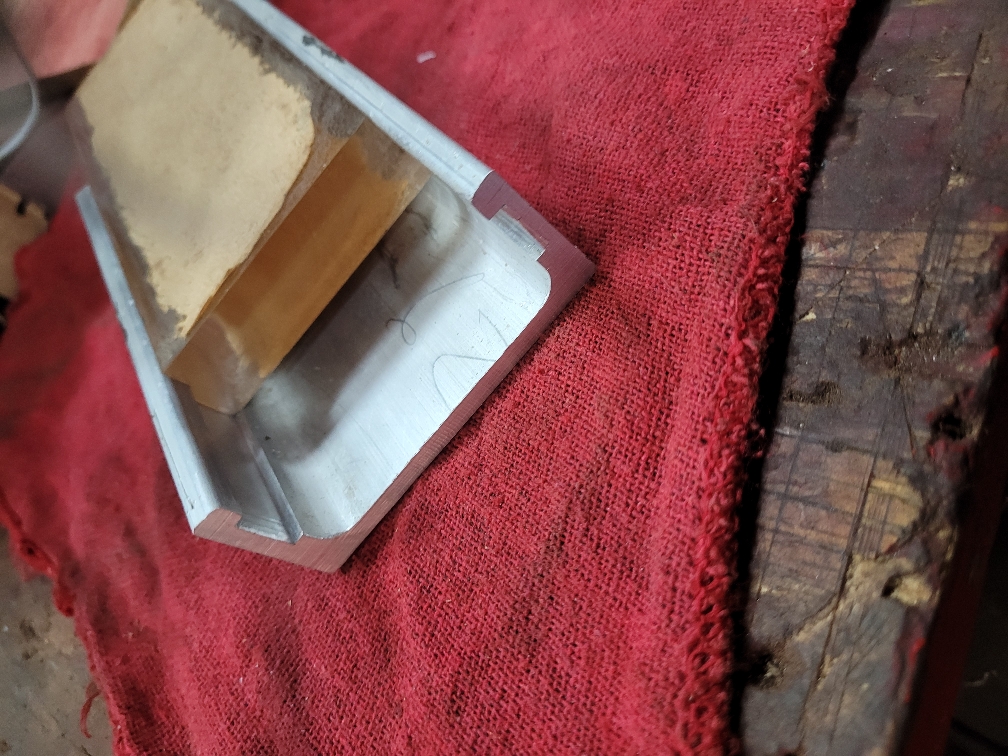
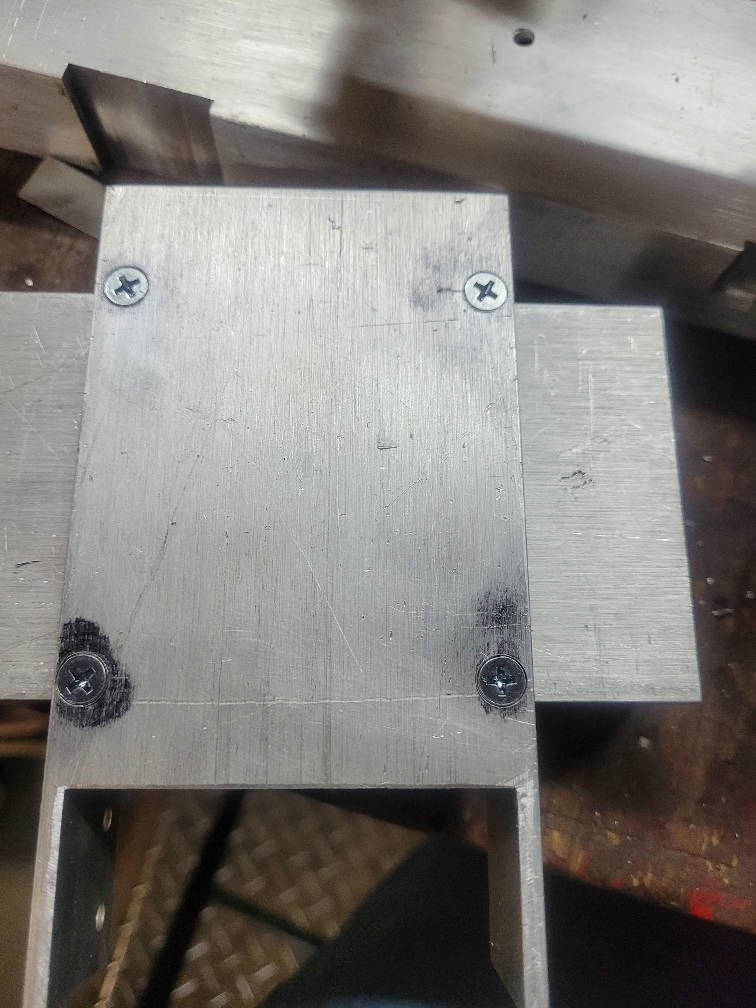
We then made interchangeable jaws that attach to the mounts.
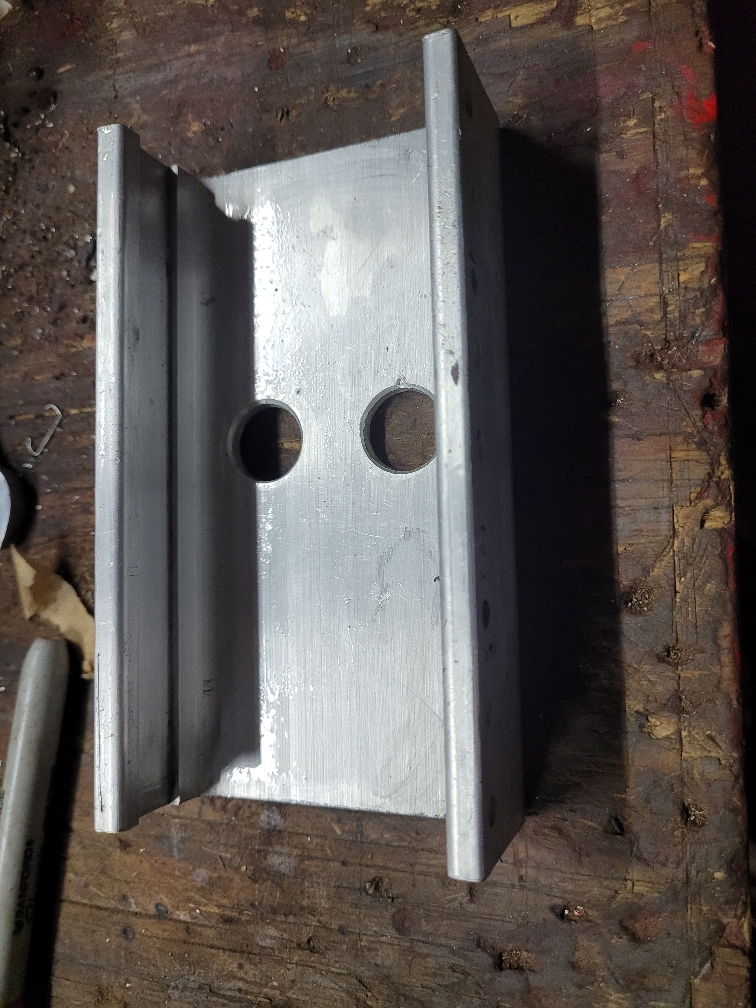
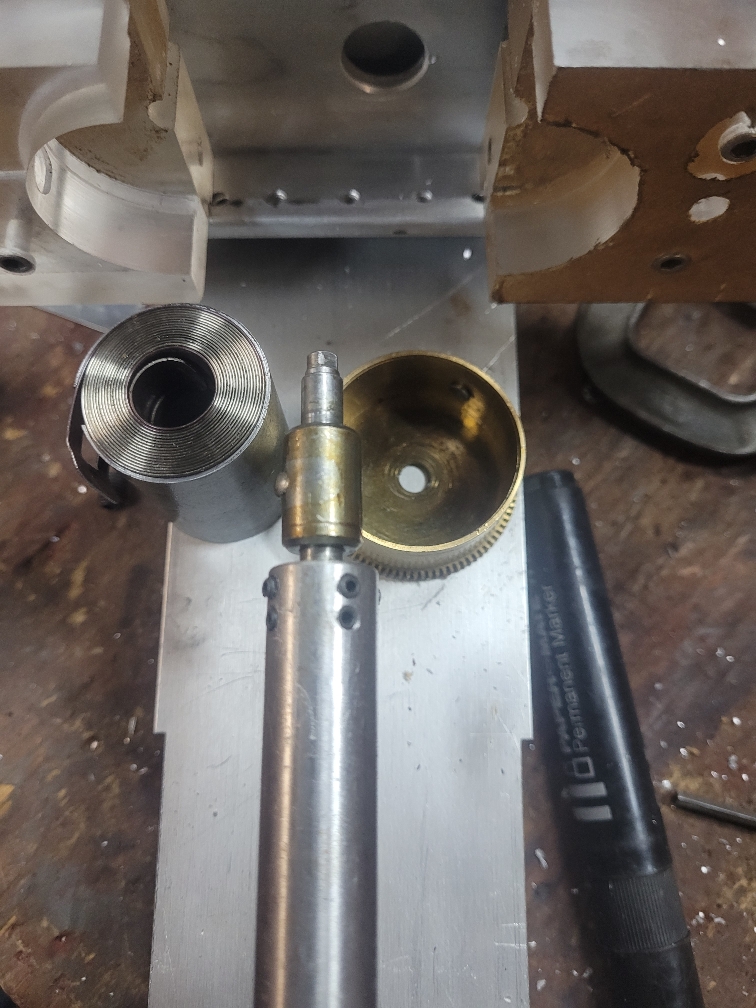
With a boring bar we bored them to fit the barrel, made a bigger area for the gear, removed material for the stud and added a pin to engage the gear to keep it from Turning.
We will need to make different sizes as needed, looking at 3D printing these, may be excuse to buy one...
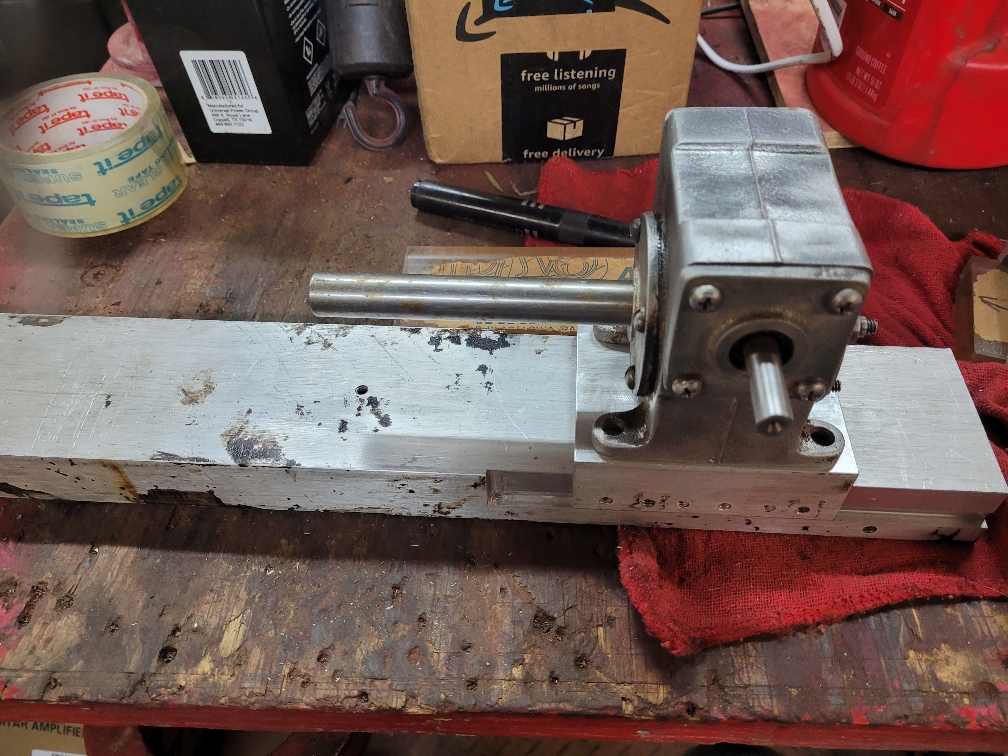
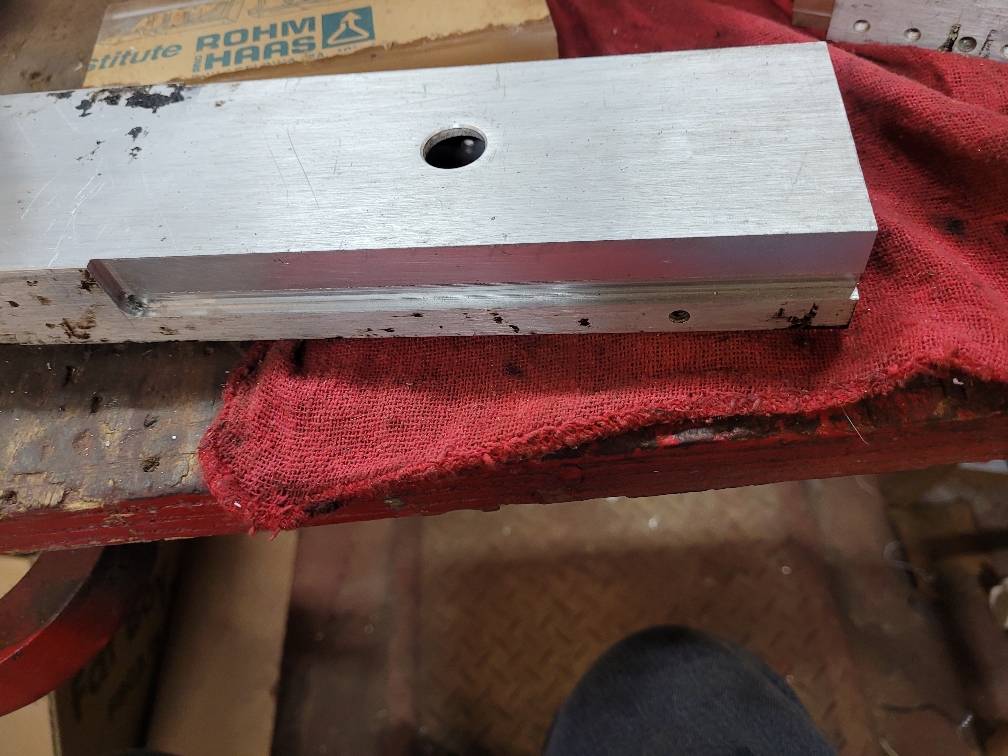
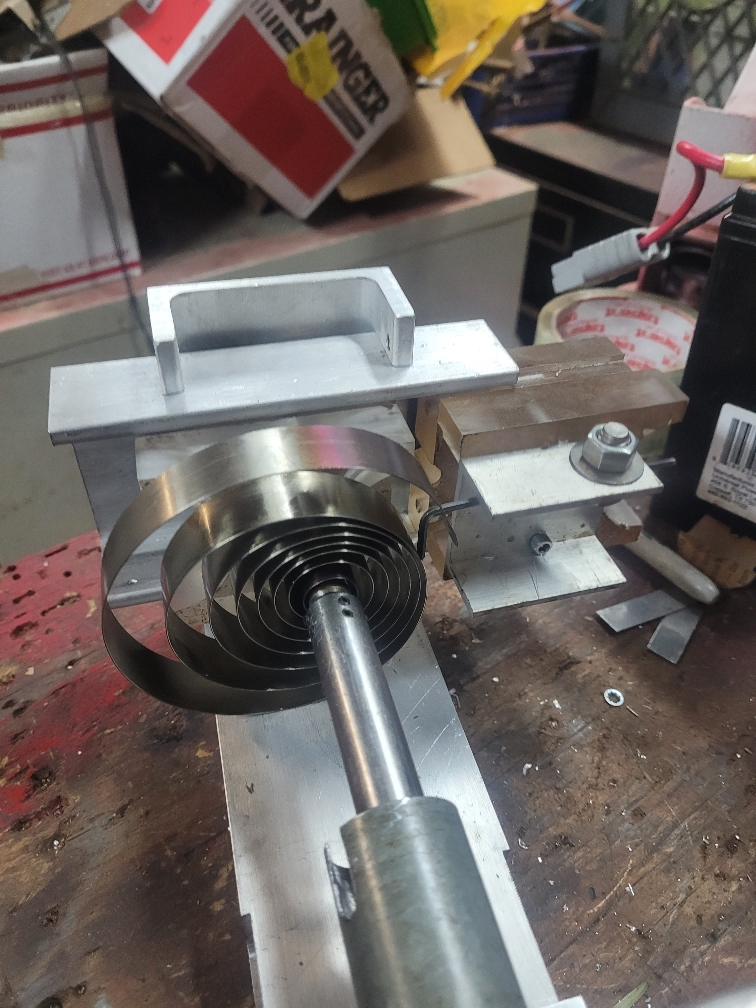
Finished most of the machine work today, need to drill and tap for the screws that hold the tailstock on.
The headstock is the worm gear on a sliding carriage.
All of these interlocking or sliding parts are cut from the same length of channel.
Sent from my SM-G781V using Tapatalk
Atmos is favorite, but 400 and 1000 day clocks can be a challenge.
Major issue is the mainspring often needs to be cleaned and relubricated.
On Atmos it is easy to wind the spring in and out, not so on others as the spring is very strong.
Commercial units are very expensive, and some hard to find.
Many use a simple crank with a ratchet and or brake to hold it still, others require one to just hold it while they slip in a retainer.
So we look in the collection of materials, we start with radio racking rail, this is gummy aluminum extrusion, 3 inch wide by about 1.25 side rails.
We picked up a bunch at an estate sale, nasty stuff to mill as it is very gummy, but ATF seems to work.
Next, we needed to make the spindle and crank, found assorted sealed bearings and figured we could make something, but we stumbled across a small worm gearbox, about 10 to 1 or so ratio, so it winds the spring easy, does require more turns, 10 times more, but a smaller lever and no brake needed make up for it.
It has bearings on both shafts so it is already a head stock.
Just need to make a shaft to drive the spring and handle to operate it
To hold the barrel springs, some winders have angled jaws that require a lot of pressure.
We made a sliding jaw device with sliding mounts made from 0.750 thick plexiglass.
We then made interchangeable jaws that attach to the mounts.
With a boring bar we bored them to fit the barrel, made a bigger area for the gear, removed material for the stud and added a pin to engage the gear to keep it from Turning.
We will need to make different sizes as needed, looking at 3D printing these, may be excuse to buy one...
Finished most of the machine work today, need to drill and tap for the screws that hold the tailstock on.
The headstock is the worm gear on a sliding carriage.
All of these interlocking or sliding parts are cut from the same length of channel.
Sent from my SM-G781V using Tapatalk


 And no need for a microscope to see it!! Big brother version of the stuff I have seen for wrist watches.