- Joined
- Aug 27, 2014
- Messages
- 65
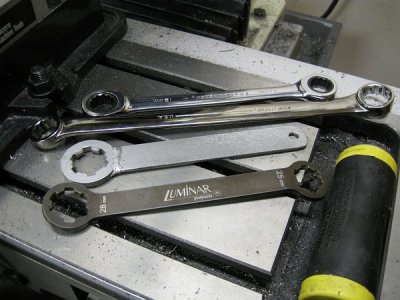
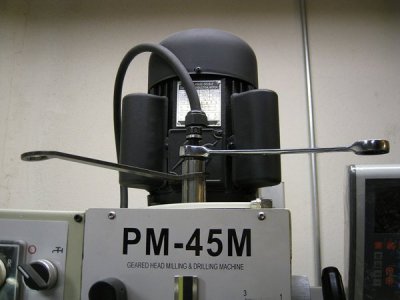
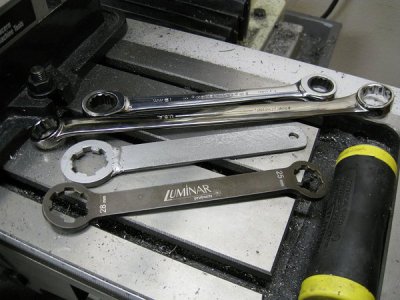
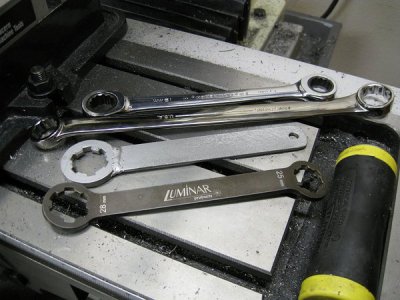
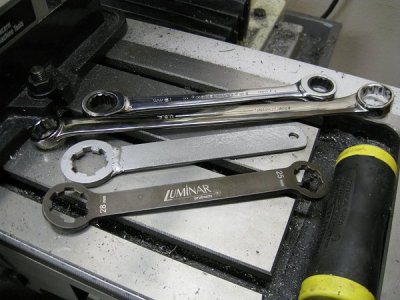
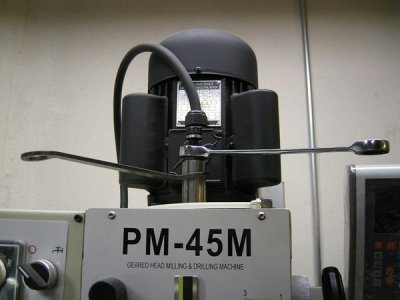
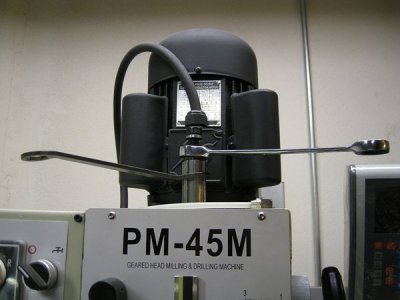
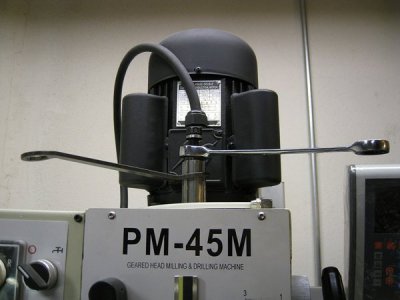
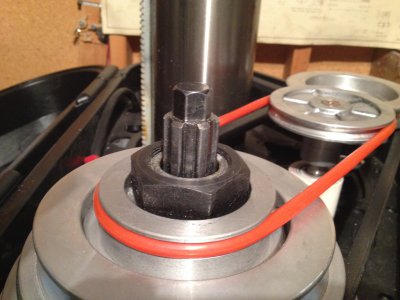
When installing and removing collets on my RF31, I use two wrenches because I don't have a spindle brake (want one). I actually don't know how other people remove collets on an RF31, but I had a 17mm wrench on the draw bar and an adjustable wrench on the spline.
 3
3
I suppose many people use that big black nut under the spline, but mine was loose when the machine arrived and I haven't messed with it since I tightened it.
I always felt that I was marring the spline with the wrench and knew that I would want something different soon . . . project!
I thought of a number of different options, but I kept thinking that it might be nice to have a wrench that fit the spline exactly and was of a softer material. I pictured casting some aluminum right around the spline, and copying the shape exactly. I don't mind projects that take awhile, and I love to play with various processes, so here is the path I took.
I built a little dam around the bottom of spline right where you see it in the photo. I then slid a steel pipe over the spline and filled the cavity with regular candle wax. The little wax mold slid right up and off the oily spline. I set the wax mold, which was about 1 1/4 inches long and open on both ends, into some sand just to gently hold it vertically (it was significantly thin-walled). Into this cavity now went some plaster of paris. Sorry, I don't have photos of this, I didn't know it was all going to work out the first time, I just thought I was playing with the materials.
After allowing the plaster to thoroughly dry (couple of days), I cleaned up the ends of what was now a core for the next pour.
I had a 1 1/2 inch lug wrench socket laying around because I had used the shaft of the star wrench from which it came to make a nice fly cutter. This I thought would make a nice outside surface for my wrench-to-be. The hexagon shape might give me future options for the handle that I had not thought of yet. So the lug is now the mold, and the plaster of paris, which is shaped like the spline, is my core.
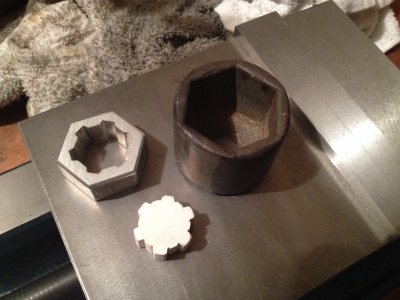
Here is the lug mold, the plaster core (not the piece I used, but a left-over piece) and the resultant future-wrench, which currently looks like a nut.
Here they are again, stacked up.
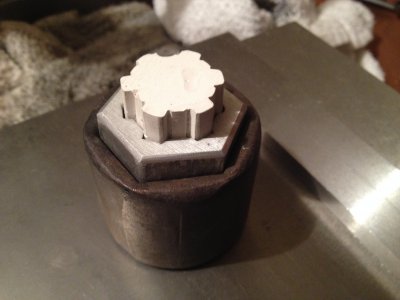
Do you have any ideas for a slick way to attach a handle to this? I would like to hear them.
CannonFodder (Bob)


 3
3I suppose many people use that big black nut under the spline, but mine was loose when the machine arrived and I haven't messed with it since I tightened it.
I always felt that I was marring the spline with the wrench and knew that I would want something different soon . . . project!
I thought of a number of different options, but I kept thinking that it might be nice to have a wrench that fit the spline exactly and was of a softer material. I pictured casting some aluminum right around the spline, and copying the shape exactly. I don't mind projects that take awhile, and I love to play with various processes, so here is the path I took.
I built a little dam around the bottom of spline right where you see it in the photo. I then slid a steel pipe over the spline and filled the cavity with regular candle wax. The little wax mold slid right up and off the oily spline. I set the wax mold, which was about 1 1/4 inches long and open on both ends, into some sand just to gently hold it vertically (it was significantly thin-walled). Into this cavity now went some plaster of paris. Sorry, I don't have photos of this, I didn't know it was all going to work out the first time, I just thought I was playing with the materials.
After allowing the plaster to thoroughly dry (couple of days), I cleaned up the ends of what was now a core for the next pour.
I had a 1 1/2 inch lug wrench socket laying around because I had used the shaft of the star wrench from which it came to make a nice fly cutter. This I thought would make a nice outside surface for my wrench-to-be. The hexagon shape might give me future options for the handle that I had not thought of yet. So the lug is now the mold, and the plaster of paris, which is shaped like the spline, is my core.

Here is the lug mold, the plaster core (not the piece I used, but a left-over piece) and the resultant future-wrench, which currently looks like a nut.
Here they are again, stacked up.

Do you have any ideas for a slick way to attach a handle to this? I would like to hear them.
CannonFodder (Bob)


