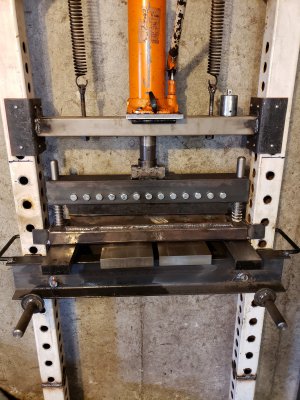
My Press Brake Build For My 16T Press Build

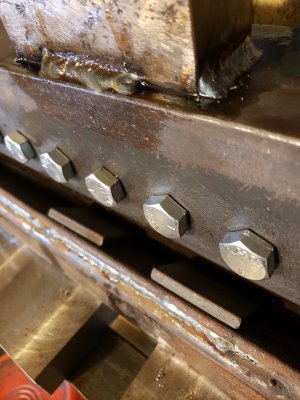
That is looking sweet. Why the extra piece of flat bar under the angle?
Robert
That is a filler to raise the top edges of the angle iron where I wanted it to be. The opening of the 2×4 tubing would have been right up to the sides. It would have not left an ideal place to put my weld bead.
 
  • Like
Reactions: rwm
that is pretty darn swish, that's for sure. A very handy addition without a doubt. It's on my (long) list of future projects, though most likely it'll wait until I need it for another project. I did make a mini-press brake to bend some rod into flat S shapes, that worked really nice.

If you might be doing repetitive work on it (say 4 or 5 plates bent to 50deg) it might be worth considering a work stop for locating the thing to be bent on the bottom die and another stop for press depth. Not really necessary, but if you do more than a couple of things the same way it'll help.
That is an excellent idea. The other thing that I want to do is, since the top blade will be a bolt on, make a few different size fingers to use for making box shaped bends. What I should have done is make a finger first to find my ideal angle, then make the full length die for the top. I may still do that, go ahead and make a finger and experiment with that. It will only be 3 bolts on and off instead of 13.
Love the HM think tank!
 
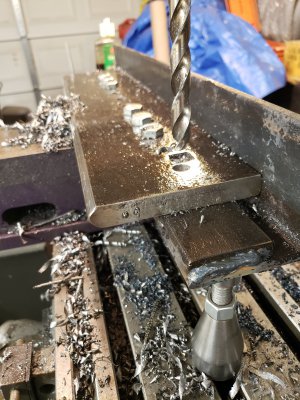
I just finished drilling thirteen 1/2" holes thru a lot of tough metal with a Harbor Freight cobalt drill bit with no sharpening. Just saying.
20200217_002238.jpg
Drilling @100rpm's
 
Last edited:
Finished the brake today!
First, with the top die having a 90* angle you can make a bend beyond 90*.
20200223_134444.jpg
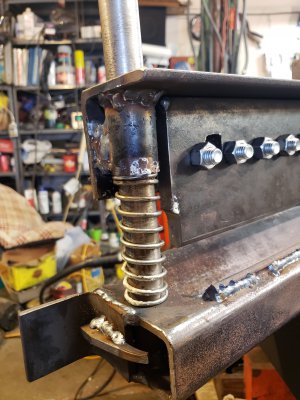
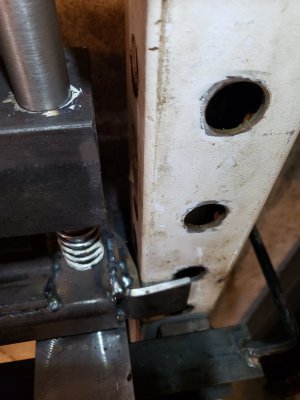
This is what I did so that the top die rides accurately on the alignment rods. The rods are .980 dia. The hole in the top of the top die is 1". The short tubes on either side of the top die are black iron pipe with flat washers welded to one end, then bored out to 1" and the outside cleaned up on the lathe. They provide guidance for the top die (or is it punch) as well as a place to properly preload the springs.
20200223_133723.jpg
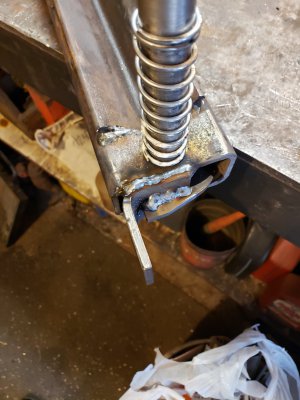
The finishing touch was to make these stops with spacers to align the brake under the ram just by putting it on the table.
20200223_133559.jpg
20200223_134016.jpg20200223_134057.jpg
Since the brake will bend past 90* I did a little experimenting. It turned out to be very easy to hit the mark. With 1/4 hot rolled flatstock just continue to apply pressure to the workpiece until it lifts off of the bottom die, just slightly.
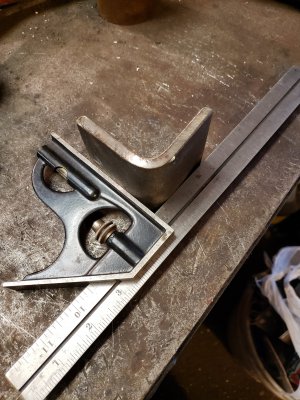
20200223_123441.jpg
These are the stops that you saw welded on both ends. They were bent to 90*, but I had to fine tune them after they were welded on.
 
Back
Top