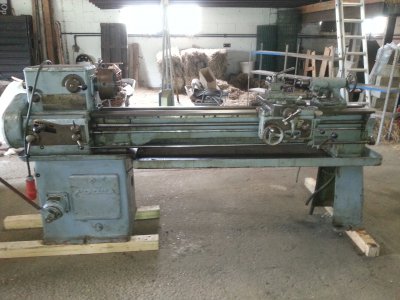
My second Mondiale lathe.

orjo

Active User
Registered
Joined
Jan 29, 2014
Messages
64
Because my first lathe, also a mondiale, has some problems at the spindle. I needed something else to be able to turn metal.

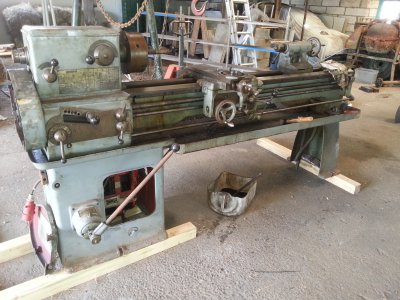
I found a other Mondial lathe with a vario. It is based at the early simplex lathes like mine but gear changes can be done with a vario brom about 27 rpm to 900 rpm.

This lathe was in pretty good condition but needed some repair work.
It is redy to use now.

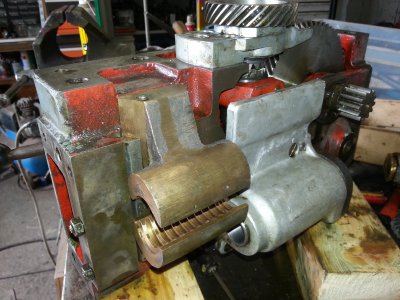
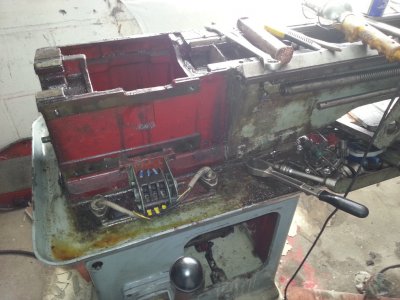
Here is a picture in the early repair proces.
2014-05-31 15.29.18.jpg
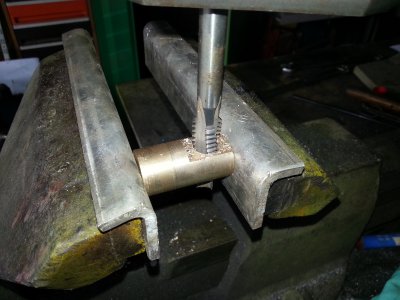
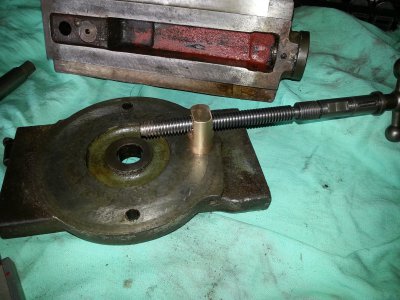
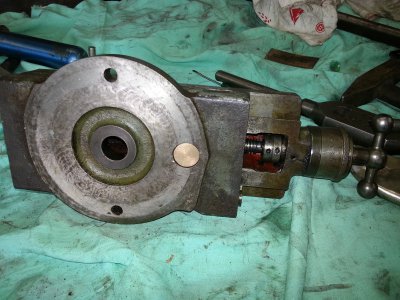
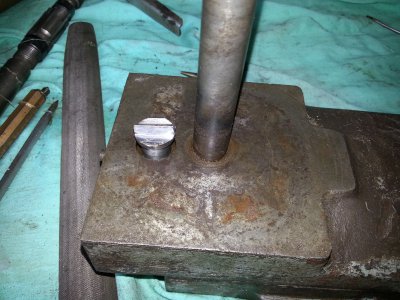
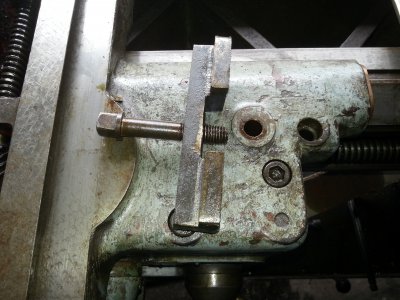
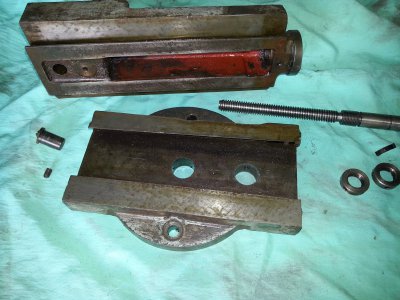
The lathe came with the compound rest welded. This was done because the screw was missing its nut.
This means that I had to fabricate a new one.
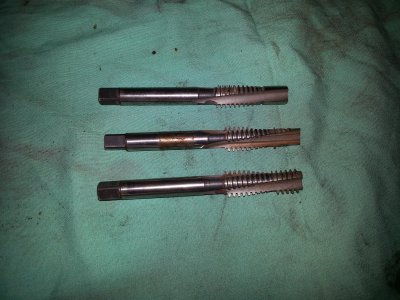
It was a trapizoidal tread of 13x2.5 mm. Since this was not a standard size it looked that I had to fabricate it myself.

But then I found a tap set for it , used but still in good condition and only for 10 Euro.
So the nut was made in no time and the compound is working again.
Here are some pictures.
2014-06-07 14.06.59.jpg2014-06-07 14.07.28.jpg2014-06-07 14.36.48.jpg2014-06-07 14.44.44.jpg2014-06-07 15.38.09.jpg

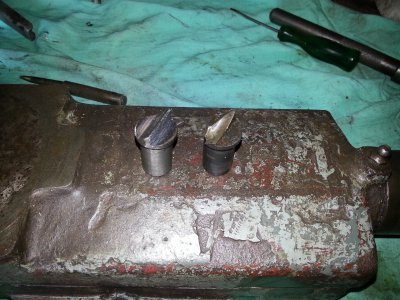
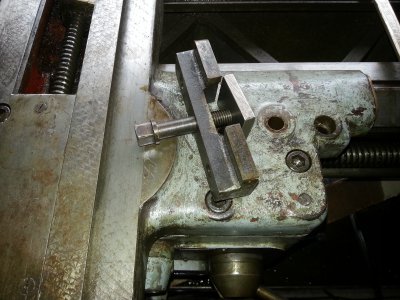
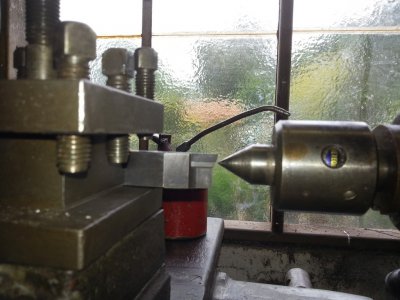
The toolpost on top of the compound needed some repair to.
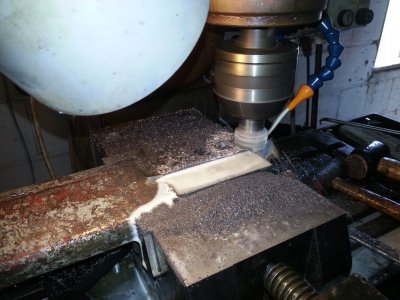
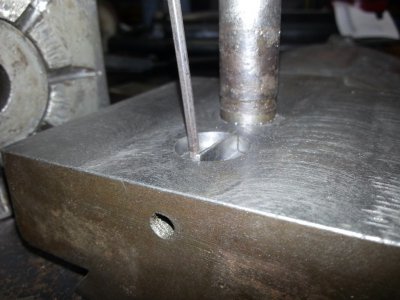
Somebody made one side bigger so he was able to mount a bigger tool. The haccking was apparently done with a grinder. That spot was flattend with the mill.

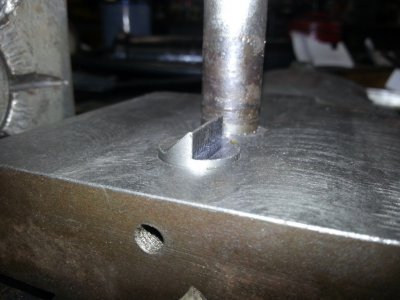
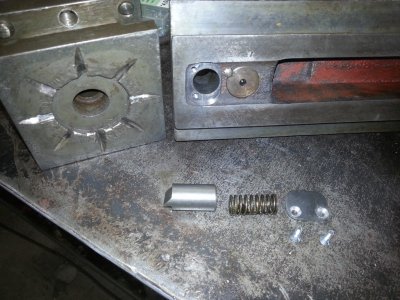
At the under side of the toolpost are some cuts that coorespond to a pin so it is more easy to put the toolpost at a 45° or 90° angle.
The part that was in the compound was broken and I made a new one, hardning and all.
Here are some pictures.
2014-06-08 11.59.26.jpg2014-06-08 11.59.36.jpg2014-06-08 12.21.16.jpg

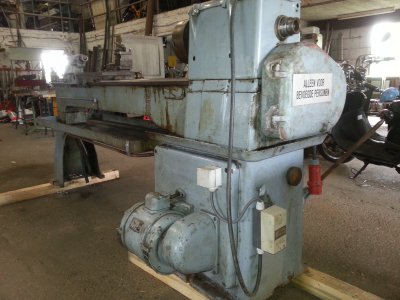
Then the lathe got a good cleaning to get rid of al the smudge that builded up over the years.
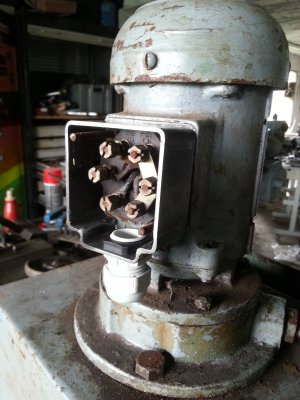
While cleaning I noticed that the wiring was al rotted from the oil.
So I changed al the wires and installed a Thermical conductor.

Now the lathe is ready to be installed at the places where my other lathe is standing.
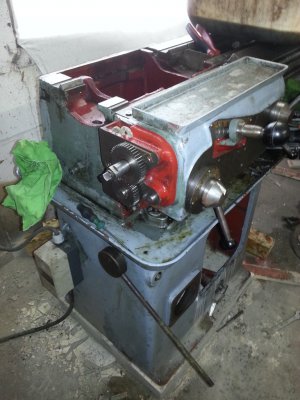
Here are some pictures of the lathe now.
2014-06-15 12.15.20.jpg2014-06-15 12.16.16.jpg

I can't wait until it is in place.
2014-05-31 15.29.18.jpg 2014-06-07 14.06.59.jpg 2014-06-07 14.07.28.jpg 2014-06-07 14.36.48.jpg 2014-06-07 14.44.44.jpg 2014-06-07 15.38.09.jpg 2014-06-08 11.59.26.jpg 2014-06-08 11.59.36.jpg 2014-06-08 12.21.16.jpg 2014-06-15 12.15.20.jpg 2014-06-15 12.16.16.jpg
 
Nice job, that's a hell of a lathe. What are you going to do with the first one when you've fixed it up?
 
Nice job, that's a hell of a lathe. What are you going to do with the first one when you've fixed it up?

The first lathe will also be used after I have repaired it.
It might be that I will make some modifications to it, I'm not sure yet.
I'll leaf a message wen I start repairing it.
 
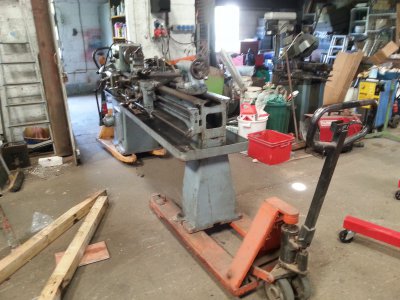
Today I got my new lathe in place.
2014-06-22 11.49.33.jpg2014-06-22 11.52.50.jpg2014-06-22 12.21.12.jpg

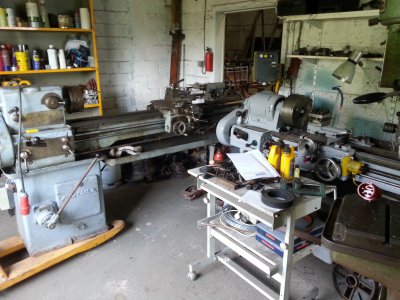
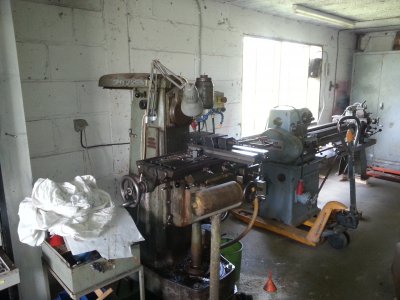
As you can see its next to my Jaspar Mill in front of the window.
And I did it all alone , no help from nobody.

All that needs to be done is mark the holes on the floor , drill them and get the lathe level.
On the trid picture you can see my other lathe. First I planed to remove it and put the new one on its location. But since I will not sell it I left it in place. It will be repaired in time.
2014-06-22 11.49.33.jpg 2014-06-22 11.52.50.jpg 2014-06-22 12.21.12.jpg
 
The lathe is in place now and connected to the power outlet. 380 v 3 phase by the way.
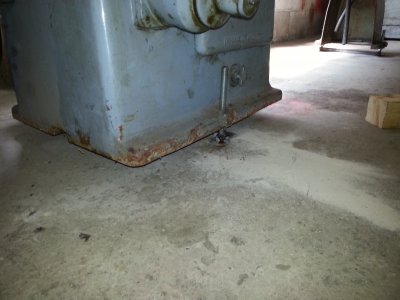
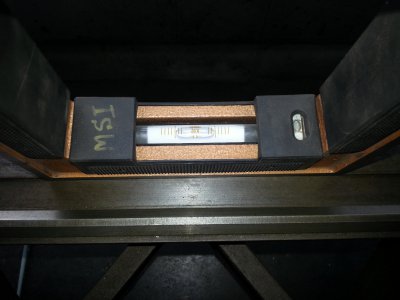
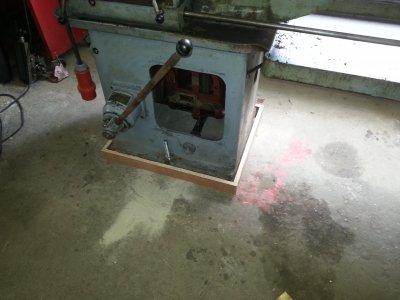
I had some MKD bolts from Hilti boered in the concreet floor. Then mounted the late in place wit 4 M16 struts. Leveled the lathe and pored some fast drying concreet arround the base after i made a little mold.

2014-06-24 13.55.35.jpg2014-06-24 14.18.25.jpg2014-06-24 14.49.59.jpg2014-06-24 15.27.56.jpg

After a few days i removed the mold and tieded the bolts down.
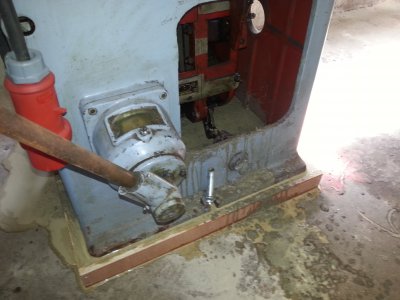
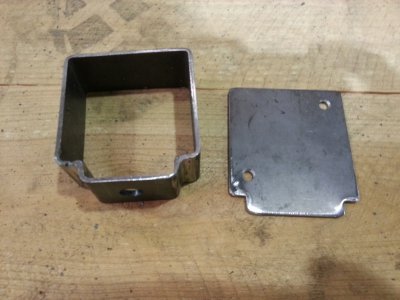
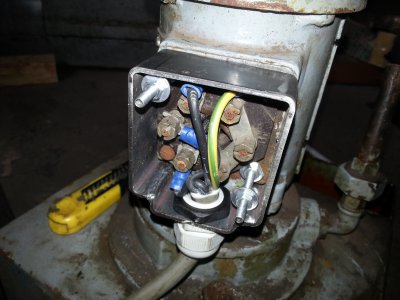
The I made a small case for the coolend pump, the original case was missing. The next step was connecting the wires to the pump and put the pump at its final place.
2014-07-11 09.43.46.jpg2014-07-11 15.40.48.jpg2014-07-12 12.58.55.jpg

I then lubricated the lathe and gave it a trial run.
When turning without the tailstock at the center of the stock there was a heavy vibration. The nut for the spindle play was loose. After tieing it down is was better but not ok.
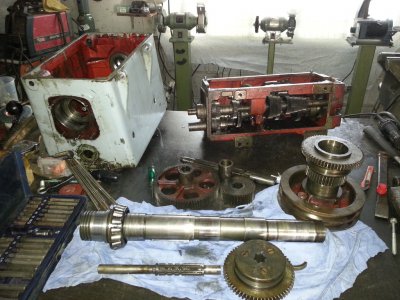
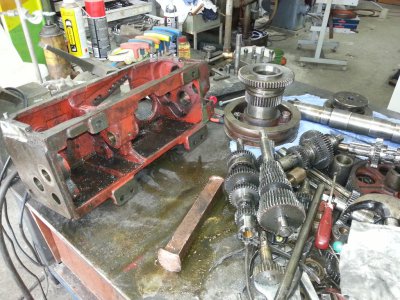
Then I noticed that the bolt near the cross slide for holding the cariage in blace was loos there was missing a part. Because of that failure I decided to take the lot appart.
This way I would be sure it was running ok and could give a good cleaning.

When turning I also noticed that i was not able to put tools of 20x20 mm in the tool post it only accepted tools from 16x16 and since most of my tools are 20 x 20 I will change that to.

2014-07-12 15.29.32.jpg2014-07-12 15.35.31.jpg2014-07-12 17.04.54.jpg2014-07-13 13.02.31.jpg2014-07-13 13.02.46.jpg2014-07-13 13.55.23.jpg2014-07-13 14.10.05.jpg

The apron and cross slide are back in place and so is the missing part. It only was a small plate with a tapped hole of M12.

I decide to mill 4 mm from the top of the Tool post so I could used my 20x20 tools.

But that will be for the next time.

2014-06-24 13.55.35.jpg 2014-06-24 14.18.25.jpg 2014-06-24 14.49.59.jpg 2014-06-24 15.27.56.jpg 2014-07-11 09.43.46.jpg 2014-07-11 15.40.48.jpg 2014-07-12 12.58.55.jpg 2014-07-12 15.29.32.jpg 2014-07-12 15.35.31.jpg 2014-07-12 17.04.54.jpg 2014-07-13 13.02.31.jpg 2014-07-13 13.02.46.jpg 2014-07-13 13.55.23.jpg 2014-07-13 14.10.05.jpg
 
Looks like a nice machine, and that you are capable of giving it the attention it needs. I'm still looking for something that size to do jobs my little Atlas isn't up to. Mike
 
Hey,
It's been a while since my latest post in this, there was a lot of work done since then.


Here we go.


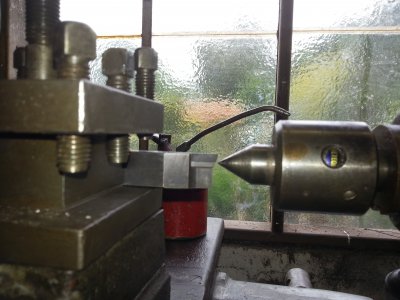
Last time I told that the tool-post would not allow to mount tools that are 20 mm thick.
Here is the picture that I took then.
2014-07-12 15.29.32.jpg2014-07-13 14.56.13.jpg


I disassembled the tool-post and put it in my mill and took 4 mm of the top. That would be enough after the measurements I took. 1 side had a part that was cut back a few mm, I made the cut back to 5 mm so now I can install tools that are 25 mm high. You never know when you find some tool that you just got to have. Here are some pictures.
2014-08-17 15.34.07.jpg2014-08-17 15.35.20.jpg2014-08-17 15.35.31.jpg


Then th next thing I did was to change the locater pin of the post.
I converted it to work with a spring. So now if I need to change the angle of the tool, I do not need to turn the bolt loose all the way. Since it is spring loaded it will go down and pop up. Work like a charm.


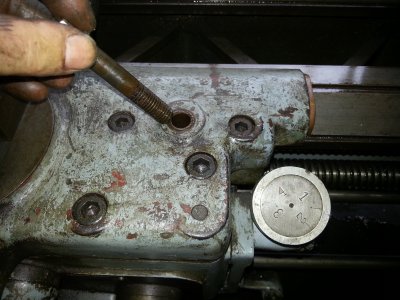
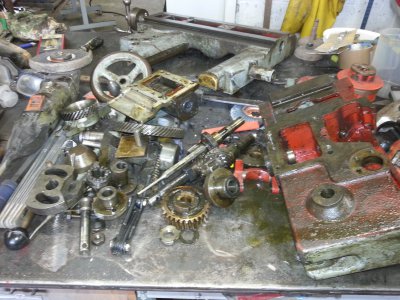
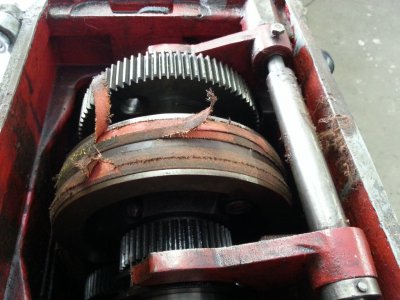
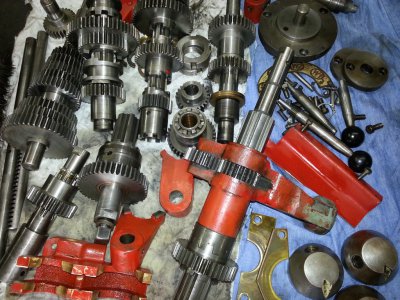
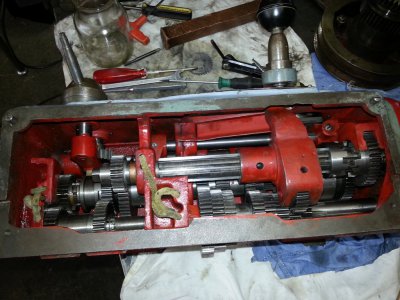
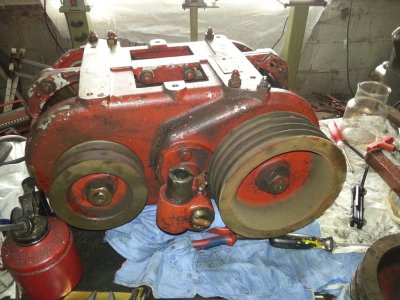
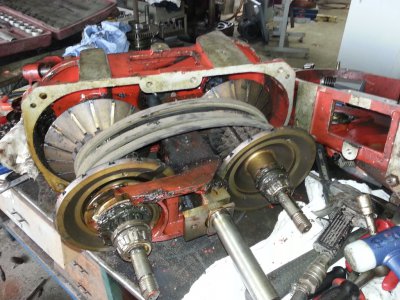
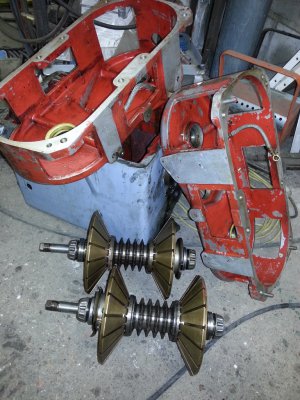
The next that was done was changing the belts of the Spindle. They where coming loose. In doing that I noticed that there where some loose parts laying around in the gearbox. So in order to be on the safe side I took it all apart.
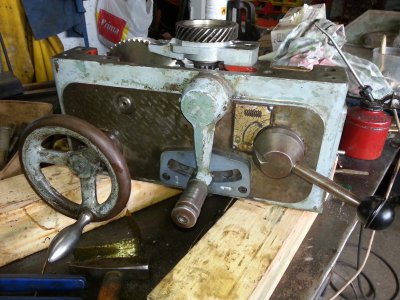
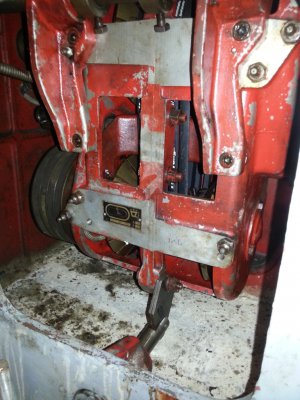
The Spindle came out, that was necessary in order to mount the new belts, the box holding the spindle was taken off and apart. The gearbox was taken of the frame and fully disassembled, cleaned and put back together again. The Variator was taken out the frame and disassembled, cleaned, new belt where put on and reassembled.
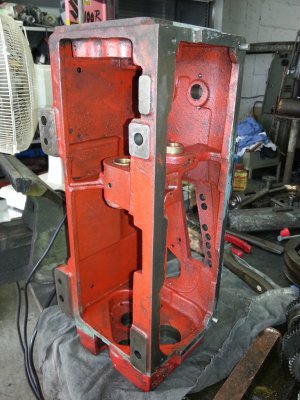
Then the inside of the frame was cleaned and everything was mounted again. I then looked for the right oils to lubricate it. Adjusted the belts and started her up again.
2014-07-18 14.37.24.jpg2014-07-18 16.33.22.jpg2014-07-18 16.33.33.jpg2014-07-19 10.02.28.jpg2014-07-19 10.18.01.jpg2014-07-19 11.36.27.jpg2014-07-19 16.29.51.jpg2014-07-20 12.17.08.jpg2014-07-20 12.45.42.jpg2014-07-21 16.22.42.jpg2014-08-02 13.19.23.jpg2014-08-02 13.19.34.jpg


The few loose parts I found where spare parts that fell in and where not removed by the previous owner.


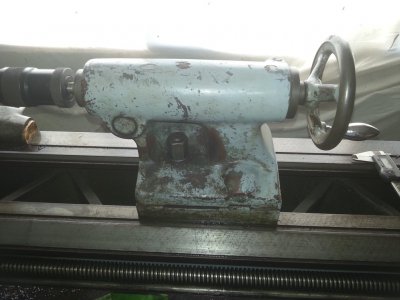
I already made some small parts on the lathe, it's working good but there are some issues that still have to been taking care off. The cooling pipes have to be made (about half way done) and the Tailstock assembly needs to be repaired. When you try to bore a hole in the center the handle is turning in the wrong direction. Apparently it has been rebuild by the previous owner and the treads where replaced by right turning treads instead of left ones.
2014-10-01 13.28.26.jpg2014-10-01 13.28.44.jpg2014-10-01 13.29.02.jpg


That's it for now.

2014-07-12 15.29.32.jpg 2014-07-13 14.56.13.jpg 2014-08-17 15.34.07.jpg 2014-08-17 15.35.20.jpg 2014-08-17 15.35.31.jpg 2014-07-18 14.37.24.jpg 2014-07-18 16.33.22.jpg 2014-07-18 16.33.33.jpg 2014-07-19 10.02.28.jpg 2014-07-19 10.18.01.jpg 2014-07-19 11.36.27.jpg 2014-07-19 16.29.51.jpg 2014-07-20 12.17.08.jpg 2014-07-20 12.45.42.jpg 2014-07-21 16.22.42.jpg 2014-08-02 13.19.23.jpg 2014-08-02 13.19.34.jpg 2014-10-01 13.28.26.jpg 2014-10-01 13.28.44.jpg 2014-10-01 13.29.02.jpg
 
Here's un update .

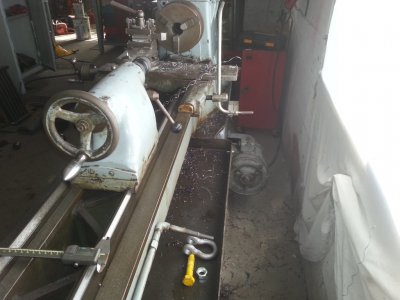
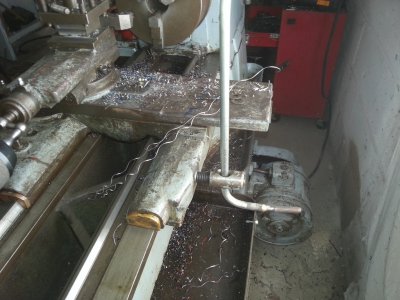
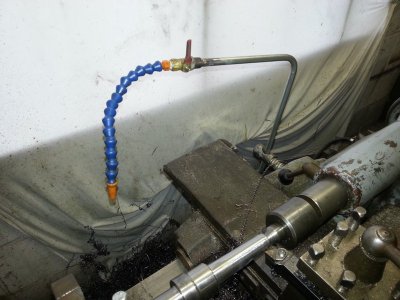
I got time and installed the cooling system on my lathe.
2015-01-03 14.26.26.jpg

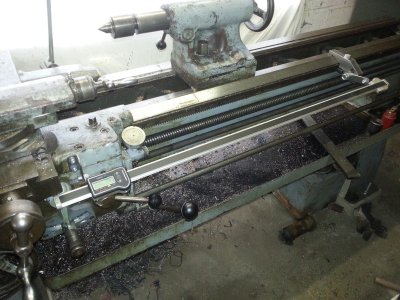
I also installed a cariage stop and caliper with travel of 800mm on the lathe.
2015-01-02 12.27.31.jpg
This makes live so much easier, since lever of the carriage has no indicator.

The lathe is now fully running and i'm very pleased with it.

2015-01-03 14.26.26.jpg 2015-01-02 12.27.31.jpg
 
Very nice job on the lathe. Do you take digital pics of the assemblies as they are coming apart to keep track of where everything goes? Mike
 
I took some pictures for knowing wich peace went where. But most of the time the pictures where taken because I knew that they would end up here on the forum.

When I take something appart, I mostly now what went where. I've been doing it this way for more then 30 years.
 
Back
Top