
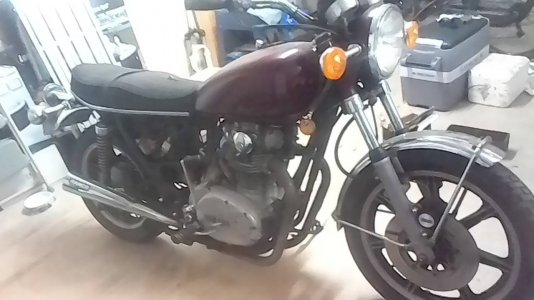
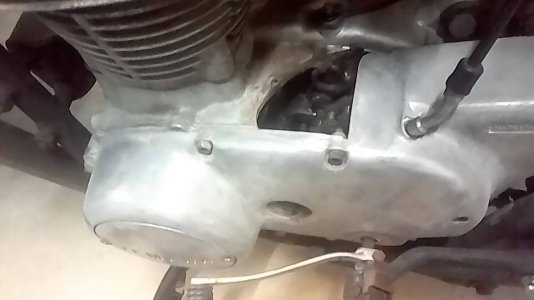
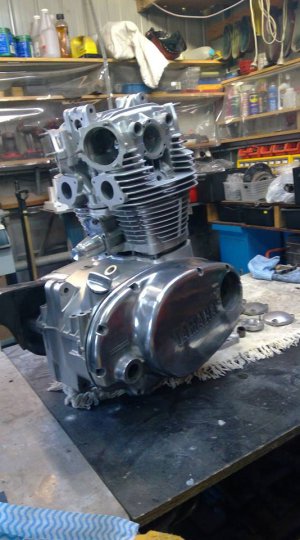
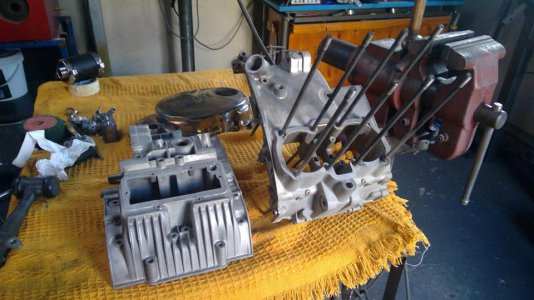
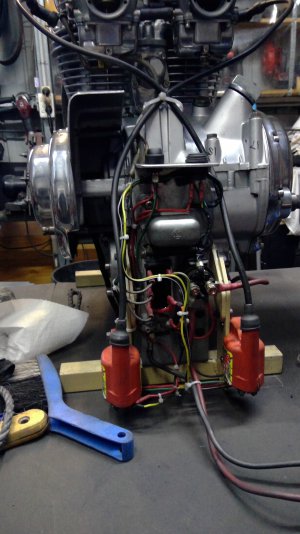
New project, a bike with a motor this time, I’ve been working on this for a while so done quite a bit so far. It’s been 20 years since I sat or worked on a bike, last one was a Triumph Bonny, they just cost too much these days so I settled for a 74 TX650 wreck and boy did it turn out to be a wreck. I have psoriatic arthritis so I’ve largely lost the use of my hands but I manage a few hours work on it every day. I’ll never be able to ride it thanks to the PsA so this will be a long term project: Every nut, bolt spoke, piece of steel was rusted through. Inspection also revealed the chain had come off at same stage, as well as removing the top section of the crankcase as in the picture, it also tore the top section of the gearbox drum shifter bearing housing off. After tearing the engine apart I sent off for a second hand set of crankcase.
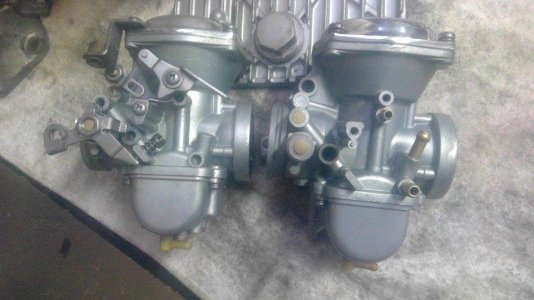
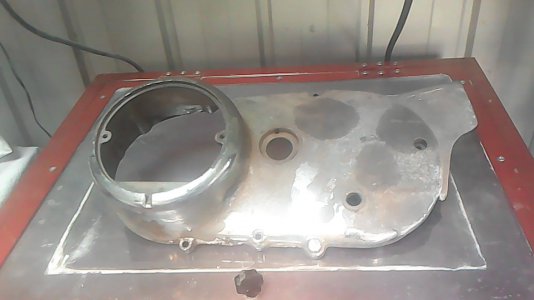
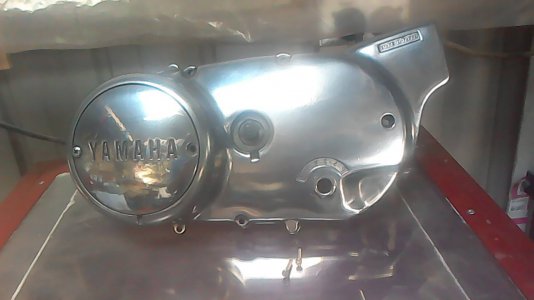
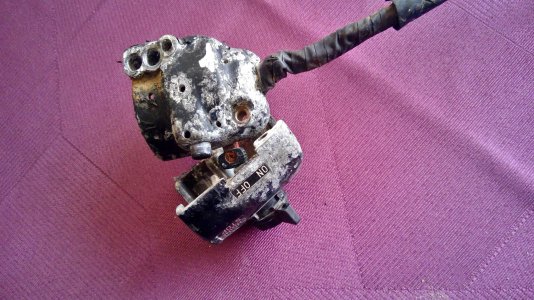
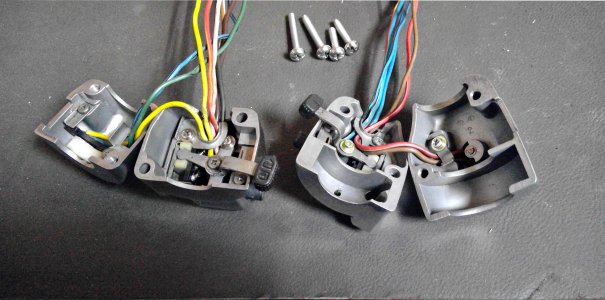
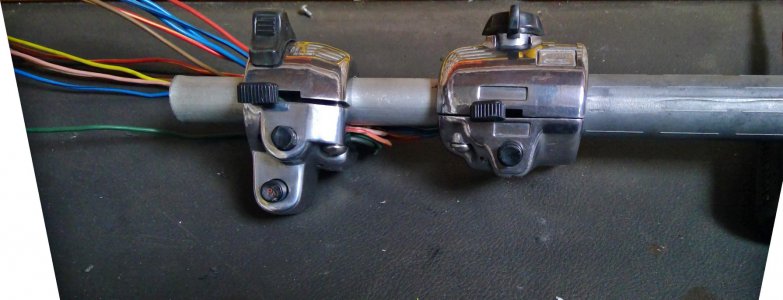
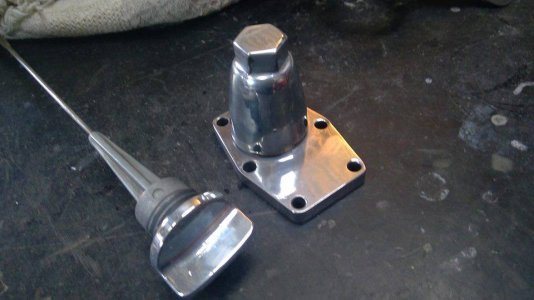
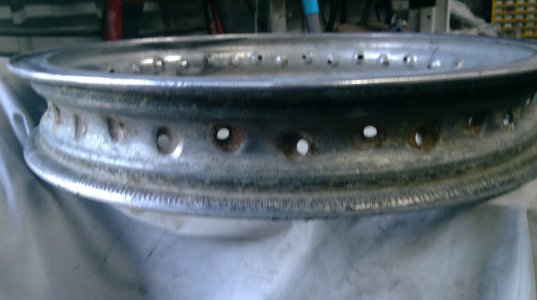
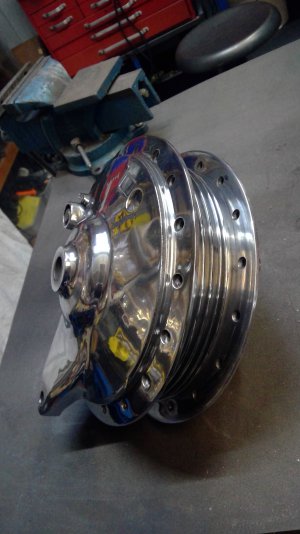
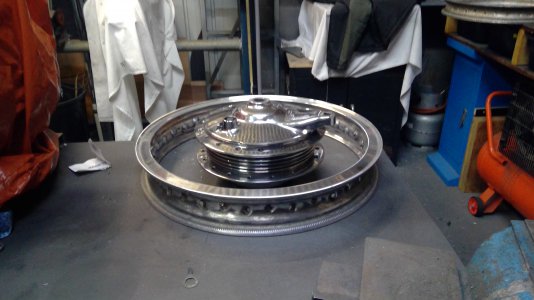
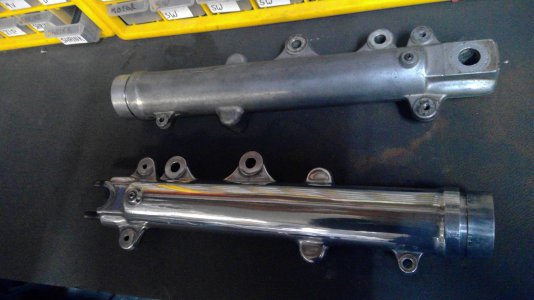
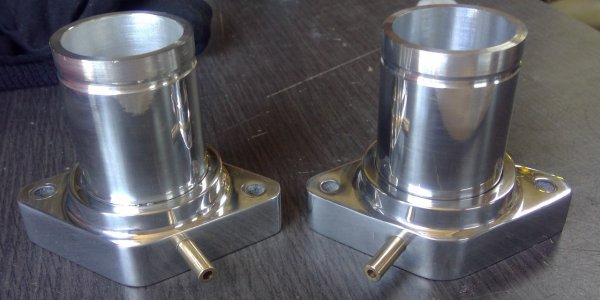
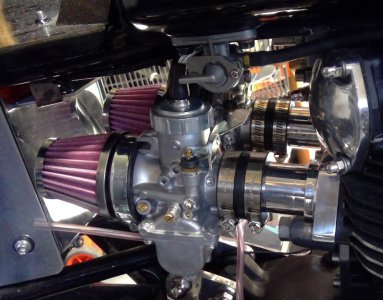
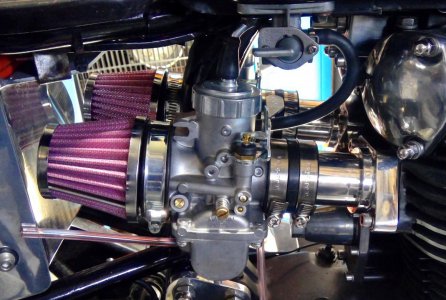
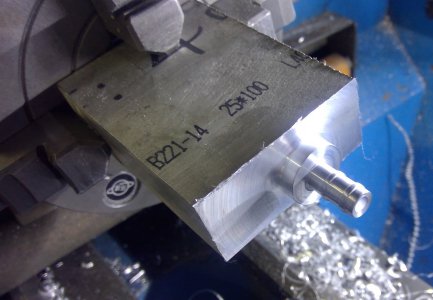
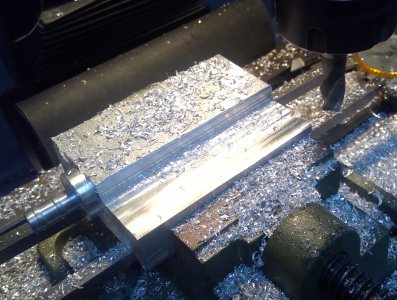
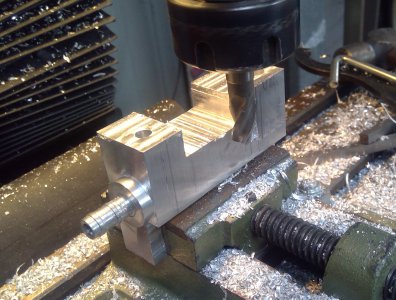
The bike came with an extra set of carbs, mag wheels and a pair of spoked wheels and a box of assorted bits and pieces. While I was waiting for the cases, I cut the rusted spokes off the wheels, stuck the hubs on the lathe, trued up the castings and then polished them using cloth wheels and progressively finer compounds. The rims, which were badly damaged from tyre irons and badly pitted from oxidisation, were repaired, ground and polished. While on a polishing kick I also polished the top triple tree, lower fork sliders, brake backing plate, brake fluid distributor, brake master cylinr and also bead blasted the switches and polished them up. Polishing on the buffer machine really hurts my hands so I have to loop a roop around my neck, tie it to the item to be polished to support it and then polish. It took quite a while to do the polishing as I could only manage an hour or under each day, any more and I’d be laid up recouperating for a few days. A very painful job for me, polishing. Some pics of the journey:
The bike came with an extra set of carbs, mag wheels and a pair of spoked wheels and a box of assorted bits and pieces. While I was waiting for the cases, I cut the rusted spokes off the wheels, stuck the hubs on the lathe, trued up the castings and then polished them using cloth wheels and progressively finer compounds. The rims, which were badly damaged from tyre irons and badly pitted from oxidisation, were repaired, ground and polished. While on a polishing kick I also polished the top triple tree, lower fork sliders, brake backing plate, brake fluid distributor, brake master cylinr and also bead blasted the switches and polished them up. Polishing on the buffer machine really hurts my hands so I have to loop a roop around my neck, tie it to the item to be polished to support it and then polish. It took quite a while to do the polishing as I could only manage an hour or under each day, any more and I’d be laid up recouperating for a few days. A very painful job for me, polishing. Some pics of the journey:
Attachments
-
 yambarn.jpg88.1 KB · Views: 769,559
 -
 casehole.jpg58.7 KB · Views: 146
 -
 carbs1.jpg70.8 KB · Views: 104
 -
 cover.jpg61.4 KB · Views: 90
 -
 cover2.jpg60.1 KB · Views: 98
 -
 engine.jpg77.8 KB · Views: 101
 -
 electric1.jpg148.4 KB · Views: 99
 -
 switch.jpg530.7 KB · Views: 100
 -
 switch1.jpg672.8 KB · Views: 96
 -
 switch 5.jpg409.8 KB · Views: 89
 -
 switch 4.jpg189 KB · Views: 86
 -
 cases 1.jpg86.3 KB · Views: 82
 -
 dipcam.jpg55.6 KB · Views: 80
 -
 rim.jpg216.8 KB · Views: 83
 -
 WIN_20190808_17_09_25_Pro.jpg574.2 KB · Views: 85
 -
 WIN_20190808_17_04_49_Pro.jpg1.9 MB · Views: 86
 -
 sliders.jpg362.8 KB · Views: 86
 -
 WIN_20190811_17_41_04_Pro.jpg653.3 KB · Views: 105


")