- Joined
- Oct 4, 2011
- Messages
- 727
So I picked up this nice Parker Majestic surface grinder from a friend almost 2 years ago. It sat in the corner of the garage portion of the shop for a year before I got the courage to try and move it. Not sure the exact weight but a 1 ton lift will not budge it. Ended up moving it on steel bar stock. Took about 2 hours to get 30 feet and get it sat in the right location. There it sat for almost a year more till I got back around to it.
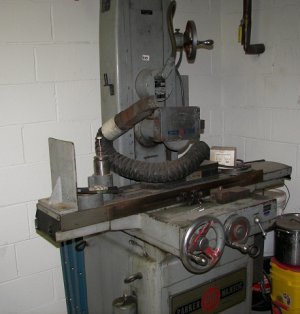
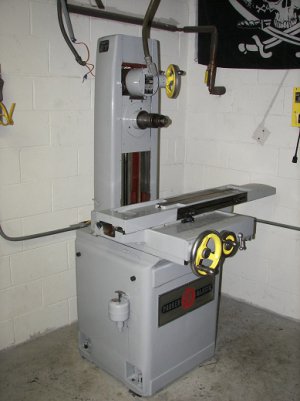
So over the last month I striped it down, degreased it, and painted everything.
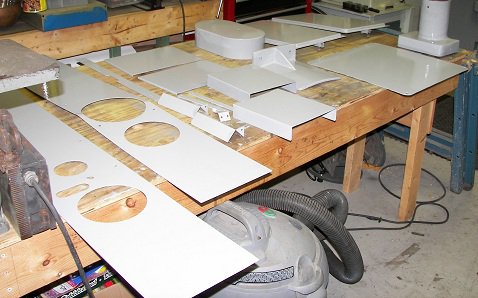
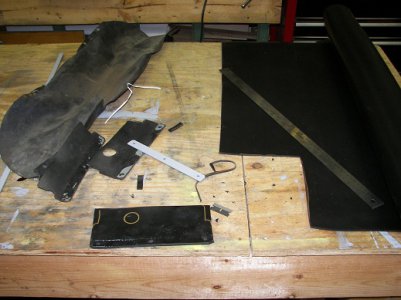
New way covers were cut out of .125" rubber sheet. If I had to do it again I would go with a little thinner rubber.
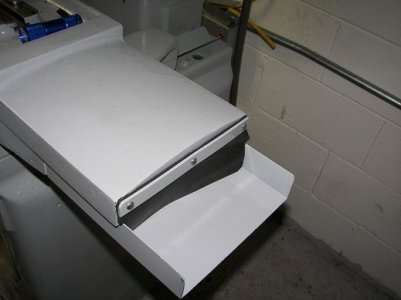
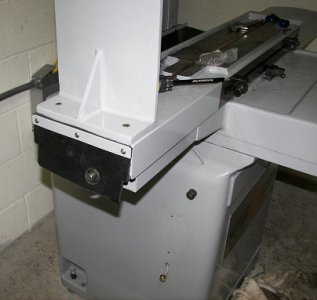
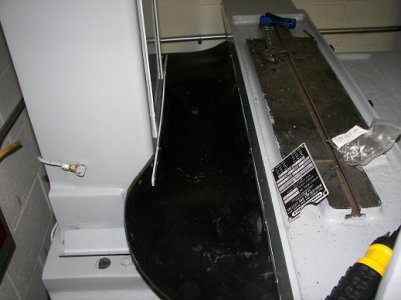
Next put everything back together. I replaced all of the little button head screws that hold most of the parts on with new stainless ones. Was just a few bucks for a box of 100 and it looked cool.
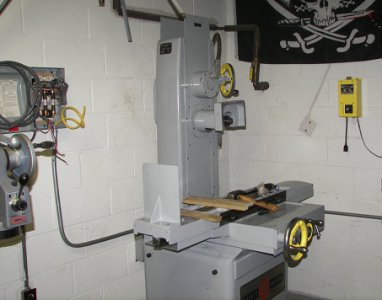
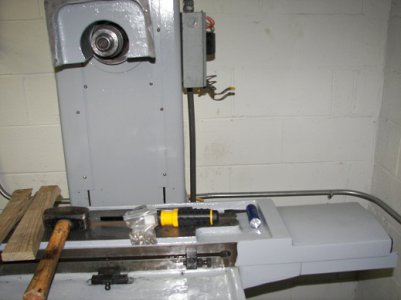
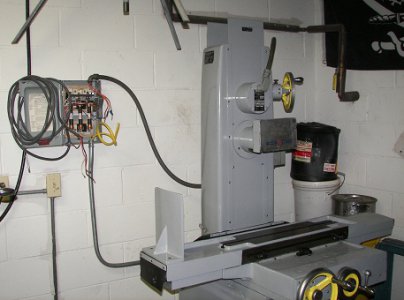
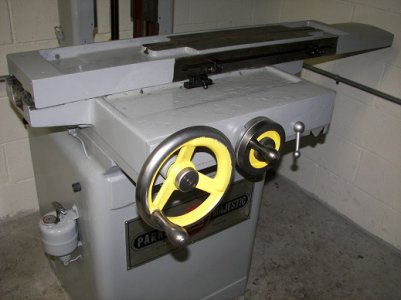
Of course this is the point where I figure out that the lube system is clogged. So everything comes back off. Then all the little copper tubes are disconnected and cleaned with K1 and compressed air. The hand pump is cleaned and new filters added. Now everything flows great and its put back together. You can see the repainted yellow hand pump just below the table.
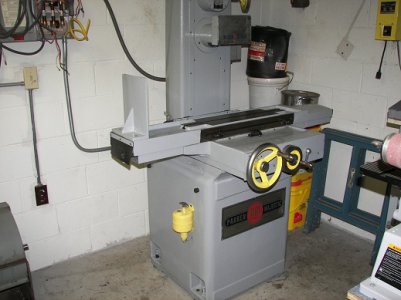
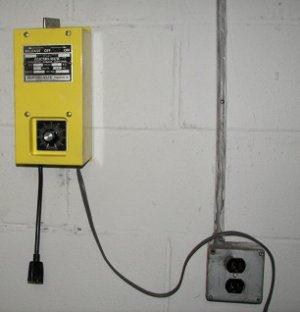
The magnetic chuck that came with it worked great. So of course I had to pull it apart. :whistle: Originally it was mounted on the right side of the base just below the table. Handy for the controls but all the cutting fluid, oil, and dust went right into the control box. When I got it apart the top switch was packed full of dirt and oil. Took a full can of contact cleaner to clean it out. Replaced the springs in the switch, redid several solder joints that were bad on the board, and painted the box. While I had it apart I added a disconnect between the chuck and the control box. Mounted the control box on the wall to right of the machine out of the way of oil and stuff.
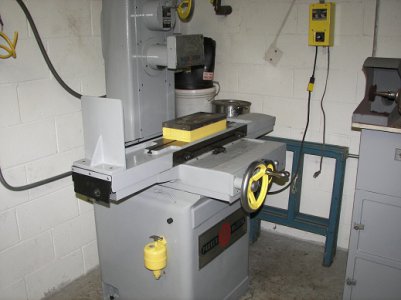
Last step was to do the 3 phase inverter for it. I ordered a phase-o-matic heavy duty one rated for up to 1.5 horse. The grinder is a 1 horse motor. I have that hooked up and the grinder runs. Right direction and everything, but you can tell the horse power loss from the static inverter. Next step is to add a idler motor to the inverter to essentially make it a rotary inverter. Hope to do that part in next few days. But as it sits now I surfaced a small block of tool steel with great results. I will post how I hooked up the final inverter (if it works :thinking when I get it done.
Jeff


So over the last month I striped it down, degreased it, and painted everything.


New way covers were cut out of .125" rubber sheet. If I had to do it again I would go with a little thinner rubber.


Next put everything back together. I replaced all of the little button head screws that hold most of the parts on with new stainless ones. Was just a few bucks for a box of 100 and it looked cool.


Of course this is the point where I figure out that the lube system is clogged. So everything comes back off. Then all the little copper tubes are disconnected and cleaned with K1 and compressed air. The hand pump is cleaned and new filters added. Now everything flows great and its put back together. You can see the repainted yellow hand pump just below the table.

The magnetic chuck that came with it worked great. So of course I had to pull it apart. :whistle: Originally it was mounted on the right side of the base just below the table. Handy for the controls but all the cutting fluid, oil, and dust went right into the control box. When I got it apart the top switch was packed full of dirt and oil. Took a full can of contact cleaner to clean it out. Replaced the springs in the switch, redid several solder joints that were bad on the board, and painted the box. While I had it apart I added a disconnect between the chuck and the control box. Mounted the control box on the wall to right of the machine out of the way of oil and stuff.


Last step was to do the 3 phase inverter for it. I ordered a phase-o-matic heavy duty one rated for up to 1.5 horse. The grinder is a 1 horse motor. I have that hooked up and the grinder runs. Right direction and everything, but you can tell the horse power loss from the static inverter. Next step is to add a idler motor to the inverter to essentially make it a rotary inverter. Hope to do that part in next few days. But as it sits now I surfaced a small block of tool steel with great results. I will post how I hooked up the final inverter (if it works :thinking
Jeff


 You did an awesome job and your gonna love it. You may want to make some plexi side shields cause the coolant splashes everywhere. Again very nice & I'm jealous