- Joined
- Feb 14, 2020
- Messages
- 166
Howdy everyone. So I'm 90% of the way homefree on the Bridgeport machine that I've been posting about in the Newbie and the Bridgeport thread. Should have the machine wrapped next week and move on to getting a VFD installed and will be ready to make some glorious chips.
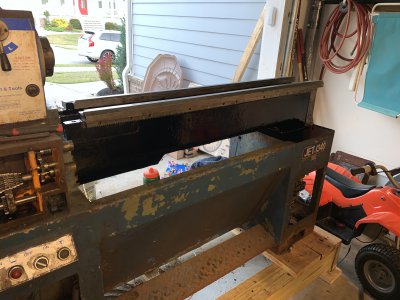
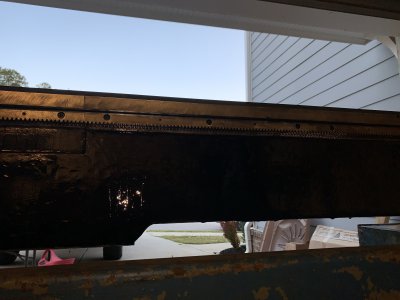
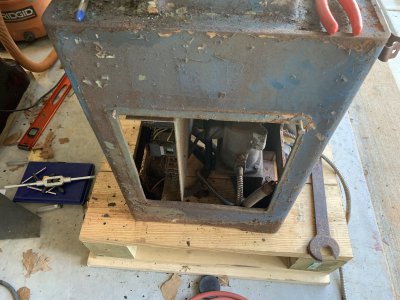
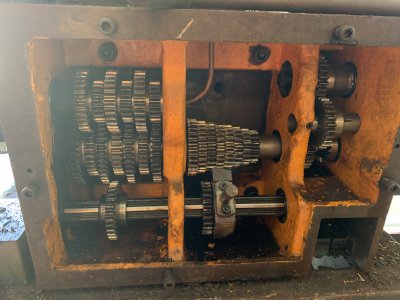
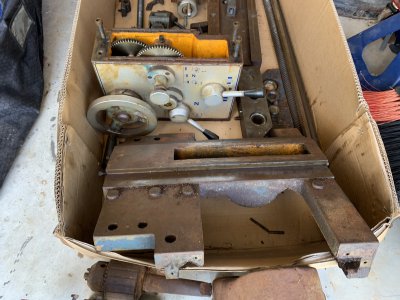
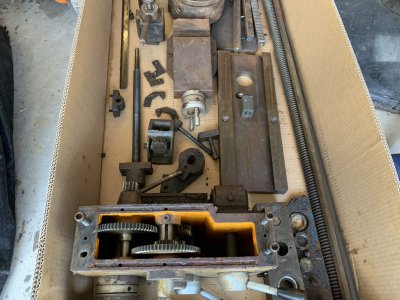
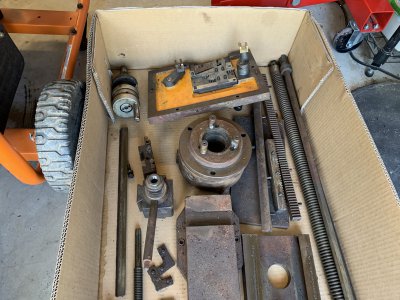
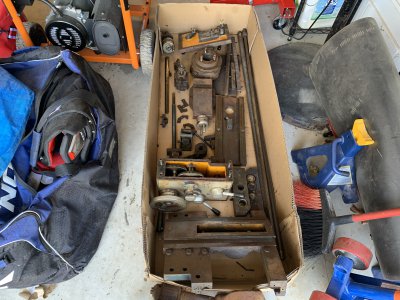
With some down time today I thought to myself, "self...you should take apart that lathe and not waste time". So I embarked. This JET 1340 lathe came from the same food processing plant as the bridgeport and was neglected. That said, all of the ways look to be in REALLY good condition after hitting them with some kerosine and a soft brush to see what's under there.
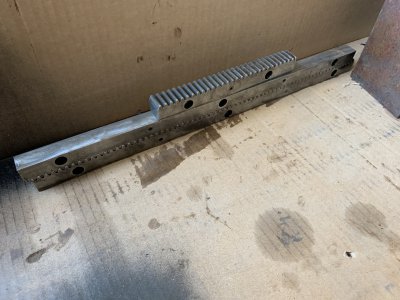
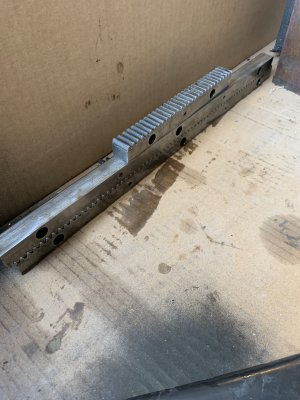
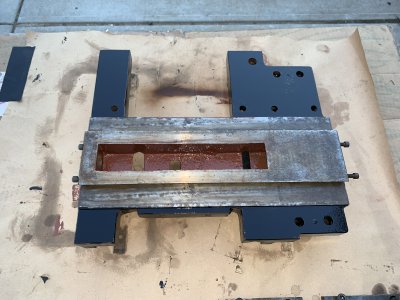
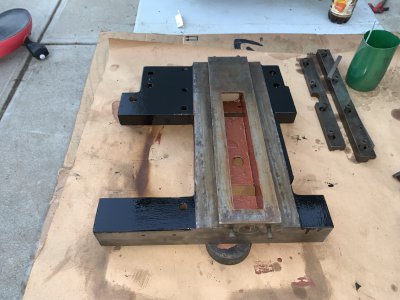
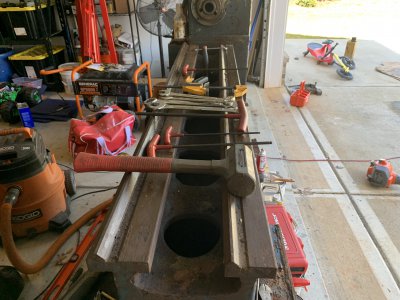
In the matter of 2 hours I had the chuck and backing plate off, all the doors/covers, front plate of the threading gear box, pulled the lead screw, feed rod, clutch shaft, tool post, compound slide, apron, carriage, and tailstock. Despite the condition of the machine, nothing was too challenging to get moving. And with a nice dose of way oil, she slid really well. Took the 3-piece rack off the bottom of the bed as well. Got everything in a box and will start digging in to each part individually clean and ensure it's fully operational.
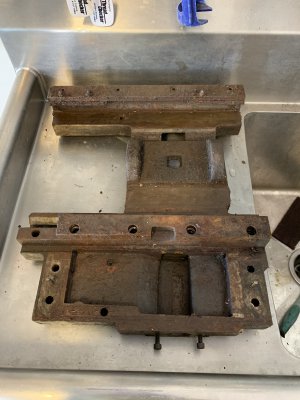
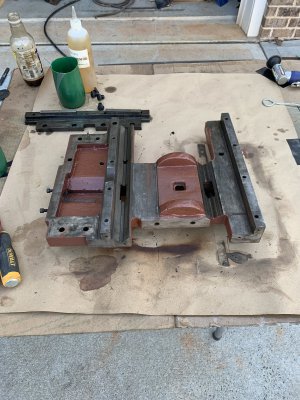
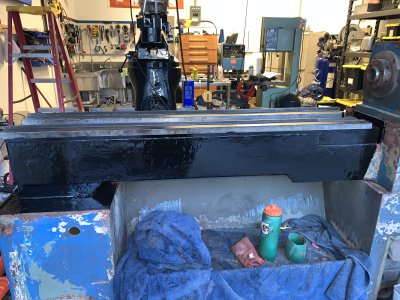
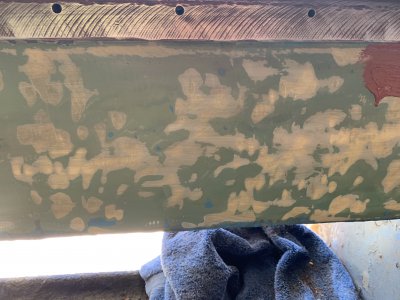
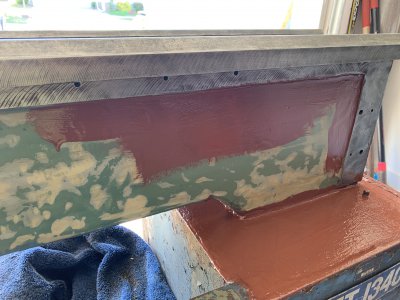
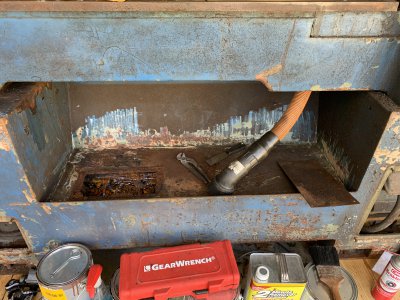
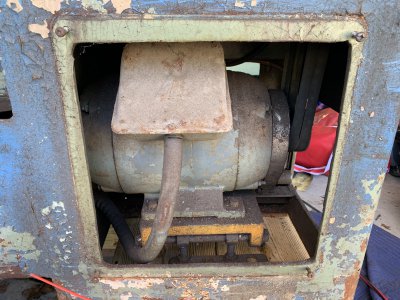
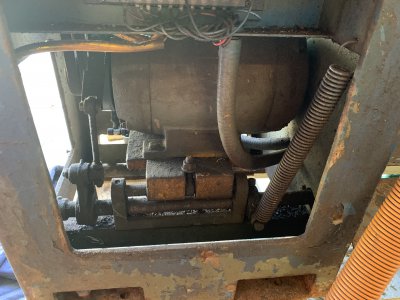
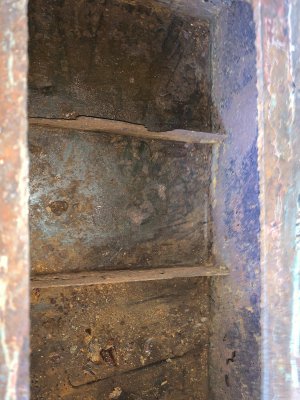
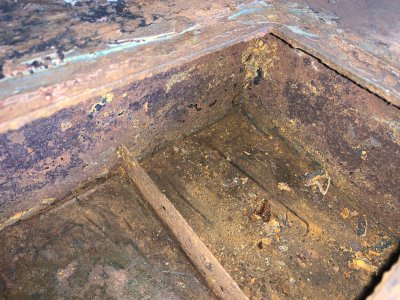
Based on another thread I started about the electric aspect of this machine, I think I'm going to replace the single phase motor with a 3-phase to operate it with a VFD. I cleaned out the chip pan well and got down in to the collection basin for coolant. That was where I found what nightmares are made of. Looked like a cave of hellish stalagmites. Luckily they just chipped off and came out with the shop vac. I did notice some holes in the collection basin where it's rusted through, so that will definitely be a project I need to fix. It looks like it was built and then just tack welded to the frame underneath. So as long as I can break those tacks and pull it out in 1 piece, I should have an excellent template to build a new collection basin and will probably do that from stainless steel to avoid corrosion in the future. The whole thing is going to need to be freshened up with a coat of paint after stripping the old one. And similar to the BP, i'll go glossy black on this machine as well.
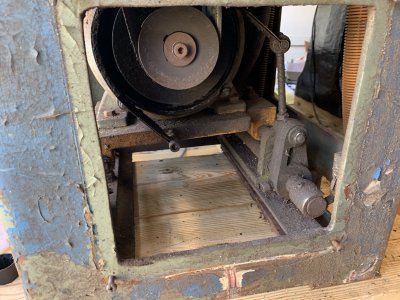
I've had the machine running and it sounds bad, but I'm fairly certain I've isolated that to a really loose/banging around brake assembly. I think it's making contact wit the belt as it rotates and is getting banged around. When I pull the motor, I'll get that dialed in.
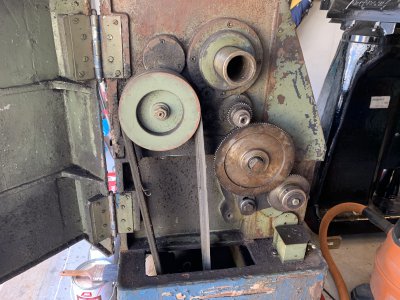
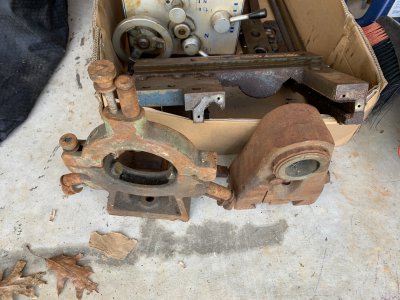
I think my main concern at this point is sourcing parts....or I'll have to make them. One is the cross feed screw, it was worked hard and shows some significant wear. I can probably just use this machine to turn a new one once I get it back up and running. I've never turned acme threads, but theres a first time for everything. The wipers came off as just a piece of plastic. I was expecting to see some type of aluminum wiper bracket with some felt behind it, but not the case.
Anyhow, that's it for now. I'll keep updating this thread as I creep along with the project. Next step is two-fold. Start dunking parts in evaporust and getting them cleaned up and begin the process of stripping all the paint off the machine and giving it a new coating.
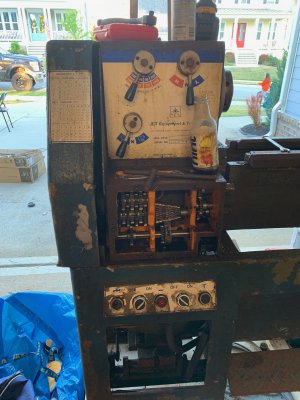
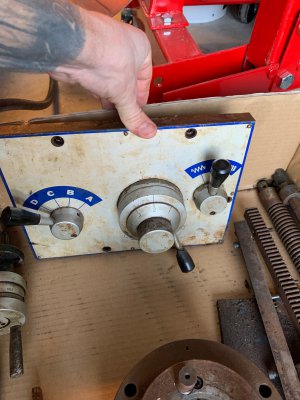
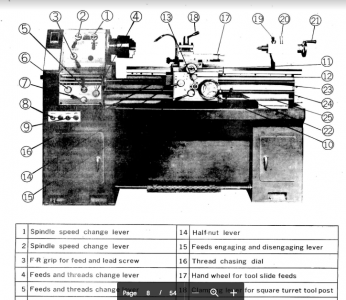
Also, I'm calling this thing a JET 1340A, but I dont even know if that's correct. I bought a manual from one of those companies that sells them and what I received was almost a match for my machine, but not the exact one. The one in the manual is referred to as a JET 1340T - J170. The difference is, mine only has 3 levers on the gearbox and the one pictured as 4. Otherwise it's an exact match. Anyhow, if anyone can identify the exact model of this machine, that would be helpful.
With some down time today I thought to myself, "self...you should take apart that lathe and not waste time". So I embarked. This JET 1340 lathe came from the same food processing plant as the bridgeport and was neglected. That said, all of the ways look to be in REALLY good condition after hitting them with some kerosine and a soft brush to see what's under there.
In the matter of 2 hours I had the chuck and backing plate off, all the doors/covers, front plate of the threading gear box, pulled the lead screw, feed rod, clutch shaft, tool post, compound slide, apron, carriage, and tailstock. Despite the condition of the machine, nothing was too challenging to get moving. And with a nice dose of way oil, she slid really well. Took the 3-piece rack off the bottom of the bed as well. Got everything in a box and will start digging in to each part individually clean and ensure it's fully operational.
Based on another thread I started about the electric aspect of this machine, I think I'm going to replace the single phase motor with a 3-phase to operate it with a VFD. I cleaned out the chip pan well and got down in to the collection basin for coolant. That was where I found what nightmares are made of. Looked like a cave of hellish stalagmites. Luckily they just chipped off and came out with the shop vac. I did notice some holes in the collection basin where it's rusted through, so that will definitely be a project I need to fix. It looks like it was built and then just tack welded to the frame underneath. So as long as I can break those tacks and pull it out in 1 piece, I should have an excellent template to build a new collection basin and will probably do that from stainless steel to avoid corrosion in the future. The whole thing is going to need to be freshened up with a coat of paint after stripping the old one. And similar to the BP, i'll go glossy black on this machine as well.
I've had the machine running and it sounds bad, but I'm fairly certain I've isolated that to a really loose/banging around brake assembly. I think it's making contact wit the belt as it rotates and is getting banged around. When I pull the motor, I'll get that dialed in.
I think my main concern at this point is sourcing parts....or I'll have to make them. One is the cross feed screw, it was worked hard and shows some significant wear. I can probably just use this machine to turn a new one once I get it back up and running. I've never turned acme threads, but theres a first time for everything. The wipers came off as just a piece of plastic. I was expecting to see some type of aluminum wiper bracket with some felt behind it, but not the case.
Anyhow, that's it for now. I'll keep updating this thread as I creep along with the project. Next step is two-fold. Start dunking parts in evaporust and getting them cleaned up and begin the process of stripping all the paint off the machine and giving it a new coating.
Also, I'm calling this thing a JET 1340A, but I dont even know if that's correct. I bought a manual from one of those companies that sells them and what I received was almost a match for my machine, but not the exact one. The one in the manual is referred to as a JET 1340T - J170. The difference is, mine only has 3 levers on the gearbox and the one pictured as 4. Otherwise it's an exact match. Anyhow, if anyone can identify the exact model of this machine, that would be helpful.
Attachments
-
 IMG_2418.jpeg2.5 MB · Views: 43
 -
 IMG_2419.jpeg1.9 MB · Views: 42
 -
 IMG_2420.jpeg3.9 MB · Views: 37
 -
 IMG_2421.jpeg3.2 MB · Views: 35
 -
 IMG_2422.jpeg3.7 MB · Views: 35
 -
 IMG_2423.jpeg4.2 MB · Views: 33
 -
 IMG_2424.jpeg3 MB · Views: 35
 -
 IMG_2425.jpeg3.6 MB · Views: 39
 -
 IMG_2426.jpeg2.8 MB · Views: 37
 -
 IMG_2427.jpeg3.6 MB · Views: 36
 -
 IMG_2428.jpeg3.2 MB · Views: 36
 -
 IMG_2429.jpeg3.4 MB · Views: 40
 -
 IMG_2430.jpeg3.5 MB · Views: 40
 -
 IMG_2431.jpeg3.1 MB · Views: 39
 -
 IMG_2432.jpeg3 MB · Views: 38
 -
 IMG_2433.jpeg3 MB · Views: 38
 -
 IMG_2434.jpeg3.5 MB · Views: 36
 -
 IMG_2435.jpeg2.2 MB · Views: 35
 -
 IMG_2436.jpeg5.3 MB · Views: 41
 -
 60894420278__0A7090E2-BD6E-430B-B54A-7E8517AA797C.jpeg2.2 MB · Views: 42
 -
 60894423212__377BBDCD-3AC7-418D-973A-526E01694784.jpeg2.3 MB · Views: 44
 -
 Screen Shot 2020-04-18 at 7.12.48 PM.png310 KB · Views: 41