Newbie with Emco Compact 8 /w Mill head

Fermic

Registered
Registered
Joined
Nov 17, 2019
Messages
74
Hi guys, I am new to this machining and I have acquired this Emco compact 8 with mill attachment with missing pieces like the fine feed and change gears.

As arrived.
IMG_20201229_085615.jpg

Now unpacked and on our modified reinforced desk in basement.
IMG_20201229_185219.jpg

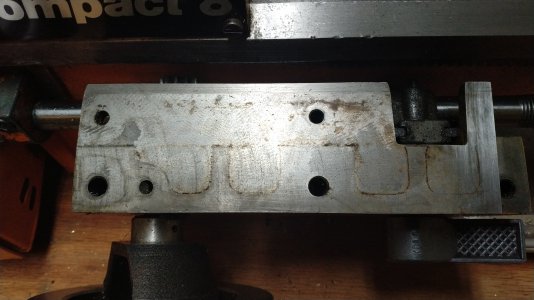
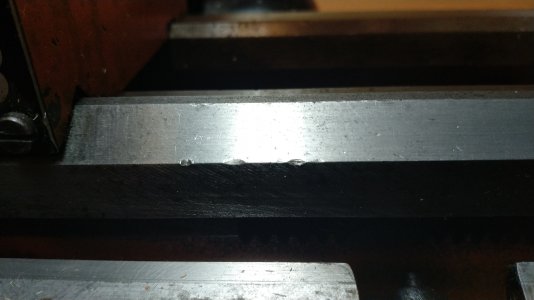
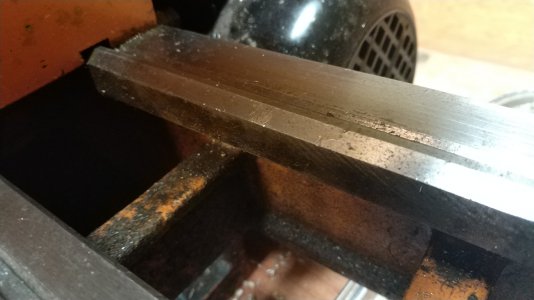
My first newbie machine to get know the lathe ( it was unanchored during this first machining thus poor quality )
IMG_20201231_001923.jpg

Our desk
IMG_20201231_002034.jpgIMG_20201231_002044.jpg

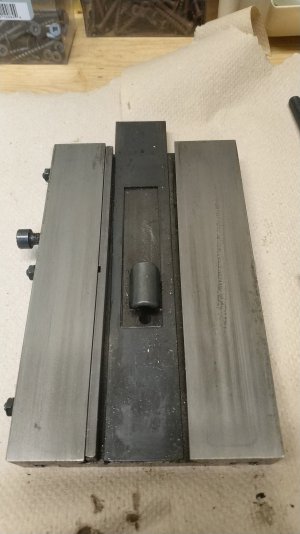
Now, I just don't want deal with shims. So I want to find where I can buy a multifix in Canada ?
And I don't know what's special about the DIN 8606 for this lathe and I heard from mikey talking about this standard being serious.

The next step is cut some plywood to slightly raise the lathe above the desk and anchor it, to avoid busting my left hand rapidly turning the carriage.
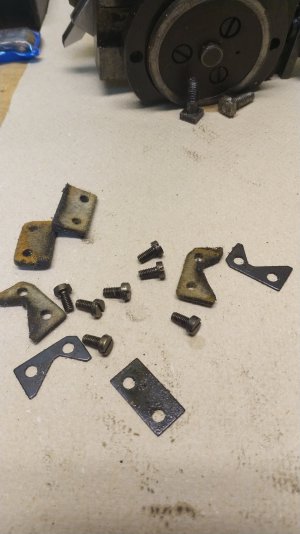
The missing change gears might not stop me at doing electronic lead screw for it.
 
An AXA or OXA might be easier to find.
ELS would work.
 
Okay, the lathe produces too much noise and vibrations when turned on at any speed, I can face any round bars and get decent facing but I get bad chattering during contour cutting across the bar. I hope the WD-40 will be useful for cleaning all my parts of my lathe and I need little help in finding the right kind of oil for oiling gears, pulleys, anything that's not on ways.
 
Update with questions and photos :

My lathe works great when I anchor it to the desk and all vibrations issues are gone. I can cut these brass pieces with nice finish, but I am learning how to correctly feed in at correct depth or it will chatter and leave these marks.

My concerns is the bed ways might have cast iron dust in there or that's the way oil instead. That's normal ?

I am not sure how I can proceed with upgrading my tool post to the multifix, should I make a brand new bolt to replace the emco toolpost bolt ?

And how far I have to clean up my lathe ?

Thanks !

IMG_20210115_142744.jpg


Looks rough the previous owner's work for this backplate
IMG_20210115_142755.jpg

My "first" time machining something ( I made 2 washers out of brass to bolt my lathe to the desk )
IMG_20210115_143225.jpgIMG_20210115_143249.jpg

One missing screw, might need to clean the apron and replace these felts
IMG_20210115_143430.jpgIMG_20210115_143457.jpg

I have problem with these arbors being too short for tailstock ejection, should I use hot glue or something that's removable in the future ?
IMG_20210115_143541.jpgIMG_20210115_143544.jpg

This is worth to make a fine feed screw box to install to the mill head ?
IMG_20210115_143341.jpg
 
Nice machine! Should be well built.

First off, that is still a smaller machine and you'll need to take that into account when planning cuts. Bolting it down to something sturdy will be a huge help! You need to keep the cutting forces within the capabilities of the lathe or you will get chatter. This can be done by reducing depth and speed of cut, or by optimizing your tooling for low cutting forces (sharp tools, small nose radius, small included angle, etc.). Optimal workholding is also a must. Keep everything very close to the chuck and keep it tight. There is a 3:1 length to diameter rule of thumb for how far the material can extend beyond the chuck before tailstock support is needed.

Dark streaks of oil don't concern me too much, but you owe it a good cleaning. Pull of the felts and wash them in alcohol or soap and water. Get rid of all the grit you can. Use some quality way oil like Vactra #2 and clean it well when you are done cutting. If you continue to see dark way oil, you might need to remove the carriage and give the oil passages and ways a good cleaning.

Chuck backplates don't need to be pretty, just accurate and functional.

Buy yourself a couple 12" bars of one inch diameter aluminum, brass, and steel. Get some 1214 and 4140 so you can learn the difference between mild and alloy steel. This is just an expense so you have real material to learn on. It will also enable you to make parts you need.

Don't use hot glue. You have a lathe now! Throw those parts in the chuck (challenge #1 is figuring out how to hold the taper, I'll let you think on that) and drill and tap the end. Turn up a plug with a thread on it and screw it on the end! You could also do that with the tailstock screw if it is too short for all your tools.

Unsure on your last pic what it is.
 
That bed looks pretty chewed up; it isn't supposed to be cratered like that. If I had to guess, the previous owner did not believe in cleaning the lathe often. If it was me, I would take the lathe apart and clean it, especially the saddle. I bet there are chips galore under there. I find it odd that the bed is so scarred up. Its almost as if the locking plate at the rear of the saddle is loose (or missing) and the saddle was able to lift and allow grit to get between the bed and saddle.

Do yourself a favor. Take it apart and clean it all up. If the bed is heavily worn on top of being scarred up, watch ebay for a replacement bed and swap it out. The Emco illustrated parts breakdown is accurate and will enable you to entirely strip the lathe down and put it back together without further instructions.
 
Yikes, I hope the bed wasn't that damaged. I'll go clean the lathe tomorrow.

I'll check if the saddle is loose or rigid, the rear plate is in fact installed.

After damaging the HSS part-off. Here's the drill chuck with the screw installed.
IMG_20210115_192301.jpg
 
After some work with reading of parts lists, I got the saddle apart and took pictures of it and the bed as well.

There's many dings and one long scratch on the bed.

Should I go find and buy a new bed for it ?
 

Attachments

  • IMG_20210115_203307.jpg
    IMG_20210115_203307.jpg
    3.1 MB · Views: 22
  • IMG_20210115_203316.jpg
    IMG_20210115_203316.jpg
    3.2 MB · Views: 20
  • IMG_20210115_203322.jpg
    IMG_20210115_203322.jpg
    3.2 MB · Views: 20
  • IMG_20210115_203341.jpg
    IMG_20210115_203341.jpg
    3.4 MB · Views: 22
  • IMG_20210115_203415.jpg
    IMG_20210115_203415.jpg
    4 MB · Views: 22
  • IMG_20210115_203429.jpg
    IMG_20210115_203429.jpg
    3.7 MB · Views: 22
  • IMG_20210115_203439.jpg
    IMG_20210115_203439.jpg
    1.2 MB · Views: 19
  • IMG_20210115_203449.jpg
    IMG_20210115_203449.jpg
    943.1 KB · Views: 19
  • IMG_20210115_203559.jpg
    IMG_20210115_203559.jpg
    971.6 KB · Views: 19
  • IMG_20210115_203608.jpg
    IMG_20210115_203608.jpg
    970.5 KB · Views: 19
  • IMG_20210115_203621.jpg
    IMG_20210115_203621.jpg
    3.7 MB · Views: 21
  • IMG_20210115_203812.jpg
    IMG_20210115_203812.jpg
    3 MB · Views: 19
  • IMG_20210115_203823.jpg
    IMG_20210115_203823.jpg
    3 MB · Views: 17
Back
Top