Order of Operations

bug_hunter

Registered
Registered
Joined
Feb 4, 2021
Messages
172
Morning,

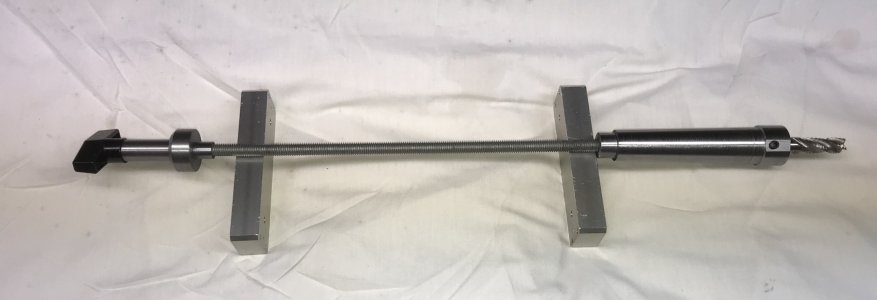
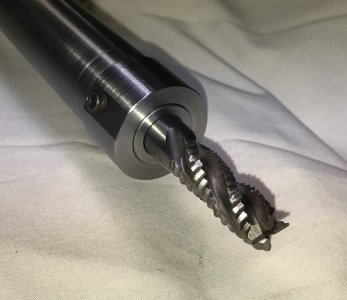
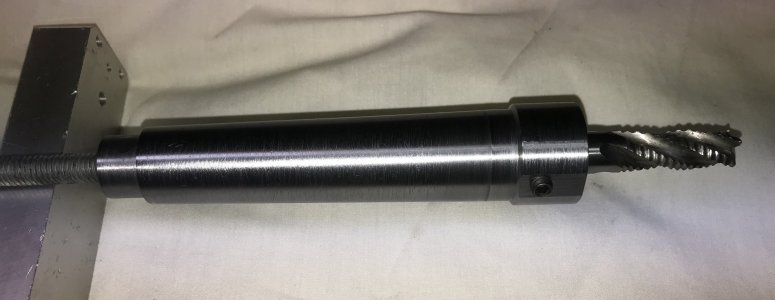
I am working toward turning an end mill holder for my Burke No. 4, and needed some help on the order of operations.

My intent is to turn the final taper between centers, but cannot drill the drawbar hole or end mill hole while in the arrangement. My thought was to:

- Mount and indicate the stock (1-1/2 x 6) in a four jaw,
- Support the stock with a steady rest
- Drill half way through the stock with a piolet bit
- Bore out the end mill recess
- Cut a 30 degree edge on the bored hole to later receive a live center
- Flip the stock
- Reindicate it in the four jaw and steady rest
- Finish the through pilot hole
- Drill and thread the new end for a draw bar
- Cut a 30 degree edge on the threaded hole.
- Mount the part between centers, and complete the taper

When I flip the part, will I lose concentricity of the end mill recess? One thought I had was to glue in a plug. after I bore the end mill recess and drill a formal center in the plug. Later I could heat the part, and pull the plug out.

Please share your thoughts and insight!

Thanks,

Greg
 
A drawing of the final product would help visualize the operations. Without knowing that detail, if I was making a an end mill holder for an R8 socket, I would center drill both ends first for subsequent turning on centers. I would also drill a pilot hole through and drill and tap for the draw bar.

If desired, the part can be left longer to permit trimming off the countersinks. Also, bore out the end mill socket, leaving enough for a final bore, taking into consideration of any runout issues.

With that work done, the part can now be mounted on centers and all the outside machining done. When machining on centers, you can flip the part, if necessary to facilitate machining. You now have a part that is concentric with the countersinks. The part can be mounted in the four jaw and dialed in and the final bore for the end mill socket completed. If the part was left long, it can now be trimmed to final dimensions. The last operation would be to drill and tap for the set screw.
 
Thinking about it further, you would have to flip the part while machining on centers as there is finish machining on both ends and you have to clamp the part. In the case of an R8 end mill holder, I would machine the 1" cylindrical surface first and then flip and machine the R8 taper as there is no easy way to clamp on the taper.
 
Finish the taper and thread in one go on the lathe. Then bore out the end for the endmill on the mill by holding a boring bar in the vice.
 
Attached is a sketch of the part. If I follow RJ's suggestion, once I drill the pilot hole, and the draw bar hole, there is no meat to drill a center. That is why I thought of cutting the 30 degree tapers on each hole, on each side to receive the live/dead centers. Also, I have a concern with achieving concentricity by dialing the part in the four jaw after cutting the taper.

I like Parlo's suggestion of completing the final end mill bore on the mill. You are almost guaranteed concentricity. The only issue is the tool holding.
 

Attachments

  • end mill holder.pdf
    7.6 KB · Views: 24
Rough the bore, finish all the diameters doing the taper last. While you still have what method you're using to cut the taper set up, put a large enough piece of material in the chuck, drill a through hole and machine a matching taper. Get some all thread and make a make shift drawbar to go through the lathe spindle bore, mount the holder and finish the bore. Should be perfect when finished.
 
For your part in particular, I would countersink both ends and just drill the pilot hole. The drawbar threads aren't critical as far as concentricity is concerned. Once the outside work is complete, you can indicate in on the 4 jaw and make the end mill socket. If you are making multiples, you might consider making a socket for the lathe.
 
Attached is a sketch of the part. If I follow RJ's suggestion, once I drill the pilot hole, and the draw bar hole, there is no meat to drill a center. That is why I thought of cutting the 30 degree tapers on each hole, on each side to receive the live/dead centers. Also, I have a concern with achieving concentricity by dialing the part in the four jaw after cutting the taper.

I like Parlo's suggestion of completing the final end mill bore on the mill. You are almost guaranteed concentricity. The only issue is the tool holding.
If you spend an hour rigging up a simple tool holding fixture it will far quicker than making a female mating taper and all the associated indicating true. You have a female taper and drawbar on the mill already. The blank can be finish turned in one go without even indicating true.
I first used this method to convert an R8 Jacobs taper to am 8mm sidelock holder. I held the part in the mill spindle and a drill in the vice pointing up. Then I finish bored the hole with the boring bar in the vice set roughly on centre an moved the X axis for the depth of cut.
 
@bug_hunter On my friend's Burke holders, there is a clue. the drawbar hole was drilled and chamfered to 60 degrees and tapped, allowing that end to run in a live or dead centre. This was prolly the very first set of operations.
 
Back
Top