

- Joined
- Jan 1, 2014
- Messages
- 233
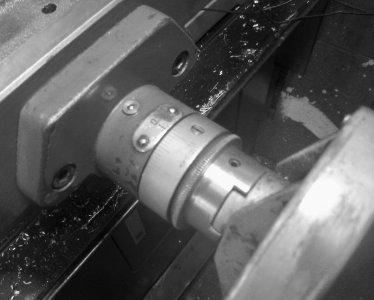
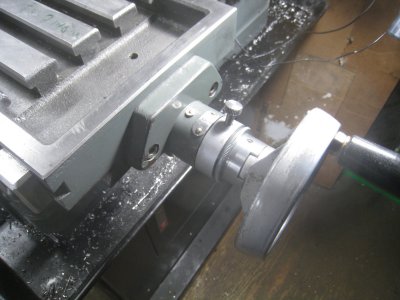
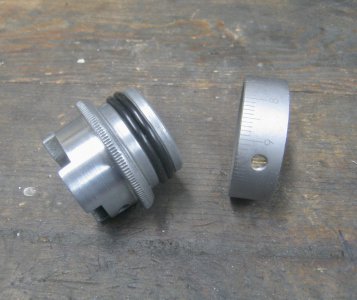
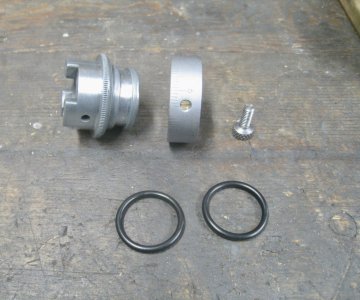
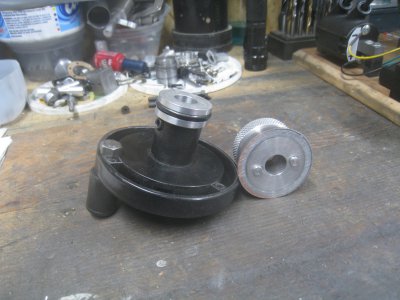
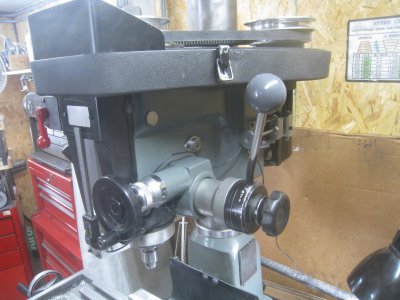
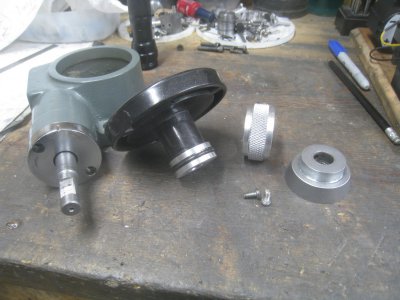
Out of habit I always zero the X-Y dials on my bench mill when a reference position is established so it is easy to come back to that zero. Yes I have a DRO, but sometimes I use the mill in full manual, and, like I said, just habit. Anyways, my mill used thumbscrews to lock the X or Y dials which is pretty basic but in keeping with the price point of these machines. More than once, however, they have loosened on their own (gremlins), so it was time to do something. I always liked friction set dials, so took things apart, turned the groove under the graduation ring down to accommodate two O-rings until I had the right friction fit to hold the ring in place. Just replaced the thumbscrew with a grub screw for looks. Guess I better to do the Z as well.
Thanks for looking.
Thanks for looking.

")