POTD- PROJECT OF THE DAY: What Did You Make In Your Shop Today?

Friend changed his protection bars on his adventure bike for better/thicker units... With that change the auxiliary light mounts would not fit the new bars.

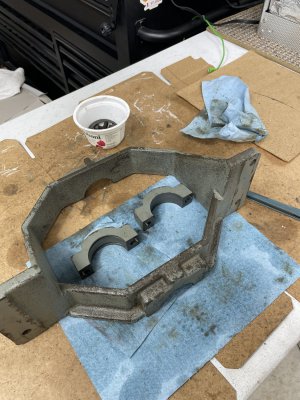
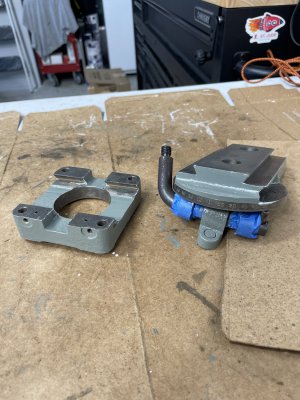
He sent me the parts and I modified a larger set of clamps to fit what he had...

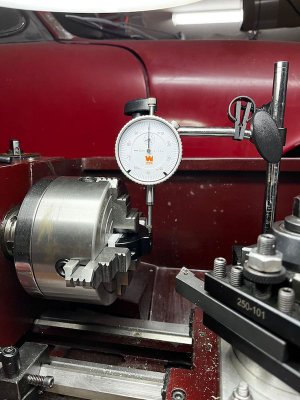
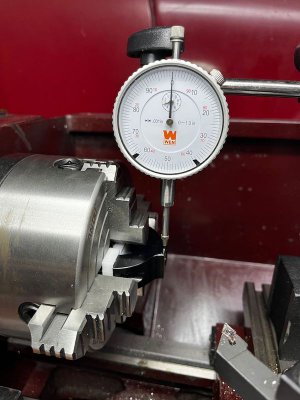
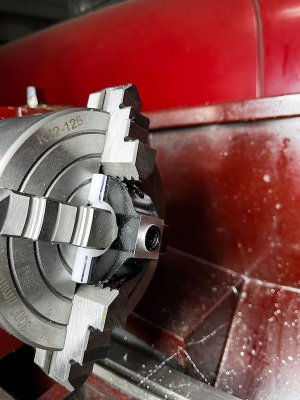
Used the four-jaw chuck to center the section of the mount that I wanted to modify.
GSLightMounts-1.jpeg
GSLightMounts-2.jpeg

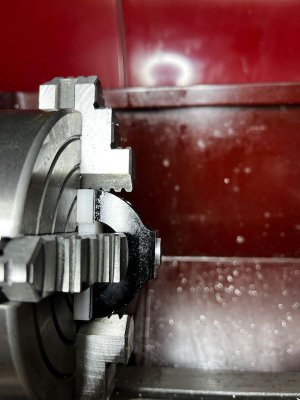
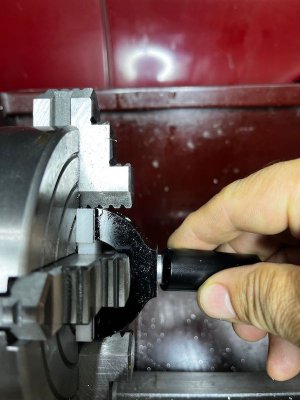
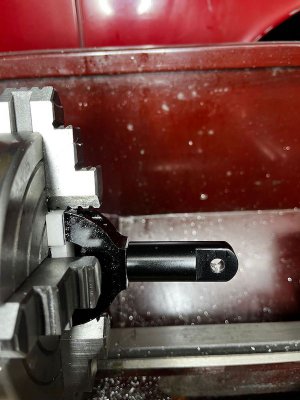
Wanted to make a lip to help index on the tube that goes to the aux light...
GSLightMounts-3.jpeg

GSLightMounts-6.jpeg

GSLightMounts-5.jpeg
GSLightMounts-7.jpeg

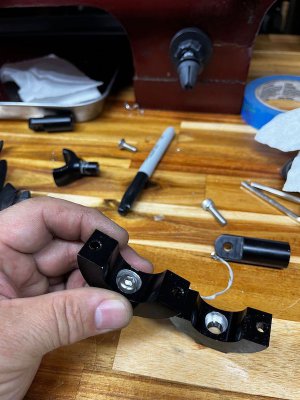
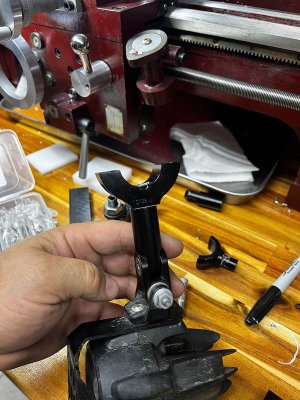
Also needed to modify the inside of that section so the head of the bolt would not interfere when clamping the bar... Here are both half of the mounts modified
GSLightMounts-8.jpeg
GSLightMounts-9.jpeg
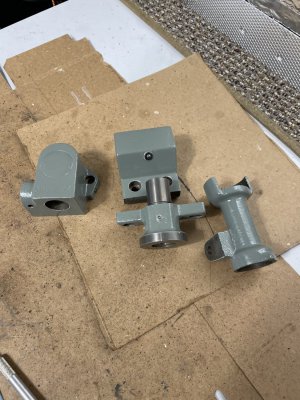
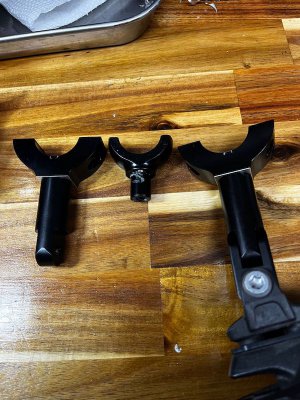
The stock units had a shaft... so also needed to make a spacer to fill the gap left...
GSLightMounts-12.jpeg

Both done... photo for my friend so he knows the order of the assembly... (old clamps on the upper right in the photo... he broke a section of one... that was the two spacers I had to make for the new clamps to fill the gap)
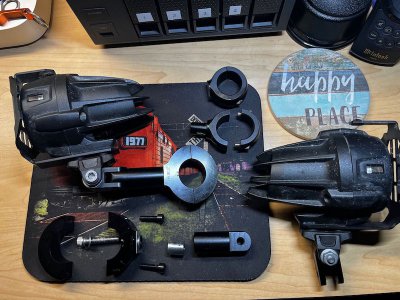
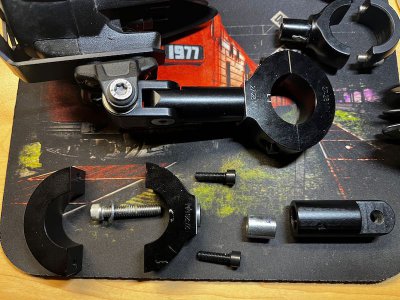
GSLightMounts-14.jpeg
GSLightMounts-16.jpeg

I better get a 10 on the satisfaction survey from him :grin big: !!
 
Last edited:
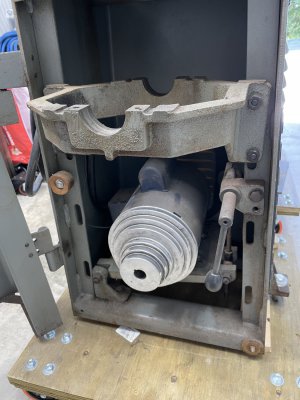
Shifting gears so to speak for the next phase of work. The drive and cabinet on the surface looks uncomplicated so onward we go.
54DBCD1C-CF37-4C9A-884F-2C4145F39AB1.jpeg
No shortage of cast iron back in 1967
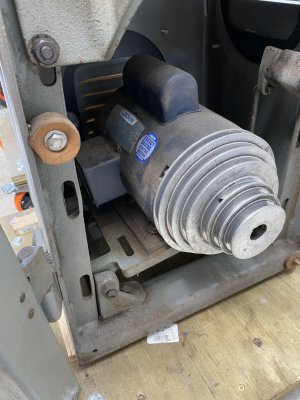
motor is a newer single phase Leeson

D30D16D9-923D-4DC5-ADC6-FD717AA9A8F9.jpeg

Rough cleaning done, sitting in a thick coat of citrus strip now
1DCCF5DD-B660-4DED-8F0C-EEA4D6217B7C.jpeg
 
I just tried annealing a 1/4 driver bit. It's a longer flat bit 2" in length. I wanted to make a tire valve remover.
Well I heated it up bright red, it went non-magnetic.. let it air cool, it's still skating a file. changed to mapp, re-did, rinse and repeat.. still hard ..
The flat had snapped which is why I was using it... man is this hard stuff. It must be an air hardening steel.. Maybe I'll try again and wrap it in a ceramic blanket.

So much for the plans of mice and men.
Do you burn wood? Heat it red and drop it in soft powdery ashes. Might do the trick...
 
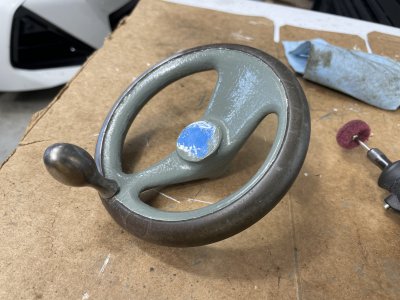
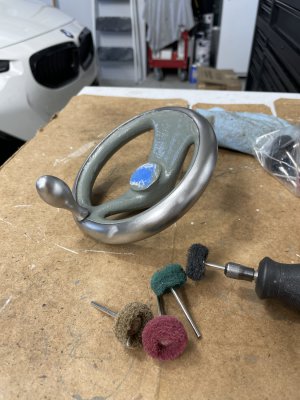
Last of the masking removed. Will do some clean up and touch up but good to go for the most part.
View attachment 453748

Followed by some buffing
View attachment 453749

View attachment 453750
you are working too hard at this. Polish before painting, use a big wire wheel and a big polishing pad on a grinder.
Then paint. you'll find that the big stuff cleans it quickly, and the paint will come off the rim easily with a q tip in mineral spirits, or a paper towel.

edit: you don't have to mask everything if you keep the MS and qtips handy.
 
+1 on this - Polish first, always.
Since I just brush paint machinery (except cabinets, which get rolled), I keep a variety of artist type brushes on hand.
If you're careful, you can use them to paint into the smallest details, without having to mask much.
 
Todays list of things to do . Plan on going down to the other basement and bring up more tooling for the outgoing lathe and also my belt/disk sander and vertical band saw . I have a little room in the garage after re-arranging things . When the lathe goes out , I'll start putting things where they belong . This has been a win/win for my area . My neighbor gets a nice lathe and any help he would ever need . I get space and his electrical knowledge . I'm getting excited for the future of the garage . :encourage: Just noticed , Mike is now a Lifetime Member !!!!! :high 5:
 
Back
Top