- Joined
- Dec 6, 2015
- Messages
- 809
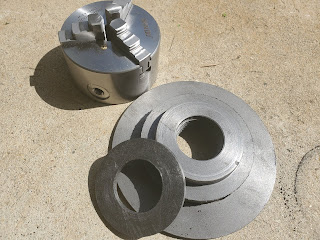
When you attach a chuck to a lathe, you have to machine the backplate on the lathe to maintain concentricity. It is an absolute must. I needed to put a chuck on a dividing head. That means that I can't machine it on the lathe, because it has the potential to end up with the chuck center line offset from the dividing head center line. Simply put, you have to machine the backplate on the device it is to be used for. I searched the 'net and didn't see much, so I attempted to do it myself. The only back plates I could find that had a 1 3/4-8 TPI thread were for an 8" diameter chuck or a 6" diameter chuck. I ordered the 6", having to cut it down to a 4" for the dividing head. The come slightly oversized to be machined.
Taking a 6.25" back plate to be used on a 4" chuck, you need to hog off a lot of material. Also, I needed about 3/4" of overall depth, and this back plate is 1.25" deep. I used the lathe to break down as much of the outside surface as I could. You must leave it oversized, because you will still machine the plate on the device it will be used on. So, after the lathe, I'd removed a bit of material.
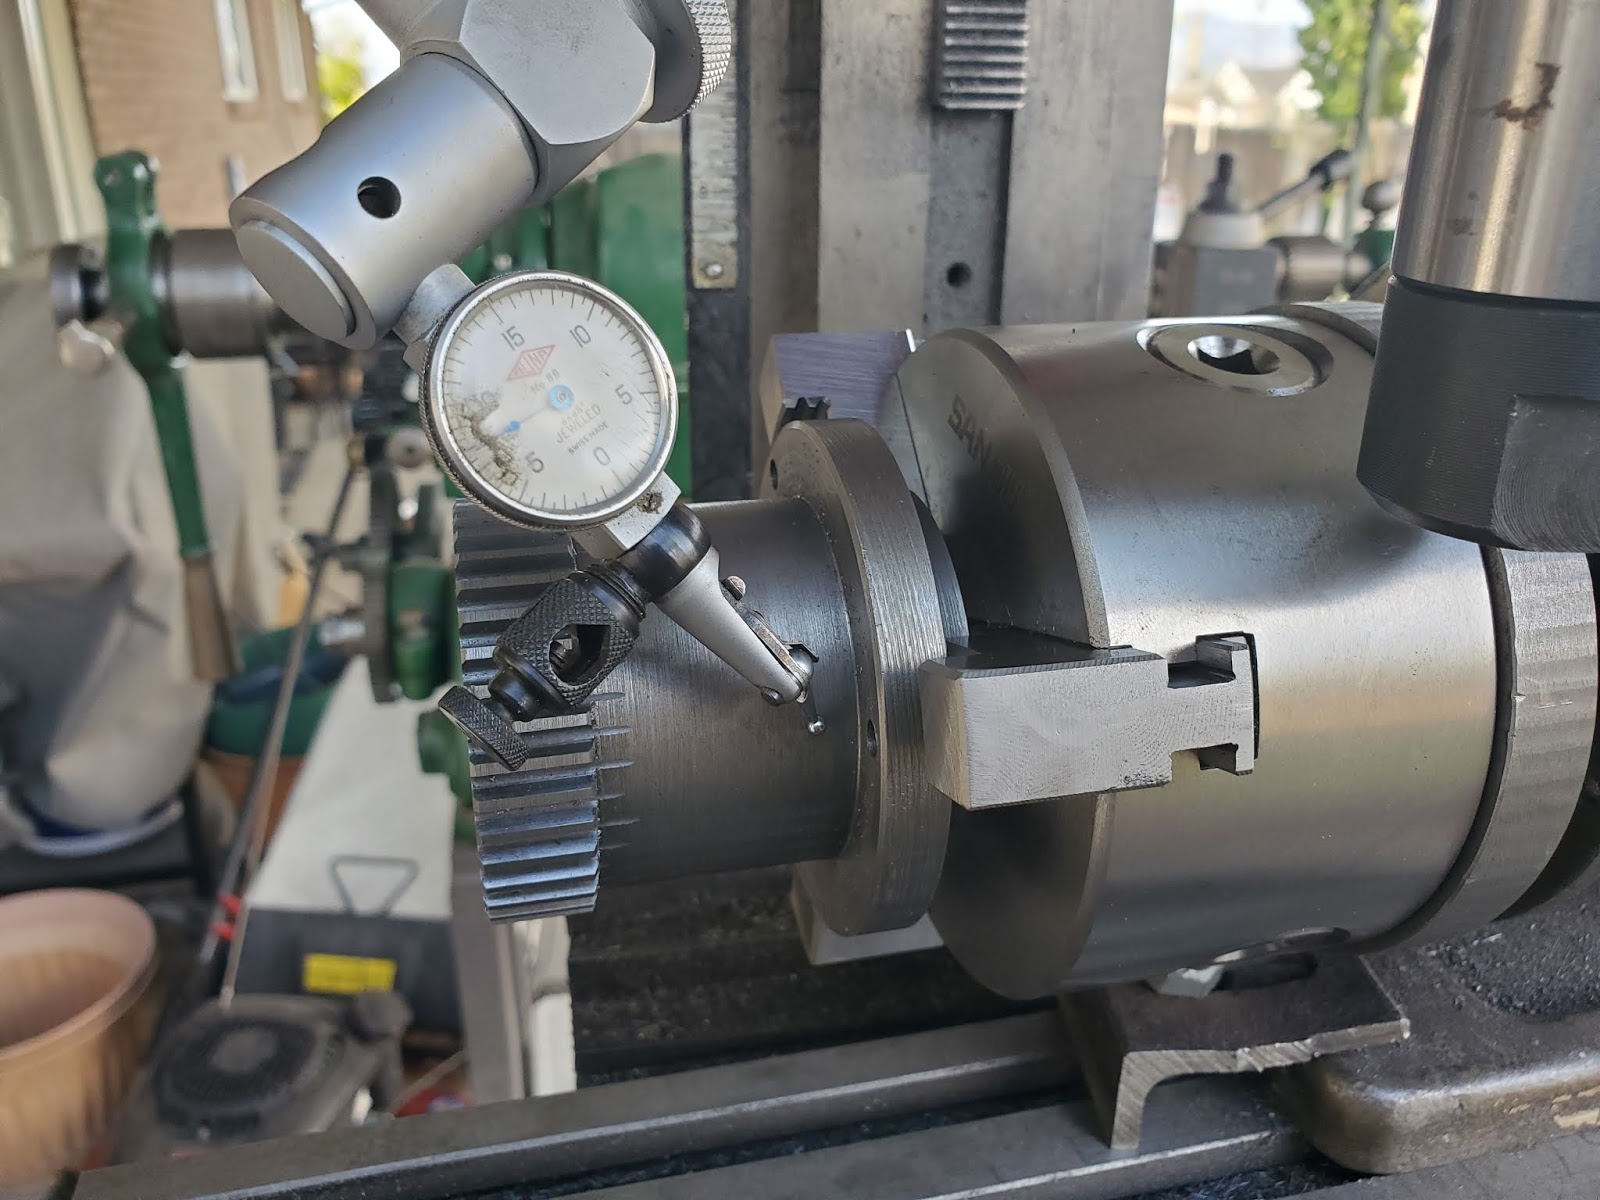
After removing that, I could put the backplate on the dividing head backwards. This would allow me to face off the rear surface that mates up against the dividing head.
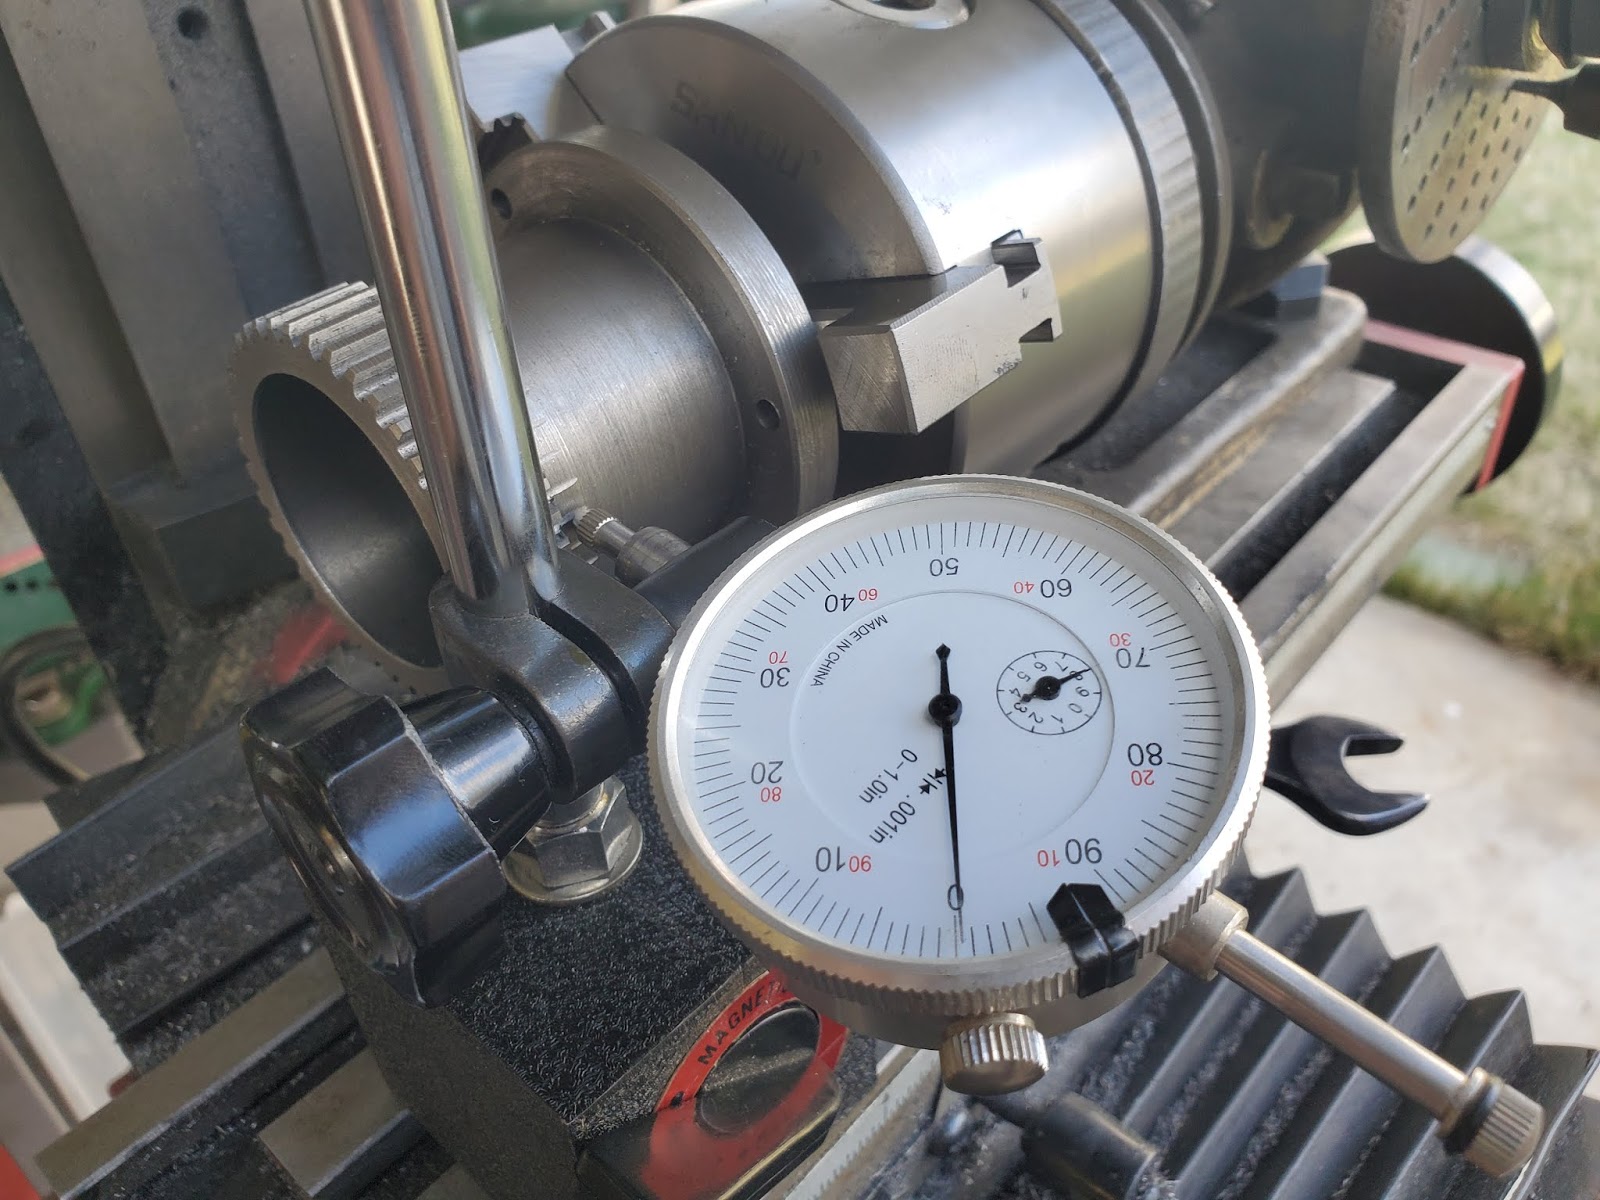
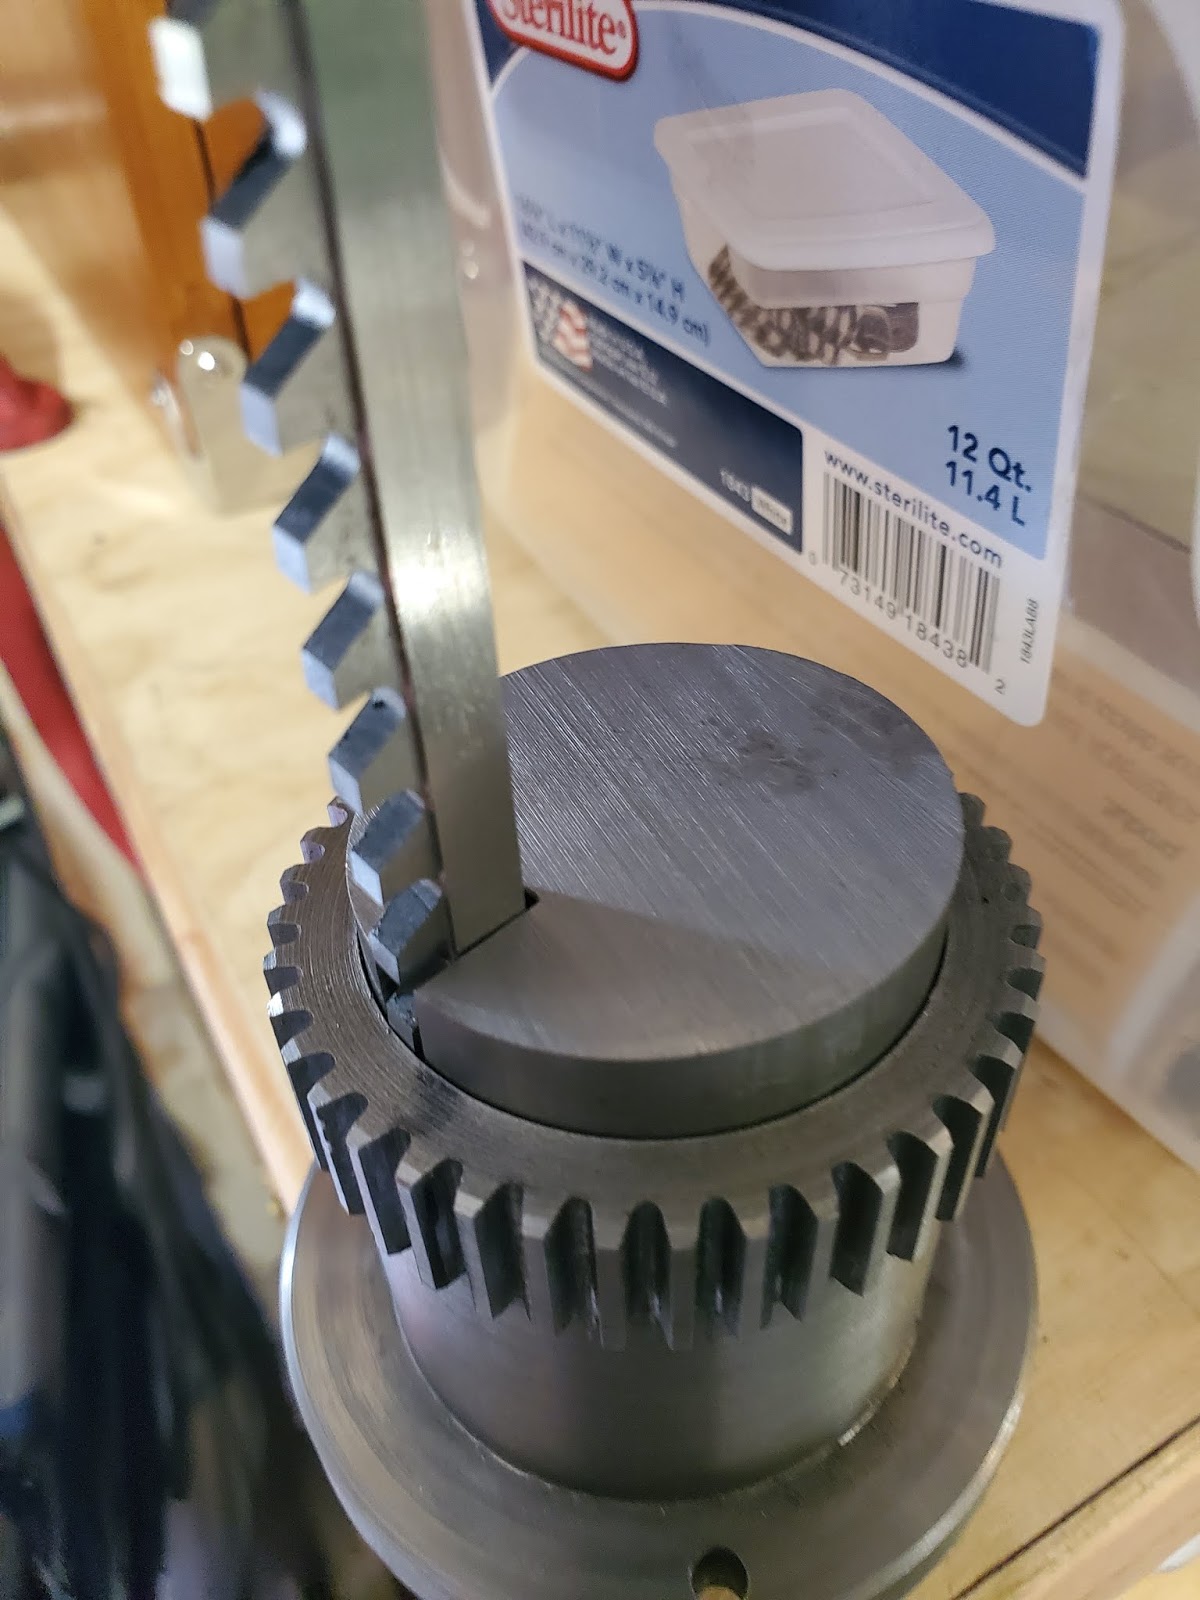
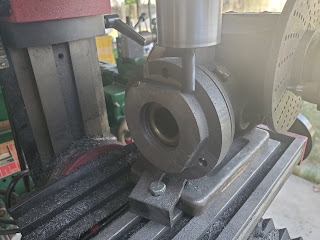
Once that is surface is machined, I pulled the backplate off and turned it around. I could then machine the outside edge down to match the chuck. In this case, the chuck was 3.948", and at this point the back plate was 4.250" in diameter. I machined off 0.030" using the mill. You must be careful here. As the end mill rotates, the direction where it meets the backplate must tighten the backplate instead of loosening. The speed of the dividing head is minimal, so we don't need to worry much about having it round. It's nice to do, though, for a finish.
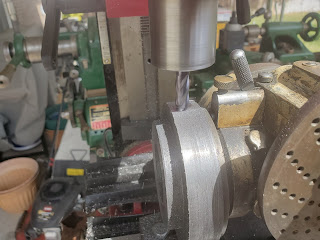
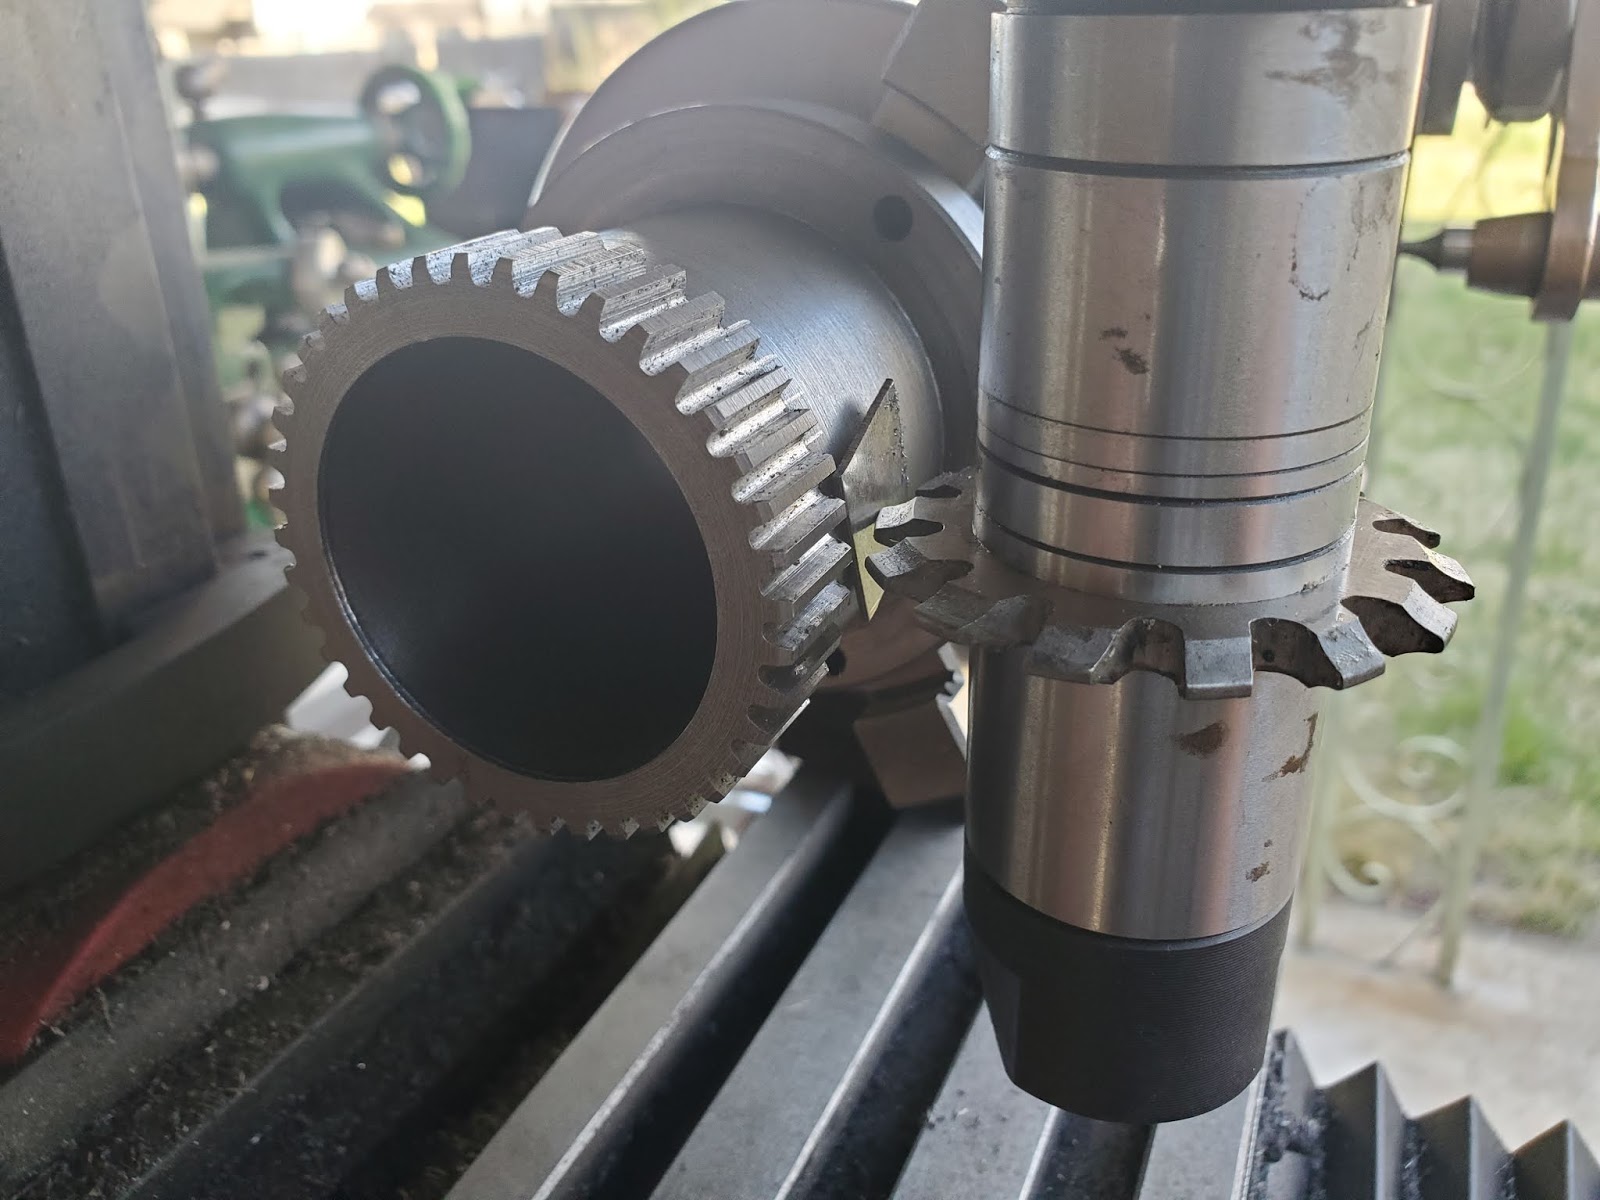
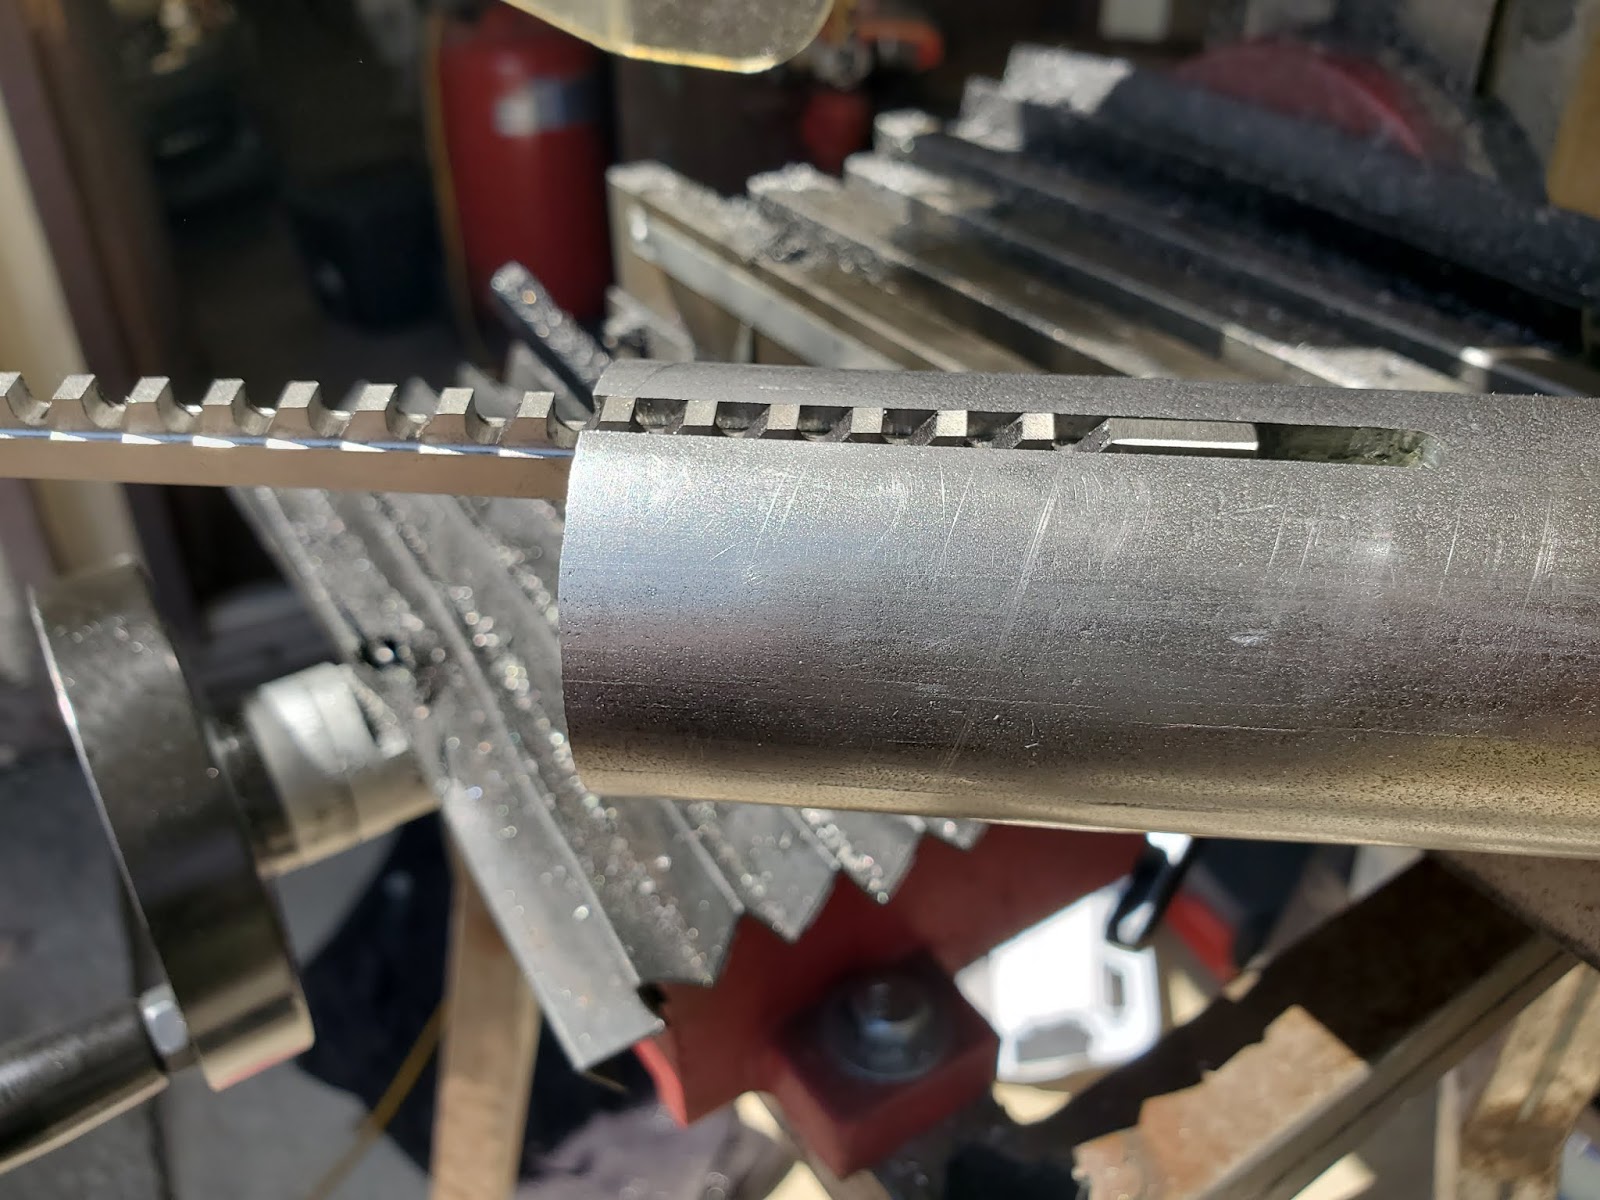
With the outside edge, you can now machine the mating surface for the chuck. This should be done very slowly - it is the same principle as doing it on a lathe, but the part isn't rotating, and you are taking it off with an end mill. Remember, when you take off 0.125", it removes twice that because it takes the 0.125" off the other side, so it's really taking 0.250". Take your time.
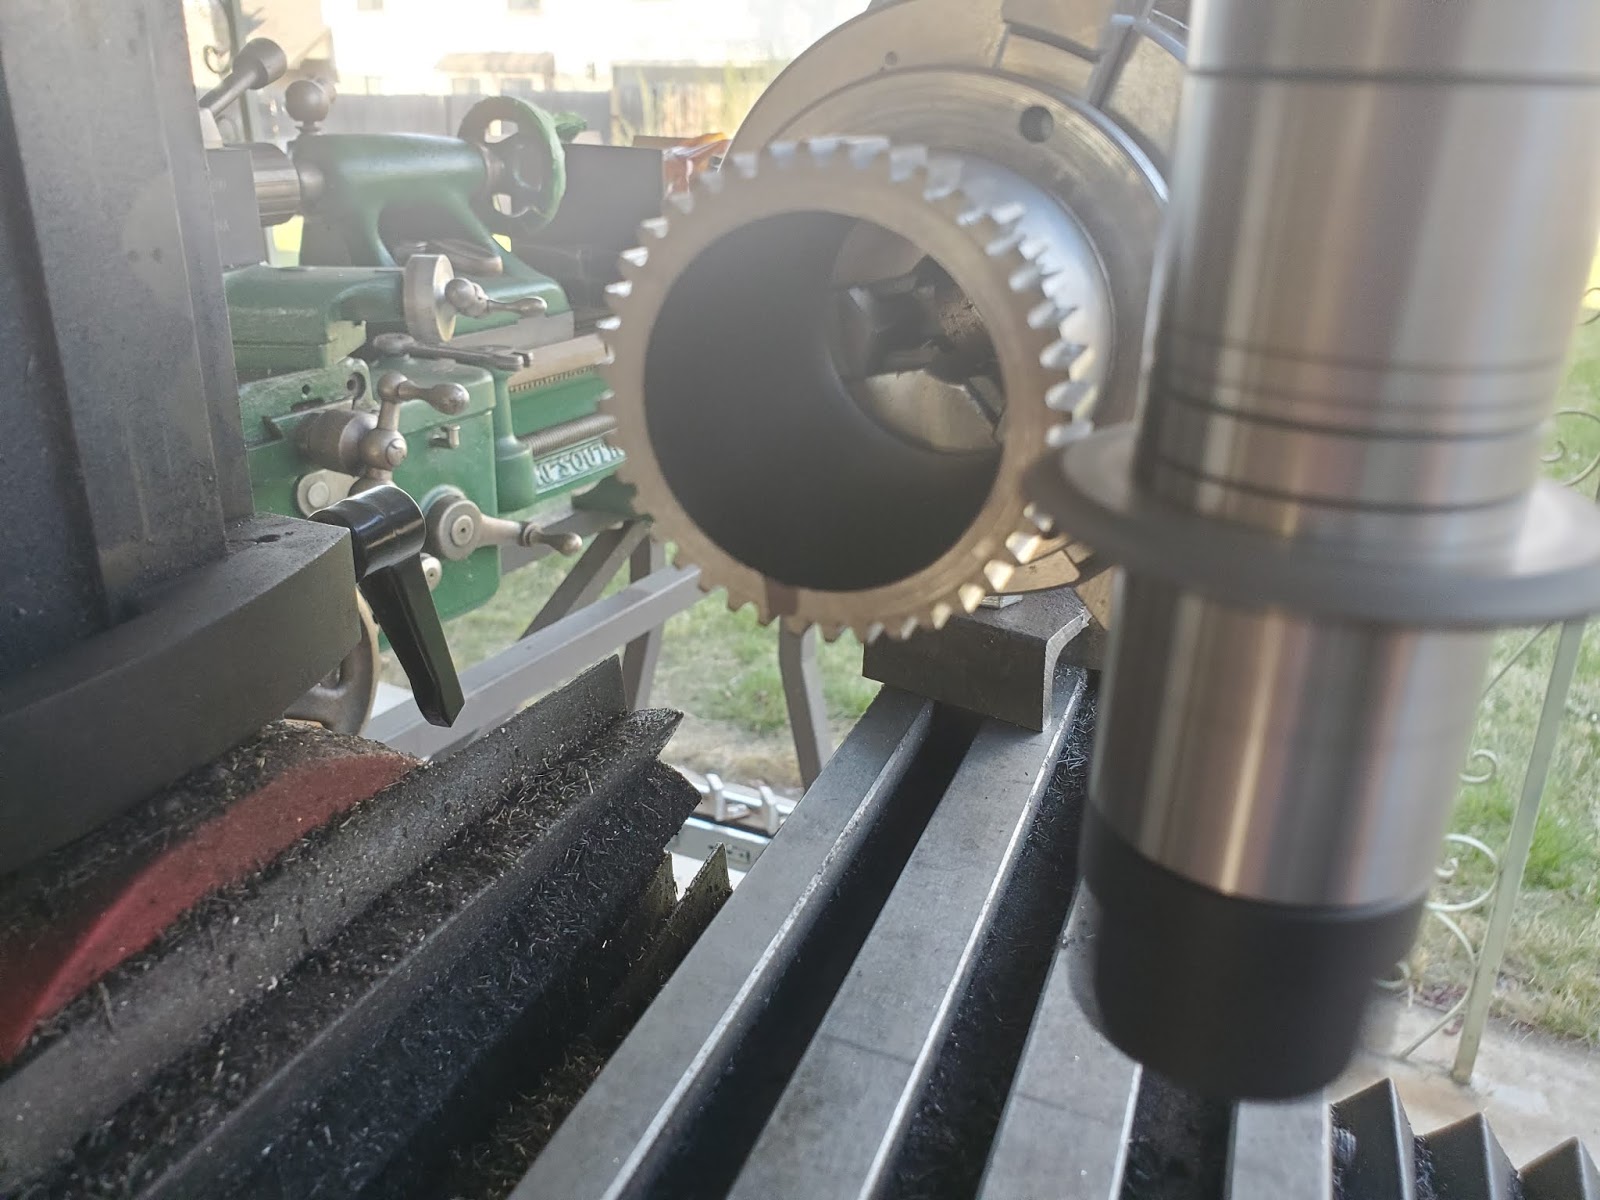
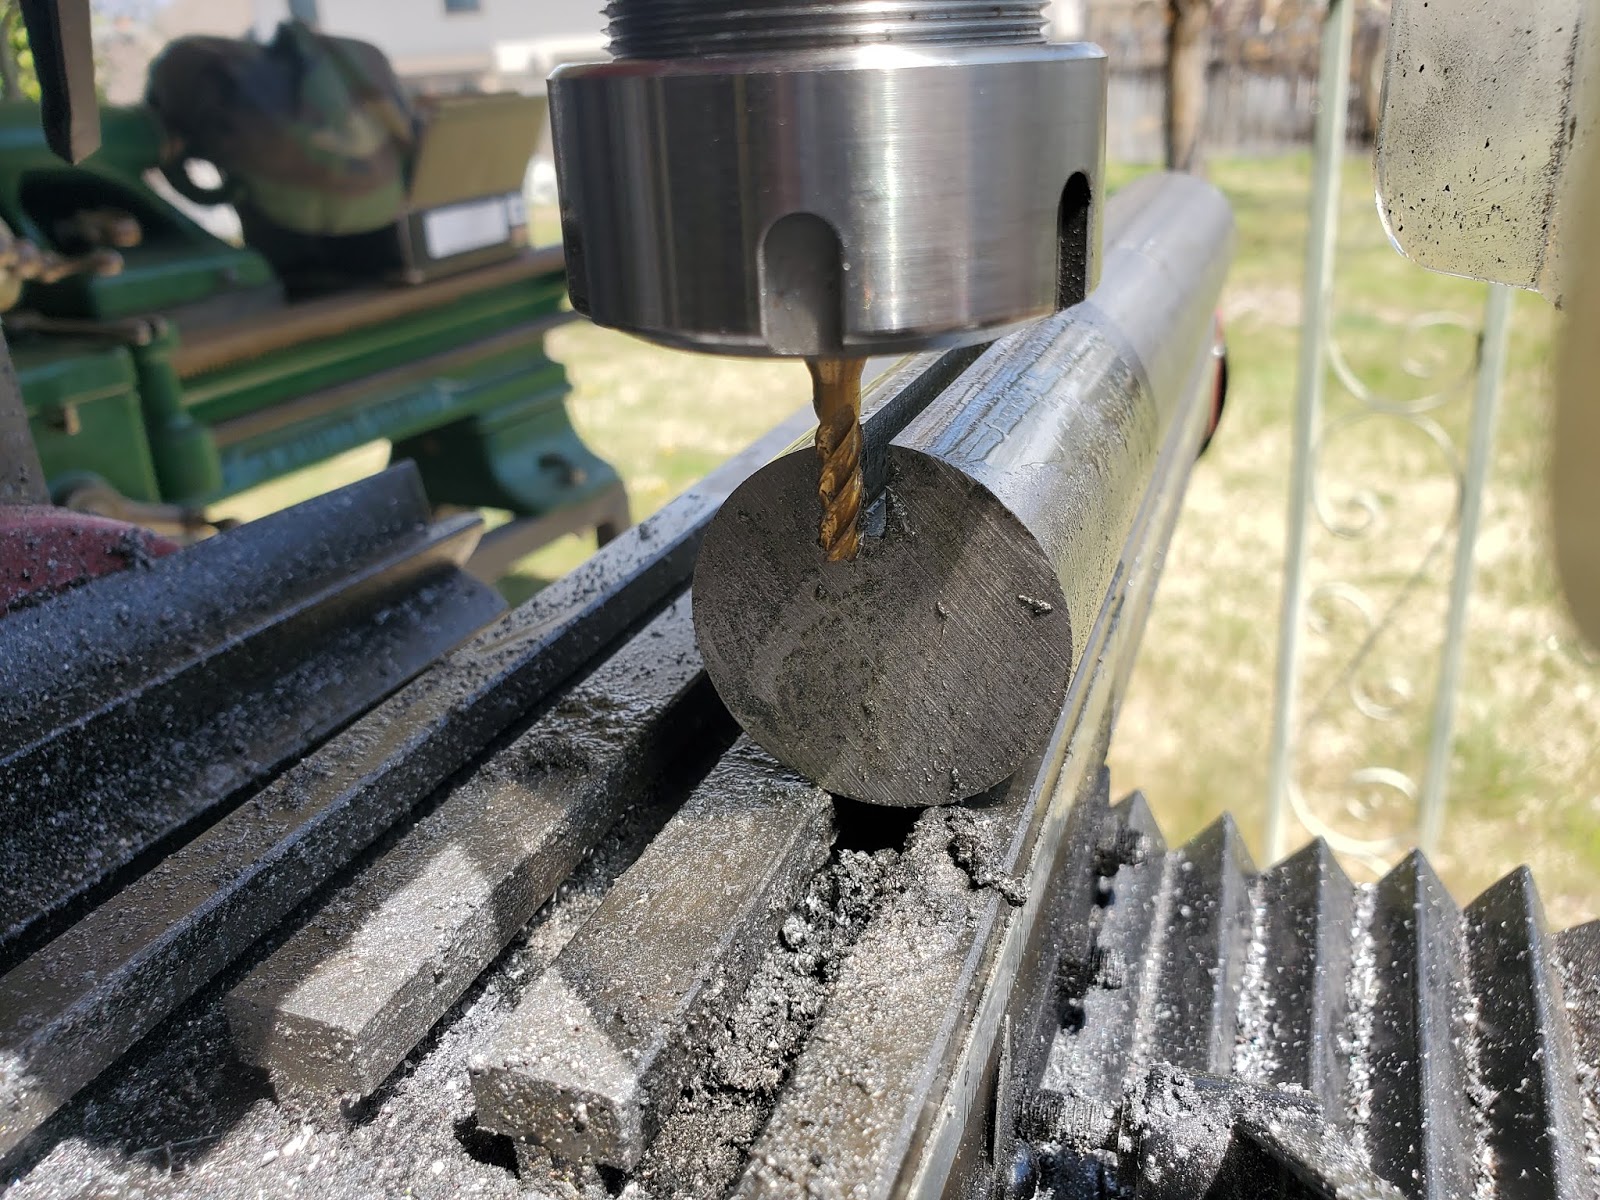
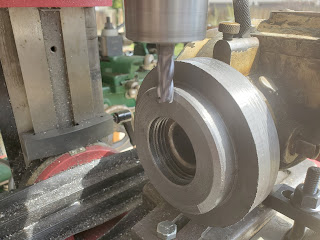
After the boss for the chuck has been cut, you can surface the boss so it is deep enough. At this time, you can rotate the dividing head and drill your holes for mounting the chuck. I flipped the back plate again, so that the indexing-side surface was on the outside. This allowed me to bevel the rear flange for clearance on the screw caps.
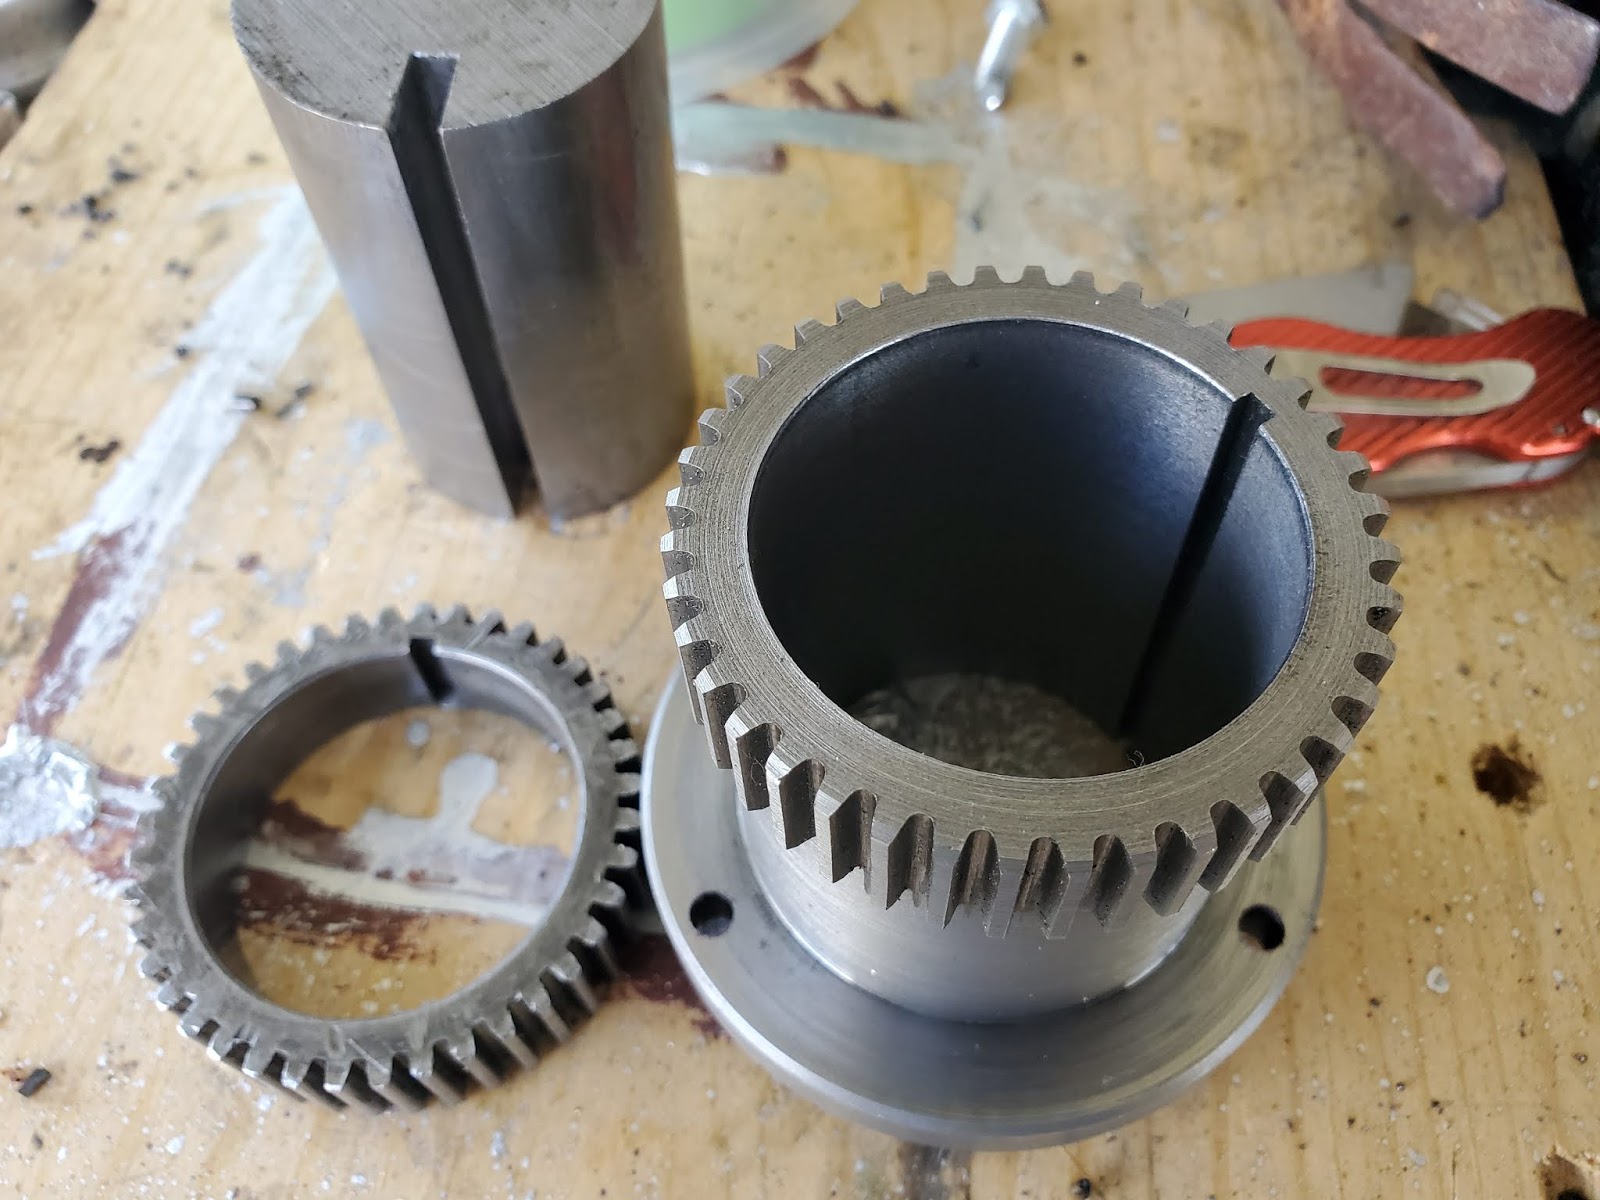
With that complete, it is now time to pull the plate off and install the chuck. That completes the installation of a new chuck to a dividing head, and will allow me to make another attempt at cutting a gear.
Taking a 6.25" back plate to be used on a 4" chuck, you need to hog off a lot of material. Also, I needed about 3/4" of overall depth, and this back plate is 1.25" deep. I used the lathe to break down as much of the outside surface as I could. You must leave it oversized, because you will still machine the plate on the device it will be used on. So, after the lathe, I'd removed a bit of material.

After removing that, I could put the backplate on the dividing head backwards. This would allow me to face off the rear surface that mates up against the dividing head.

Once that is surface is machined, I pulled the backplate off and turned it around. I could then machine the outside edge down to match the chuck. In this case, the chuck was 3.948", and at this point the back plate was 4.250" in diameter. I machined off 0.030" using the mill. You must be careful here. As the end mill rotates, the direction where it meets the backplate must tighten the backplate instead of loosening. The speed of the dividing head is minimal, so we don't need to worry much about having it round. It's nice to do, though, for a finish.

With the outside edge, you can now machine the mating surface for the chuck. This should be done very slowly - it is the same principle as doing it on a lathe, but the part isn't rotating, and you are taking it off with an end mill. Remember, when you take off 0.125", it removes twice that because it takes the 0.125" off the other side, so it's really taking 0.250". Take your time.
After the boss for the chuck has been cut, you can surface the boss so it is deep enough. At this time, you can rotate the dividing head and drill your holes for mounting the chuck. I flipped the back plate again, so that the indexing-side surface was on the outside. This allowed me to bevel the rear flange for clearance on the screw caps.

With that complete, it is now time to pull the plate off and install the chuck. That completes the installation of a new chuck to a dividing head, and will allow me to make another attempt at cutting a gear.
")