- Joined
- Sep 7, 2019
- Messages
- 674
Got a little bit further on my taper attachment clamp.
To ensure the holes lined up exactly I tacked the two plates together for the drilling. I then separated them and clearance drilled one plate and tapped the other plate.
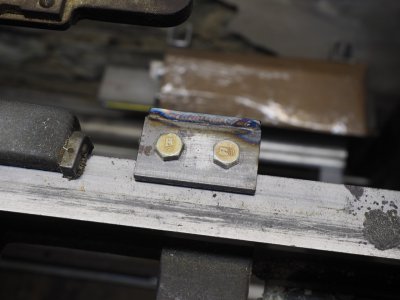
Here they are bolted together with some spacers.
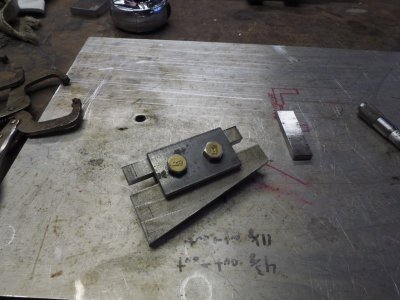
The back plate.
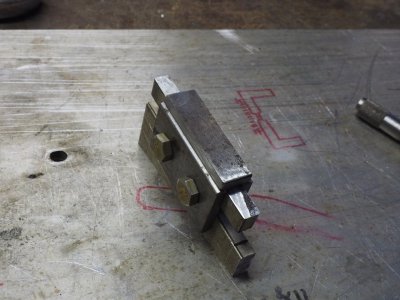
Tacked up. After the tacks cooled I removed the inner spacer. I was afraid of it being super tight due to shrinkage.
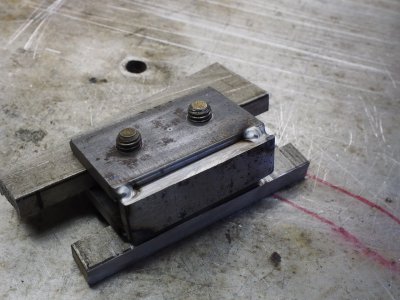
Here's the first weld. I left the rear spacer which I had removed, sit on top of the joint. If there's one thing I learned from Jody over on weldingtipsandtricks it's that chill bars can help greatly to keep your weld from overheating.
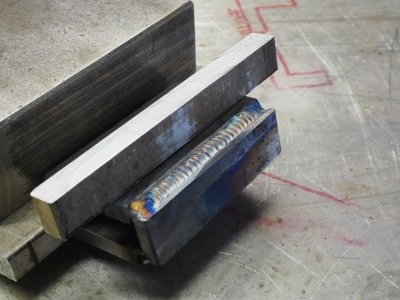
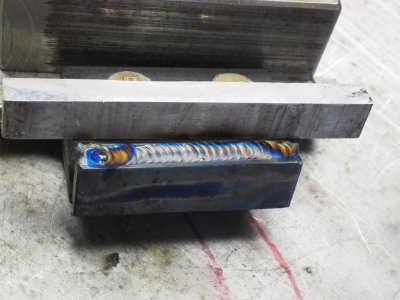
I let the part cool completely before welding the other side. I hope this minimizes warpage. Below is the other side welded. The fact that the weld is not all dark and grey tells me the chill bars helped me out!
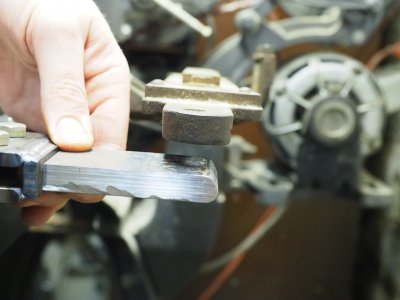
Now I have to cut the slot in the tail piece and figure out at what height it gets welded to the clamp piece. There's no dimension for that on the drawing. At least as far as I can tell. I assume it's centered but my plate is a little thicker than 0.380" like the drawing says so I think I wanna keep the offset for the extra thickness on the downward facing plane.
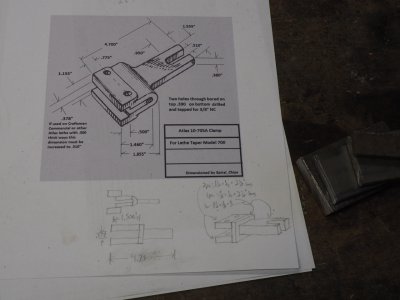
To ensure the holes lined up exactly I tacked the two plates together for the drilling. I then separated them and clearance drilled one plate and tapped the other plate.
Here they are bolted together with some spacers.

The back plate.

Tacked up. After the tacks cooled I removed the inner spacer. I was afraid of it being super tight due to shrinkage.

Here's the first weld. I left the rear spacer which I had removed, sit on top of the joint. If there's one thing I learned from Jody over on weldingtipsandtricks it's that chill bars can help greatly to keep your weld from overheating.

I let the part cool completely before welding the other side. I hope this minimizes warpage. Below is the other side welded. The fact that the weld is not all dark and grey tells me the chill bars helped me out!

Now I have to cut the slot in the tail piece and figure out at what height it gets welded to the clamp piece. There's no dimension for that on the drawing. At least as far as I can tell. I assume it's centered but my plate is a little thicker than 0.380" like the drawing says so I think I wanna keep the offset for the extra thickness on the downward facing plane.


 )
)