R8 Insert Deflection

Bill Kirkley

Registered
Registered
Joined
Sep 22, 2019
Messages
89
As indicated in other threads, I bored out the upper end of my PM-833T's spindle socket so it would accept my Interstate collets.

It was pointed out that the threaded end of an R8 insert is precision ground. The explication being there is a tight fit between the insert and the spindle. This is presumably to counteract insert deflection under load.

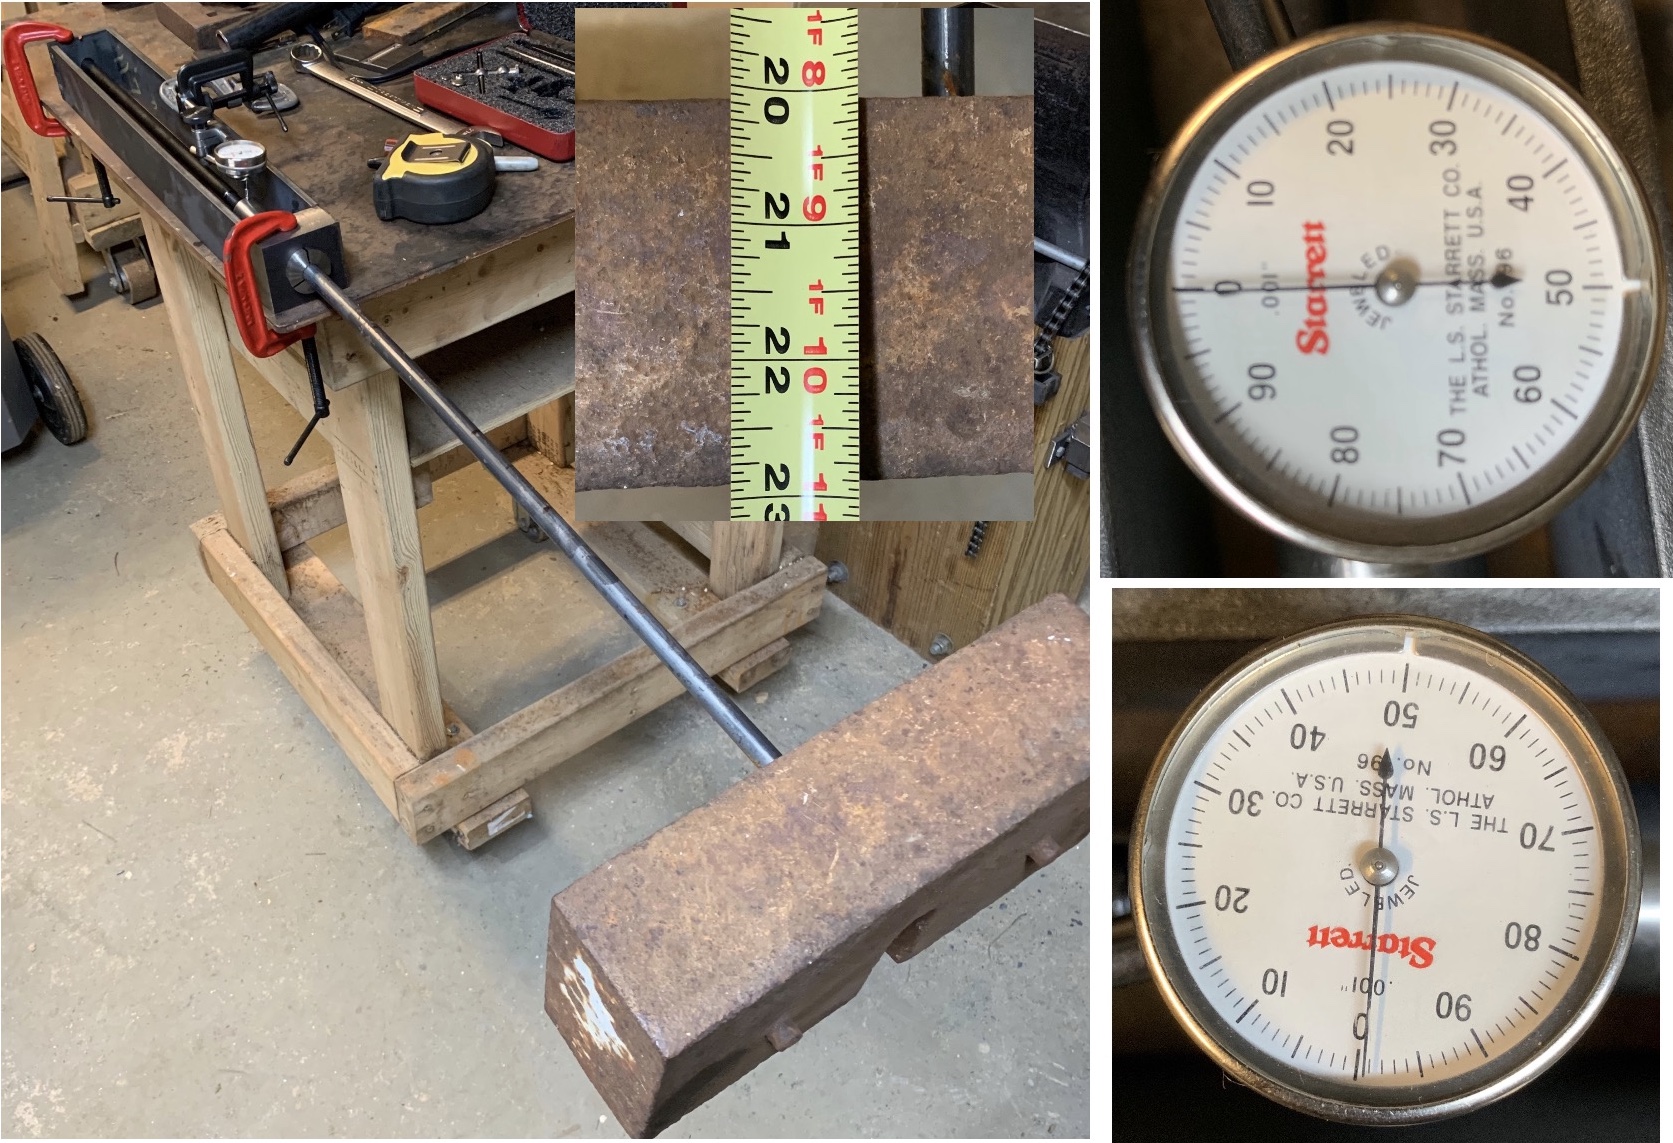
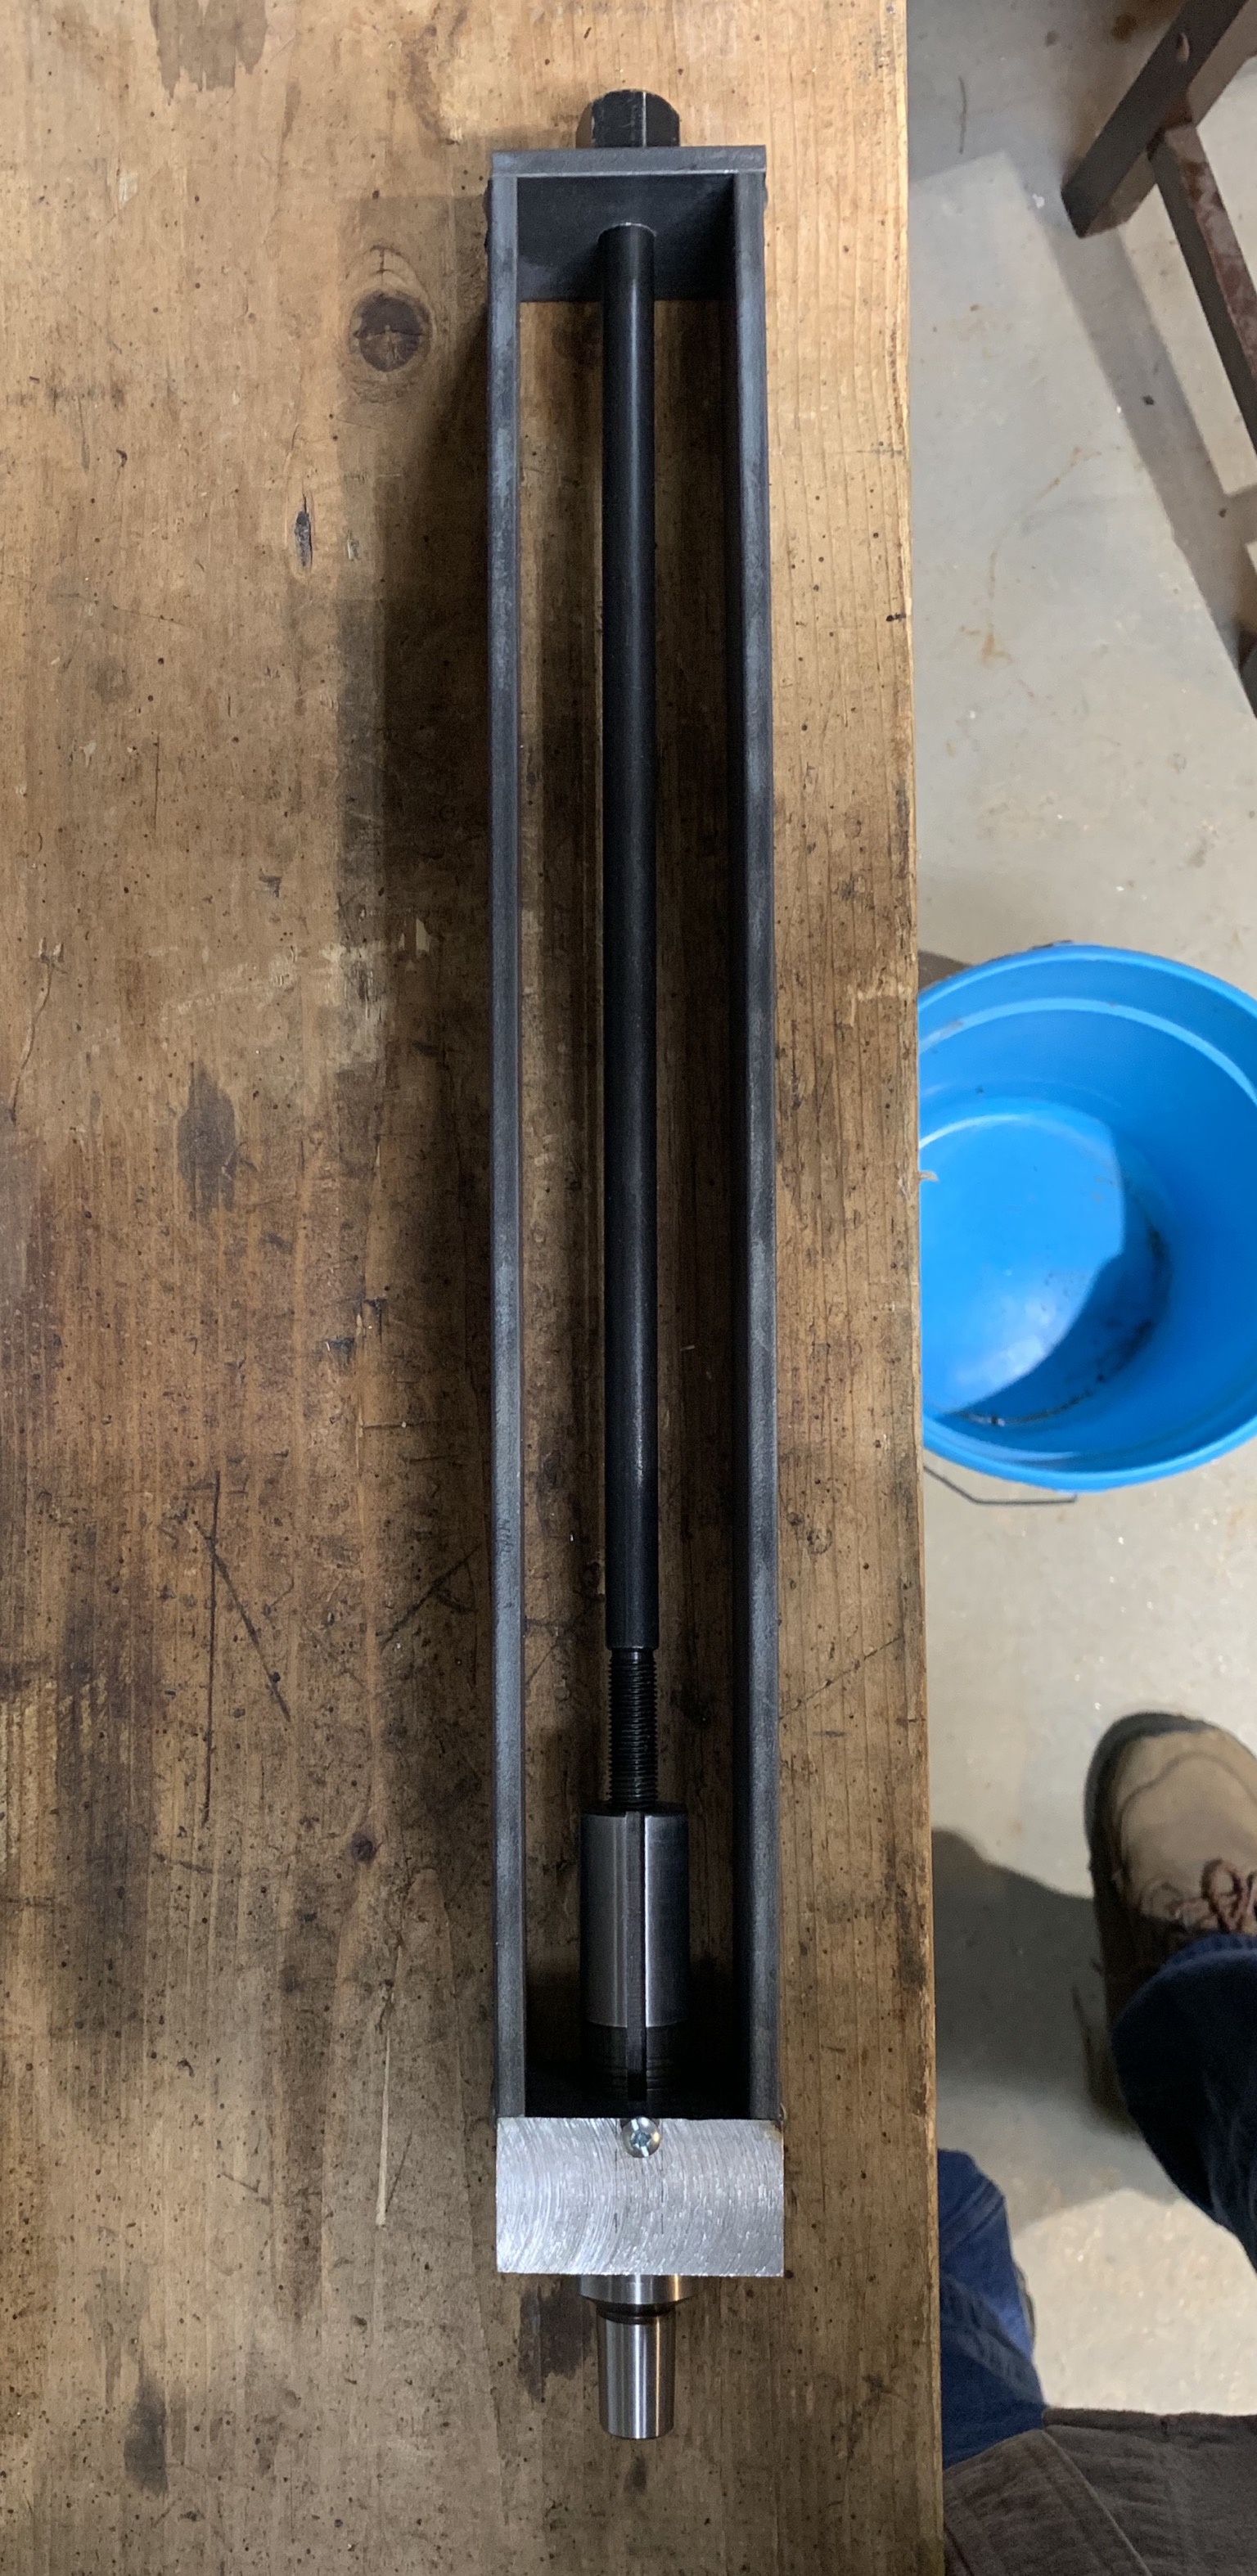
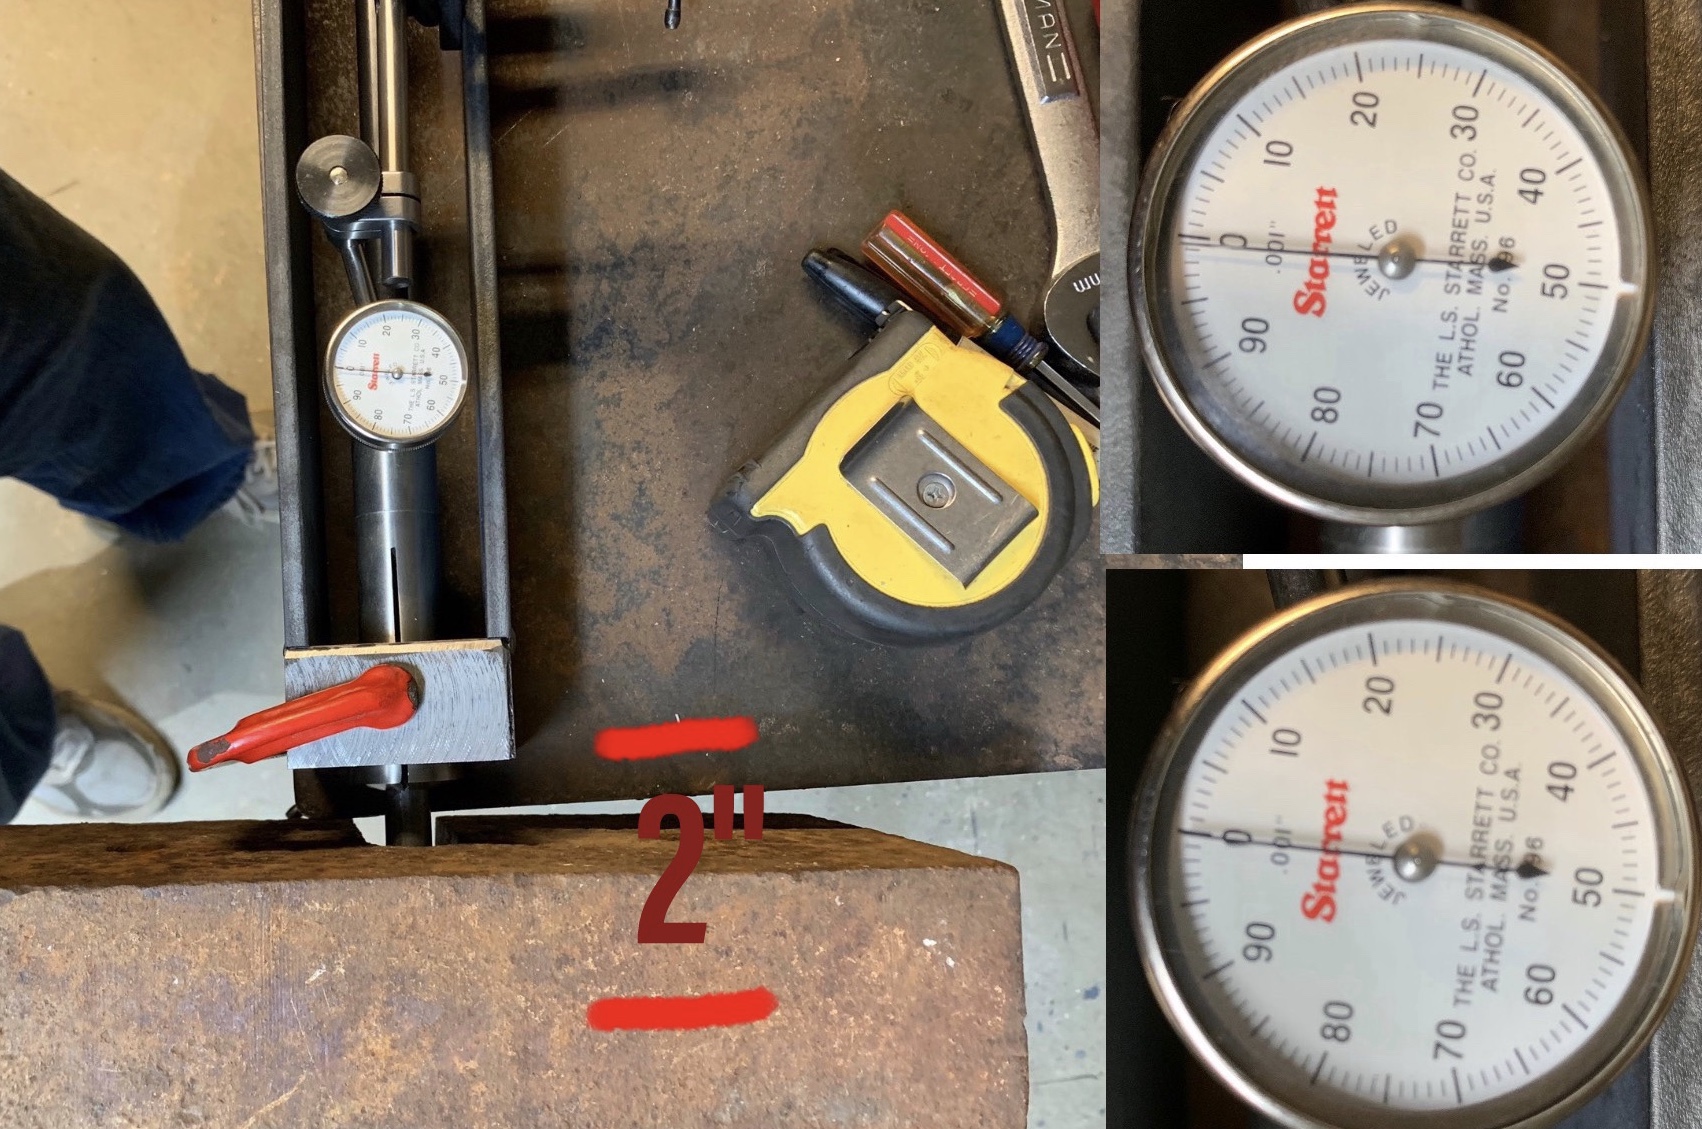
As pictured below I made a devise to measure R8 insert deflection under load. The measured deflection was .00075" for torques ranging from 88 inch pounds to 946 inch pounds. The torque was created by placing a 44 pound weight on a half inch rod secured in an R8 collet.

Varying the torque had no affect on the deflection. One explanation is that any load settled the apparatus, not the collet, causing an initial deflection. If this is the case, it could be argued that loads in the range tested result in no deflection of the insert.

If the deflection is a result of collet movement then a wide range of loads result in a deflection of .00075".
D2400A33-9E0D-4C60-BB5A-538AF76396FB.jpeg


B86AF425-65C7-4125-A51E-D7702E9514CB.jpeg


5A6749B0-B67E-4626-8092-873F52B9BC64.jpeg


982EA0B6-08D8-4ACB-B777-7A36C26BD2F8.jpeg
 
As indicated in other threads, I bored out the upper end of my PM-833T's spindle socket so it would accept my Interstate collets.

It was pointed out that the threaded end of an R8 insert is precision ground. The explication being there is a tight fit between the insert and the spindle. This is presumably to counteract insert deflection under load.

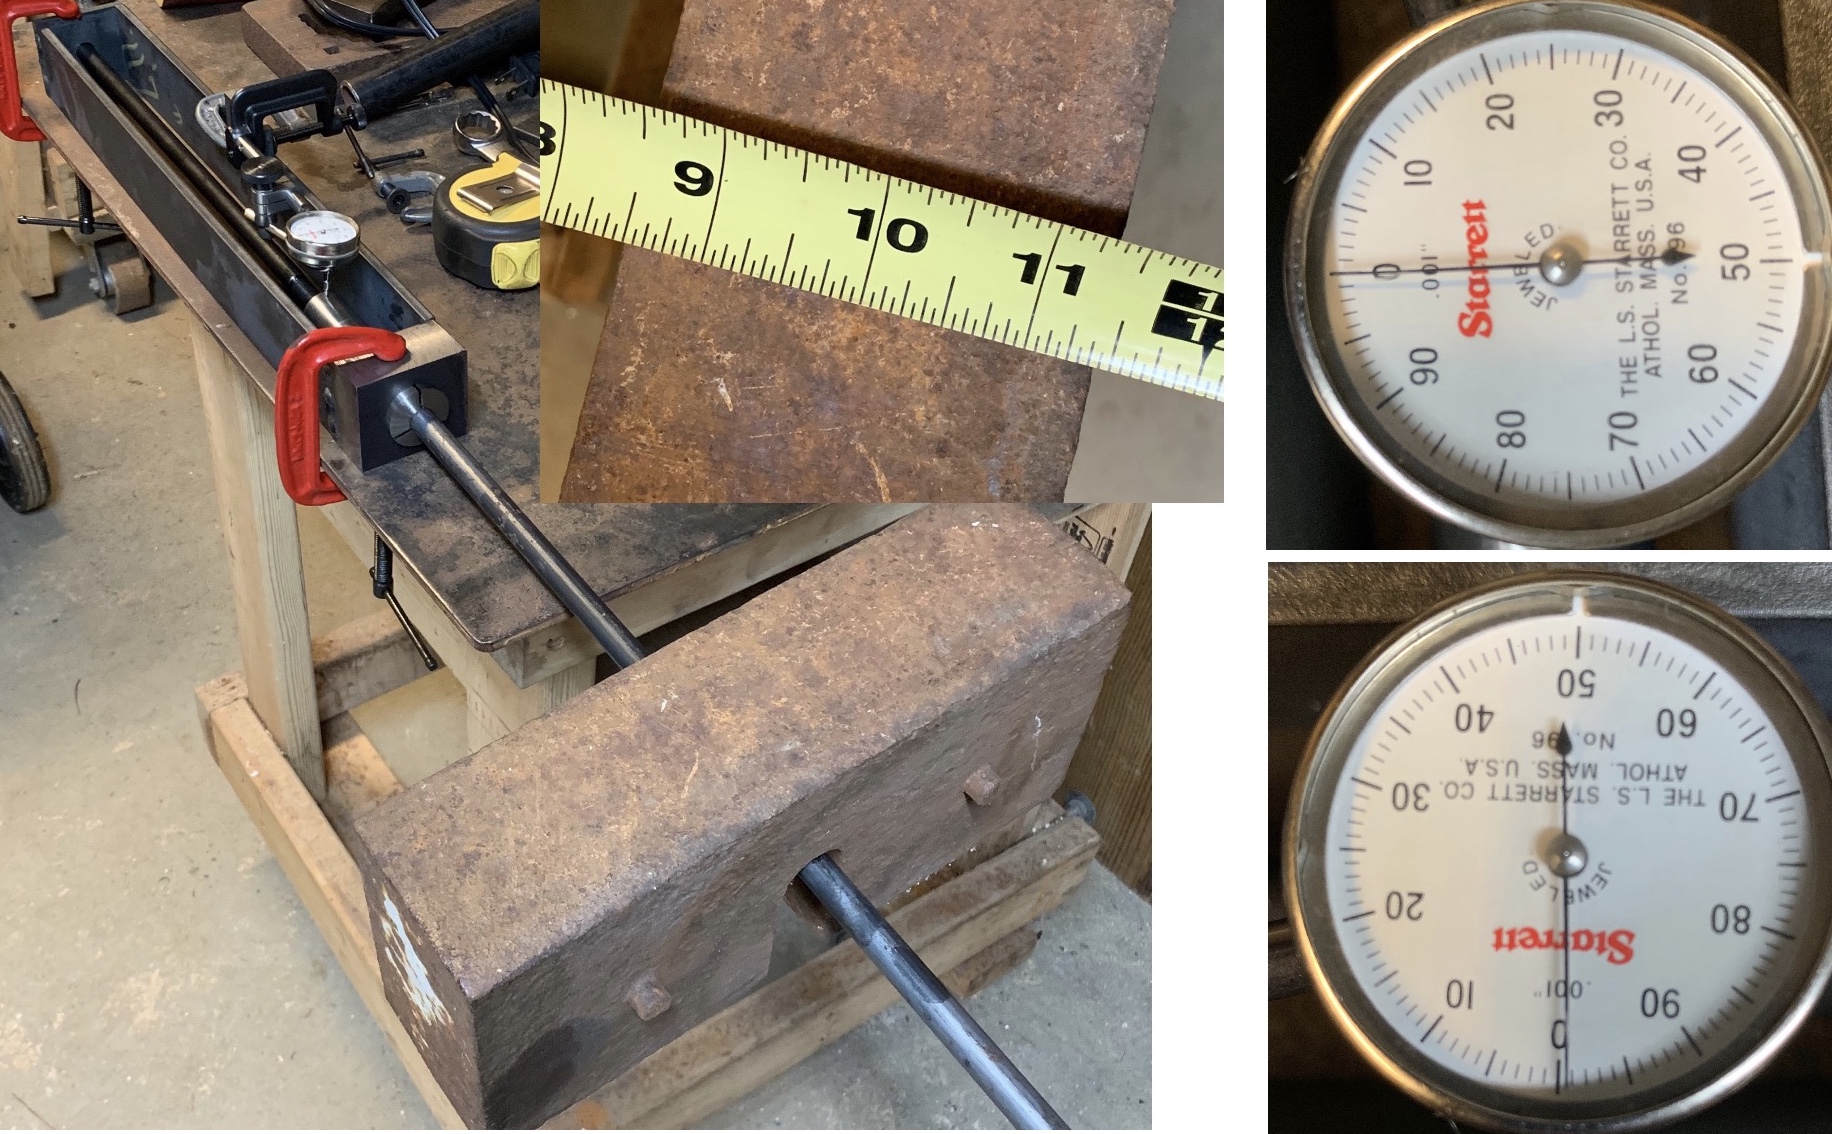
As pictured below I made a devise to measure R8 insert deflection under load. The measured deflection was .00075" for torques ranging from 88 inch pounds to 946 inch pounds. The torque was created by placing a 44 pound weight on a half inch rod secured in an R8 collet.

Varying the torque had no affect on the deflection. One explanation is that any load settled the apparatus, not the collet, causing an initial deflection. If this is the case, it could be argued that loads in the range tested result in no deflection of the insert.

If the deflection is a result of collet movement then a wide range of loads result in a deflection of .00075".
View attachment 303812

View attachment 303811


View attachment 303809

View attachment 303808
 
I realized that the deflection is negative. If I am not mistaken, the loads should have resulted in a positive deflection. The devise is clamped to a 1/4" plate. The plate may sag slightly under load, resulting in the observed negative deflection.

If that is in fact the case then loads in the range tested do not deflect the collet.

A3427D2A-3189-4207-B538-7A7399896629.jpeg
 
Last edited:
At the end of the day I would not worry about determining the magnitude of deflection and if it will have an ill effect. The apparatus is not going to be able to determine in a static mode of what is going to be happening in a dynamic mode. About all I can suggest is measure the diameter of you tooling and the ID of the milled spindle and see what the difference is between the two. Maybe a few other people can measure the upper R8 ID of their spindle for comparison.

My main concern would be that you could have introduce some skew in the spindle, this would be seen a worsening TIR as you get further away from the collet/chuck while rotating the spindle. I typically prefer to use an ER32 system clamping some precision ground rod because it tends to have the lower runout vs. R8 and tends to me more uniform in arbors/collets as to TIR. You could also try milling a slot, with a known movement in the Y axis and compare the actual width to the movement. If you are not doing tight tolerance work it may not matter anyway.
 
When a rotating end mill is fed into a workpiece there is a force exerted on the end mill perpendicular to the long axis of the end mill. The rotation makes no difference other than the fact that the force is applied 360 degrees as the cutter rotates. If at any time you could stop the action, there would be a load perpendicular to the end mill.

The rotation and cutting might add a vector of force but you still have a load perpendicular to the long axis of the end mill.

The reason it is significant is that it implies a loose fit between the threaded end of the R8 insert and the spindle will have no ill affect on performance. It also implies that the contact between the R8 bevel of the spindle and insert is the only thing that affects stability and performance.
 
Last edited:
If you really want to test this, put an end mill in the spindle using whatever type of tool holder you prefer, and slot some material at a depth of 1.5X the diameter of the end mill. Then measure (using gauge pins or gauge blocks) the resulting width of the slot and compare that to the published OD of the end mill. That will give you some real world indication of the spindle & tool holder TIR, along with some indication of the rigidity of the machine. If you want to see the real world "skew" or deflection of the tool under load, side-face the width of some thick material using an end mill and measure the resulting width top and bottom, or check it on a surface plate with a squareness gauge to see if you're getting a square result. While I admire the lengths you have gone to in your tests, I don't really understand how useful those load test results are in practice. As I said in your original post, I still think you should replace the spindle with one that has not been bored out to accept out-of-spec collets - at some point you'll be glad you did.
 
Davidpbest, the problem with the tests you propose is they are pass fail. If you fail they don't tell you why.

Is the tool you are using within specs?
Is your tool holder socket out of round?
Is your spindles bevel out of round?
Is there a poor fit of the spindle bearing
Is there too much space between the threaded end of your tool holder and the spindle?

Many of you use static testing to check the spindle bevel's runout.

I have a space of about .001 inches between the threaded end of my tool holder and the spindle. The test I did eliminates this as a potential cause of tilt of a tool under load in the range I tested.

Many have indicated they bought tools that wouldn't fit their spindle. I would imagine the culprit is the threaded end of the tool holder. It is too large for the spindle. My test shows manufacturers can make that portion of the spindle one to two thousands larger so it will accept any tooling and have no affect on the machines performance.
 
Last edited:
One thing I really like about forums is you get to see the work others have done, the advice they’ve given and learn about their thought processes.

Davidpbest has posted some pretty impressive stuff on here and I would count him as someone to look at for making the PM tools as accurate and repeatable as possible. I’m not sure what his background is but he definitely works with master machinists to make his shop really, really nice.

I looked at your test rig and I wondered exactly what it was testing, just as I read the earlier post about enlarging the spindle on your machine and wondered why you took that approach to collets that seemed too large.

When I post things online I do so to learn from those with more experience or different perspectives than I have. I really like this forum because unlike so many others it seems like most of the people on here have the same attitude and are willing to both learn and share their knowledge.

If your machine does the work you need it to do then there is no need for further tests IMHO. If not there are plenty here willing to help.

Cheers,

John
 
I realized that the deflection is negative. If I am not mistaken, the loads should have resulted in a positive deflection. The devise is clamped to a 1/4" plate. The plate may sag slightly under load, resulting in the observed negative deflection.

If that is in fact the case then loads in the range tested do not deflect the collet.
So, if there is no deflection, a logical conclusion of your test would be that R8 mill manufacturers and R8 collet manufacturers are wasting time and adding additional cost by boring spindles to a precise ID and grinding collets to a precise OD? Sorry, but with all due respect, I’m skeptical.

Tom
 
There are parts of a machine that need to be precise. There are parts that don't need to be precise. This test indicates the upper bore of a machine doesn't have to be precise.

RJSakowski posted in another thread that manufacturers are in fact not precise with this dimension:

As far as I know, there is no official specification for the R8 taper outside of Bridgeport. As such, all specifications are derived from reverse engineered products. Consequently, there will be some dimensional variation between manufacturers. Interchangeability if parts requires that all parts be made to a set of tolerances such that the worst case pass of one part will mate with the worst case pass of the mating part. Without a set of consistent specifications between manufacturers, there is no guarantee that parts from different manufacturers will mate.
 
Back
Top