Repainting a Harbor Freight Mill

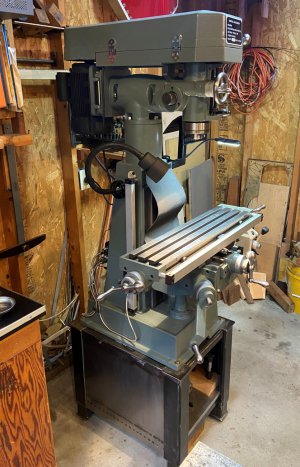
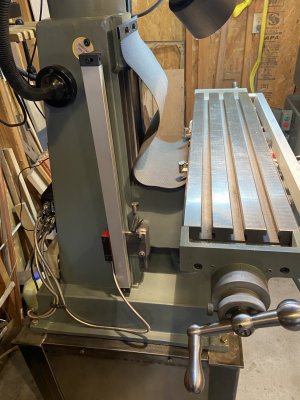
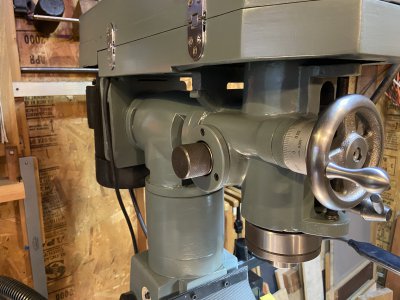
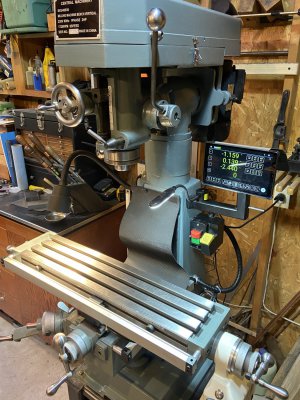
Your mill shoiuld look very nice in grey. Here are a couple of photos from another buyer (found on the HF product page) ... https://www.harborfreight.com/vertical-milling-machine-40939.html:

Late note ... The red color showing through in the first photo makes it look like he simply painted over the original finish.
HF mill 2.jpeg


HF mill 1.jpeg
 
Last edited:
While things are apart, I drilled and tapped some holes for a fine tramming adjustment.

Tramming is done by loosening 4 bolts and tilting the head by hand. I was using various ways to get some leverage and make small adjustments, but it seems it was only by luck that I hit the mark and didn't overshoot one way or the other.

Forward and back nod is fixed. Fortunately, the factory seems to do a pretty good job getting it pretty close.

This is a prototype in wood. There will be some screws capturing the center piece that should make it a lot easier to dial in. If I need to tilt the head (which I currently avoid due to the difficulty in getting it perpendicular), I will just have to unscrew one side.
 

Attachments

  • Tramming.jpg
    Tramming.jpg
    519.7 KB · Views: 49
While things are apart, I drilled and tapped some holes for a fine tramming adjustment.

Tramming is done by loosening 4 bolts and tilting the head by hand. I was using various ways to get some leverage and make small adjustments, but it seems it was only by luck that I hit the mark and didn't overshoot one way or the other.

Forward and back nod is fixed. Fortunately, the factory seems to do a pretty good job getting it pretty close.

This is a prototype in wood. There will be some screws capturing the center piece that should make it a lot easier to dial in. If I need to tilt the head (which I currently avoid due to the difficulty in getting it perpendicular), I will just have to unscrew one side.
That's a fantastic solution! ... despite the fact that you have to remove a part when tilting the head.
 
Two things that will make your direct-to-metal paint job tough for life:

Add 5ml to every 100ml paint of adhesion promoter:

and add the same amount of dryer/hardener:

The adhesion promoter is a polyacrylic, and the hardener is an isocyanate. Helps that (already good) Sherwin alkyd enamel a lot. Also add 5ml of VM&P naptha to flow out the brush streaks. Two coats is enough for most jobs, and three coats is never coming off.
 
Thanks for the paint advice. I was looking for Valspar Enamel Hardner, which I've used in the past, but it looks like it is no longer available. Is the Majic hardener the same?
 
There are different hardeners, check for compatibility. You want an enamel hardener. I got mine at the farm supply store, but I've seen it wherever paints are sold. Majic is an isocyanate, that will be on the label with the warnings.

That's the combo I'm using on my lathe project right now. Still got paint on my hands from yesterday. It's a big job, so I mix a little at a time and paint whatever I'm working on a piece at a time. Two brush coats with enamel primer, or three without.
 
Painted and reassembled.

The paint is still curing, but I wanted to get it back together before I forgot where all the parts go.

I'm happy with the way it turned out.
Compared to some of my other machines the color is a little more on the blue side of gray, but it fits in nicely.
 

Attachments

  • IMG_0481.JPG
    IMG_0481.JPG
    323.2 KB · Views: 77
  • IMG_0482.JPG
    IMG_0482.JPG
    303.8 KB · Views: 80
  • IMG_0483.JPG
    IMG_0483.JPG
    448.7 KB · Views: 79
  • IMG_0486.JPG
    IMG_0486.JPG
    385 KB · Views: 82
Back
Top