- Joined
- Dec 29, 2012
- Messages
- 394
After 30 years of reliable service my water pressure washer stopped working. The motor works but the water has no pressure at all.
I have bought it from UK when I was living there and so far it worked ok for the occasional use I make.
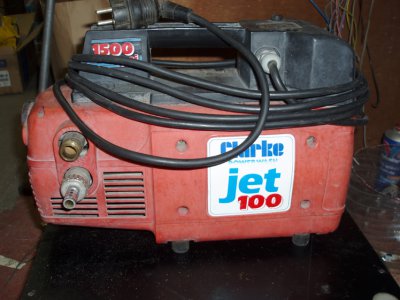
Compared to modern washers where plastic dominates, this is a metal body unit that was made to last (and it did last 3 decades!!).
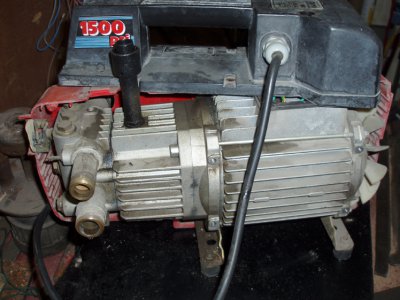
PART 1 Disassembly and inspection
These units are of simple construction having a pressure head consisted from 2 parts. The “motion giving unit” that is bolted directly on the motor and the “water pressurizing unit” that is bolted on the motion giving part where the water is pressurized.
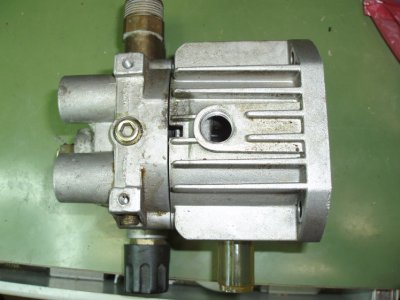
3 rods go through both units that achieve forward and backward movement from the motor through an eccentric shaft .
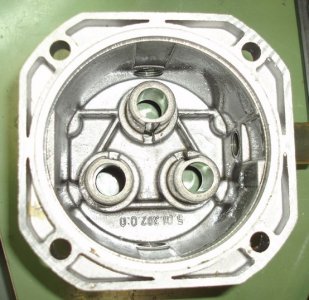
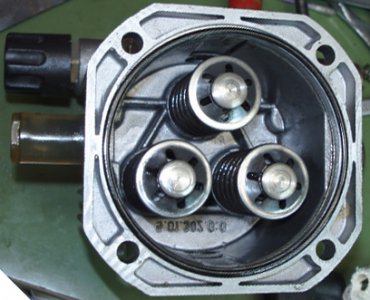
The rods wok in oil bath in the first unit, exit through oil seals and enter the second unit through o-rings that are secured in bronze holders.
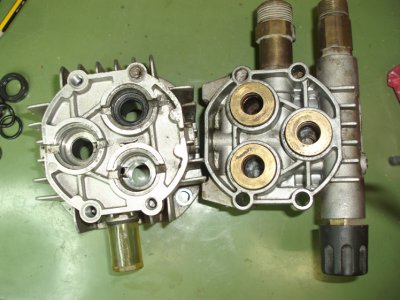
To keep the high pressure water running in one direction a 6 valve system is used that are covered by bronze screw cups.
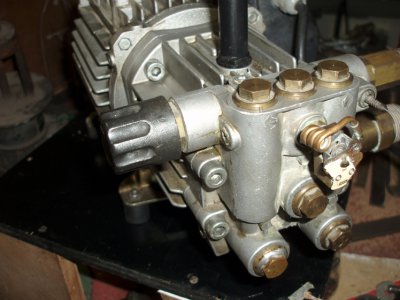
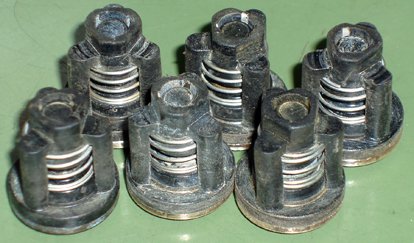
Inside the valve chambers there are simple plastic one way valves that have seen better days as debri and o-ring parts found a way to go through them and make them inoperable.
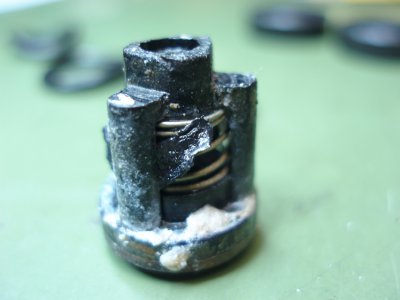
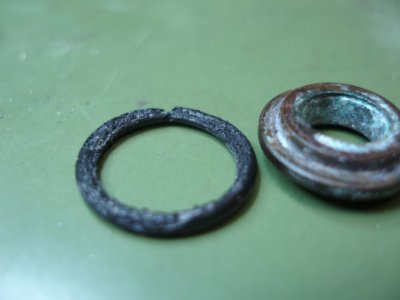
Those valves are secured by the bronze screw cups and sit on o-rings that have lost most of their meat.
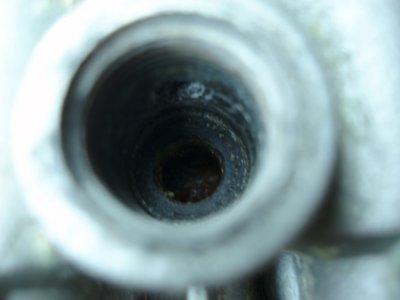
The chambers where the valves sit were corroded as well.
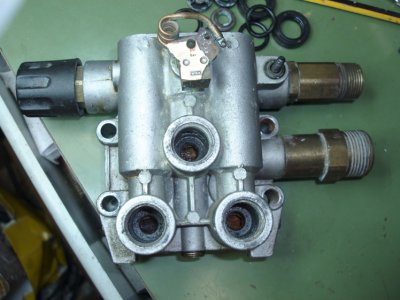
It requires some treatment in order the new o-rings to sit and seal properly
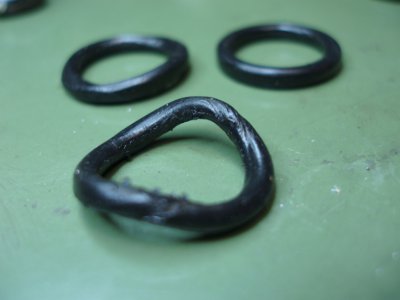
The main o-rings that seal the rods were in bad shape also.
PART 2 Repairs
As the 3 rods have been replaced with stainless some 20 years ago they were ok. Just minor scratches that does not affect their operation
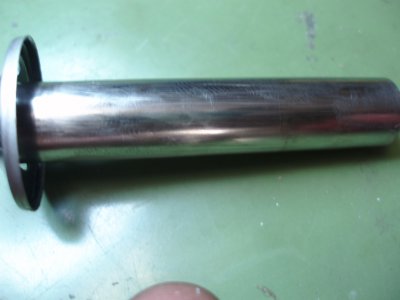
So the whole unit was repairable!
A few parts later the repairs started.
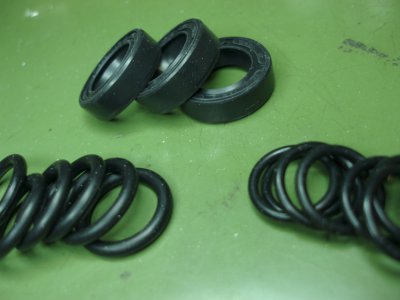
The valves received a thorough cleaning.
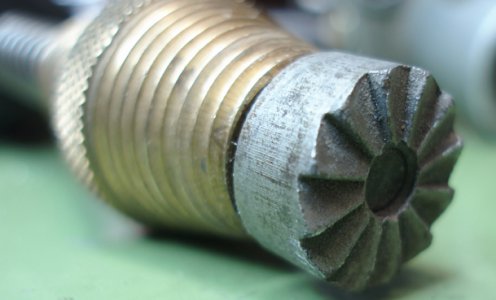
To clean the chamber of each valve I have been creative and instead of fixing the unit to the mill, centering it, using the boring head and spend hours, I used a simple device made to manually clean the taps when you need to change the tap washer.
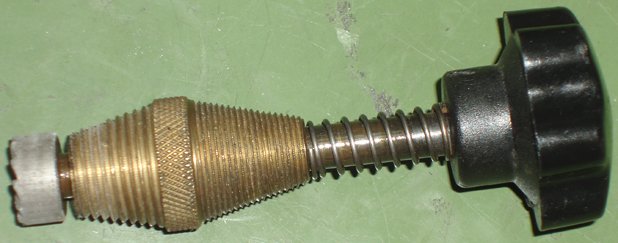
The device bolts on the tap and by rotating it, it cleans the bottom where the seal sits
That was exactly the way it was used in the pressure washer.
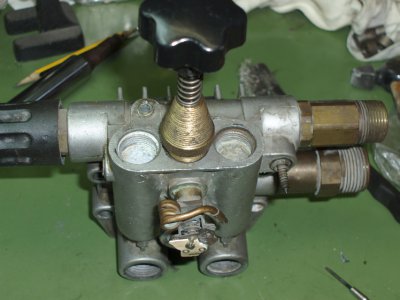
It worked like a charm
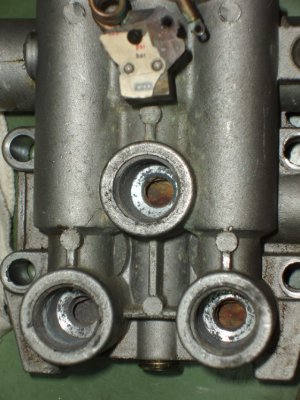
All chambers cleaned
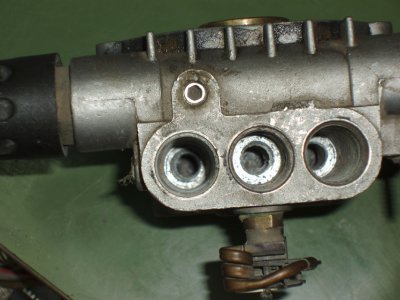
The rest was a matter of fitting the new parts and assembly the unit
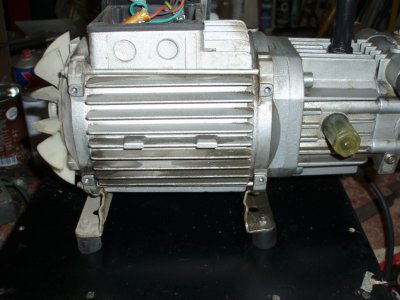
Some cleaning, new oil, a new plug and the unit is as good as new again.
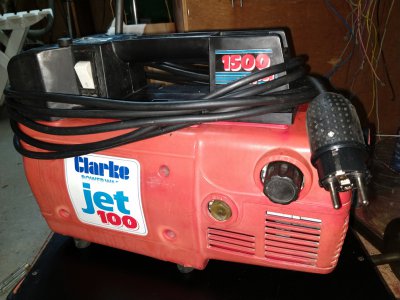
Thanks for reading
Petros
I have bought it from UK when I was living there and so far it worked ok for the occasional use I make.

Compared to modern washers where plastic dominates, this is a metal body unit that was made to last (and it did last 3 decades!!).

PART 1 Disassembly and inspection
These units are of simple construction having a pressure head consisted from 2 parts. The “motion giving unit” that is bolted directly on the motor and the “water pressurizing unit” that is bolted on the motion giving part where the water is pressurized.

3 rods go through both units that achieve forward and backward movement from the motor through an eccentric shaft .


The rods wok in oil bath in the first unit, exit through oil seals and enter the second unit through o-rings that are secured in bronze holders.

To keep the high pressure water running in one direction a 6 valve system is used that are covered by bronze screw cups.

Inside the valve chambers there are simple plastic one way valves that have seen better days as debri and o-ring parts found a way to go through them and make them inoperable.

Those valves are secured by the bronze screw cups and sit on o-rings that have lost most of their meat.

The chambers where the valves sit were corroded as well.

It requires some treatment in order the new o-rings to sit and seal properly

The main o-rings that seal the rods were in bad shape also.

PART 2 Repairs
As the 3 rods have been replaced with stainless some 20 years ago they were ok. Just minor scratches that does not affect their operation

So the whole unit was repairable!
A few parts later the repairs started.

The valves received a thorough cleaning.

To clean the chamber of each valve I have been creative and instead of fixing the unit to the mill, centering it, using the boring head and spend hours, I used a simple device made to manually clean the taps when you need to change the tap washer.

The device bolts on the tap and by rotating it, it cleans the bottom where the seal sits

That was exactly the way it was used in the pressure washer.

It worked like a charm

All chambers cleaned

The rest was a matter of fitting the new parts and assembly the unit

Some cleaning, new oil, a new plug and the unit is as good as new again.

Thanks for reading
Petros

