- Joined
- Nov 7, 2019
- Messages
- 480
Figured I'd share my restoration project!
I've always found these old machines quite cool and when a neighbour offered me a defective one for free, I couldn't say no!
This is the machine as I got it, it runs but won't lower the sawblade so you have to manually push it against the work piece, which becomes quite the challenge and dangerous as heck when it's moving back and forth.
The thick bars protruding on the side are from an automatic feed system that's been cut off.
By pure chance I came across a previous owner of this saw and he gave me these two pictures of how it used to look.
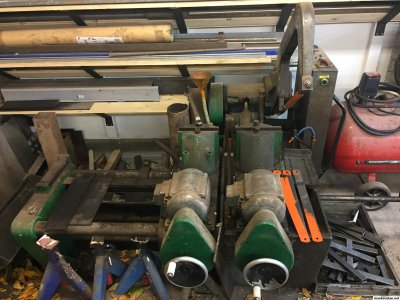
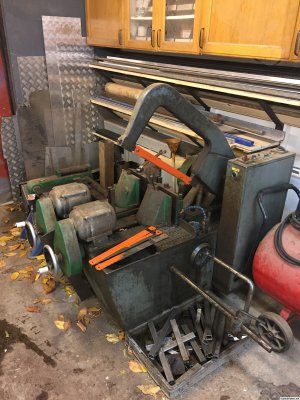
At first I was just going to get the downfeed to work again and leave it at that, not spend too much time on it because I have quite a lot of other stuff that also needs doing.
But just trying to understand how the machine is built and what could be the problem, I was already in waaay too deep to not do something more serious.
Just trying to get the downfeed mechanism out I somehow ended up with this after like 14 hours of work ... Many of those were just shoveling out old sludge and nasty cutting oil.
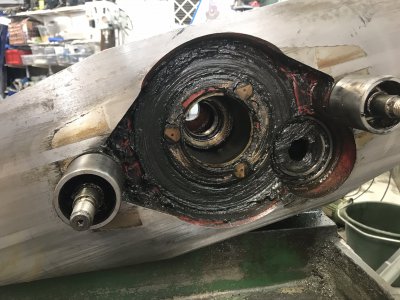
Every little mechanism is completely packed with old grease that is long overdue for a cleanup, this picture was after I scooped handfuls of it out.
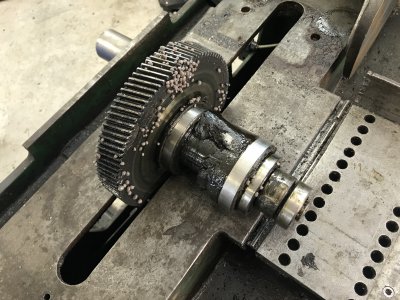
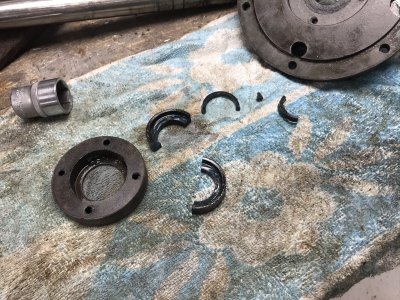
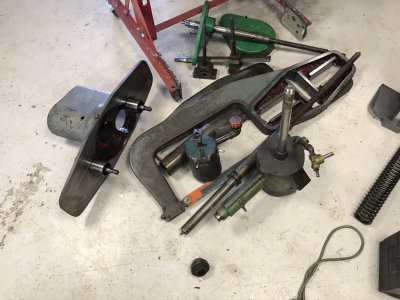
Eventually after a lot of beating I managed to get the entire hinge mechanism off and the parts are starting to pile up.
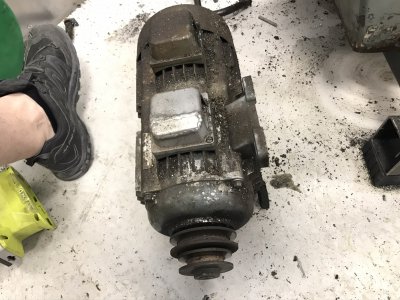
One really interesting thing is this motor. It's 2 motors in one, double shafts and everything.
There's a smaller shaft, inside the bigger shaft, powering the smaller pulley.
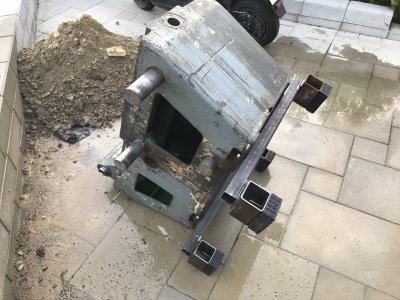
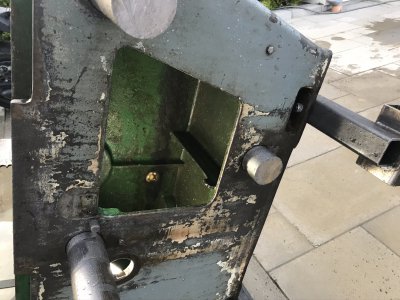
With everything stripped it was time for it to travel outside for some major cleaning.. Quite a big of degreaser, scrubbing and high pressure washer.
By now you can even see that it has some color underneath all the crud.
I've always found these old machines quite cool and when a neighbour offered me a defective one for free, I couldn't say no!
This is the machine as I got it, it runs but won't lower the sawblade so you have to manually push it against the work piece, which becomes quite the challenge and dangerous as heck when it's moving back and forth.
The thick bars protruding on the side are from an automatic feed system that's been cut off.
By pure chance I came across a previous owner of this saw and he gave me these two pictures of how it used to look.


At first I was just going to get the downfeed to work again and leave it at that, not spend too much time on it because I have quite a lot of other stuff that also needs doing.
But just trying to understand how the machine is built and what could be the problem, I was already in waaay too deep to not do something more serious.
Just trying to get the downfeed mechanism out I somehow ended up with this after like 14 hours of work ... Many of those were just shoveling out old sludge and nasty cutting oil.
Every little mechanism is completely packed with old grease that is long overdue for a cleanup, this picture was after I scooped handfuls of it out.


Eventually after a lot of beating I managed to get the entire hinge mechanism off and the parts are starting to pile up.

One really interesting thing is this motor. It's 2 motors in one, double shafts and everything.
There's a smaller shaft, inside the bigger shaft, powering the smaller pulley.

With everything stripped it was time for it to travel outside for some major cleaning.. Quite a big of degreaser, scrubbing and high pressure washer.
By now you can even see that it has some color underneath all the crud.


Last edited:

