- Joined
- Apr 3, 2021
- Messages
- 18
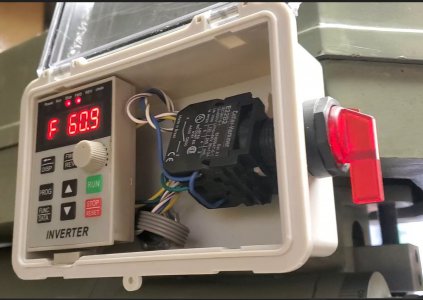
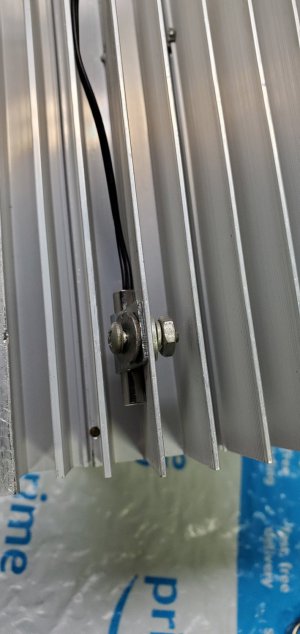
Installed the other temperature probe on the vfd heat sink. How to cover up the hole in column for the oem on off switch?
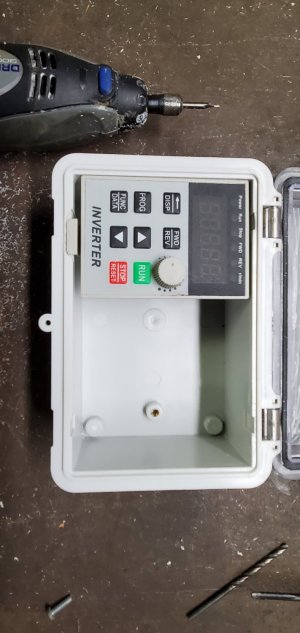
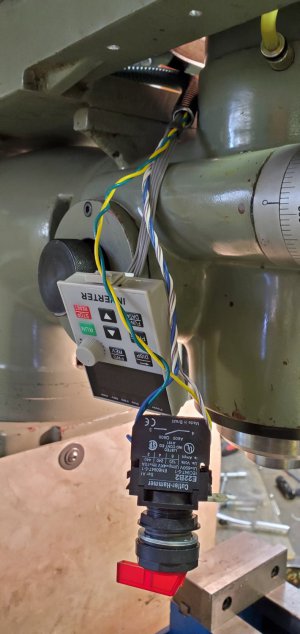
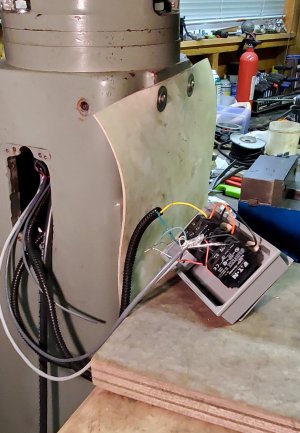
Got a waterproof outdoor electrical box extension and drill and tap some 6-32 holes in column. Just covers it nicely. Micro switches for momentary switch for contactor and e stop. Had a nice metal tool box that I used for an enclosure as I didn't want the the big square box sticking out past the column.
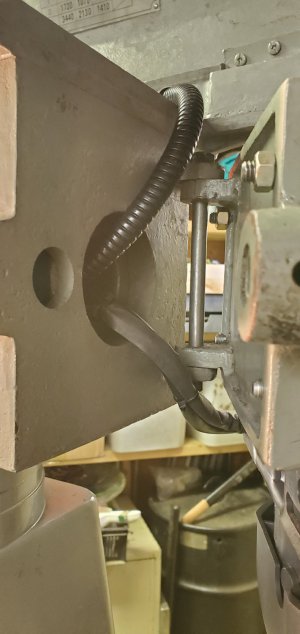
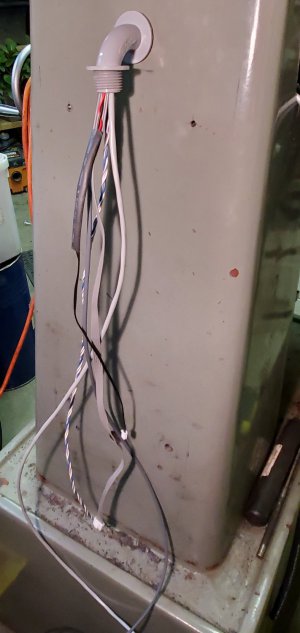
Initially I planned on using flex into the control box, but realized that the head wouldn't rotate, after I had cut out the holes. That's no good.
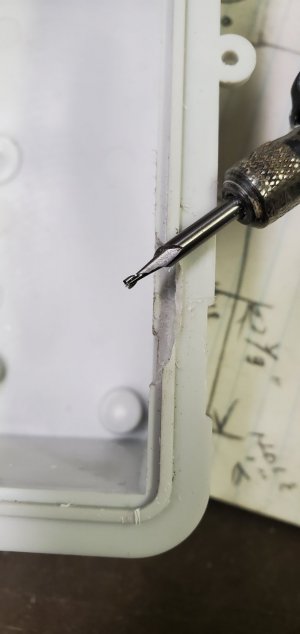
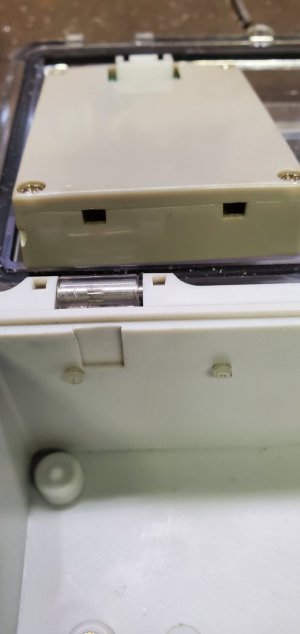
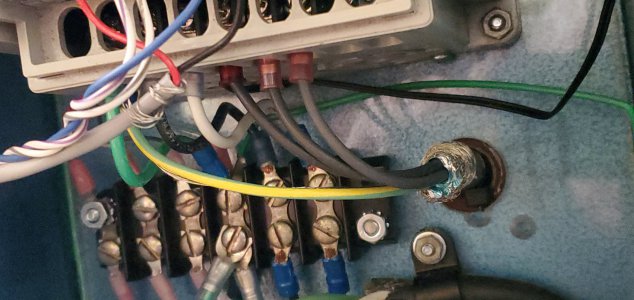
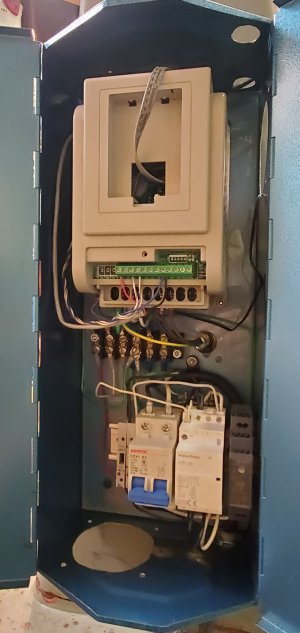
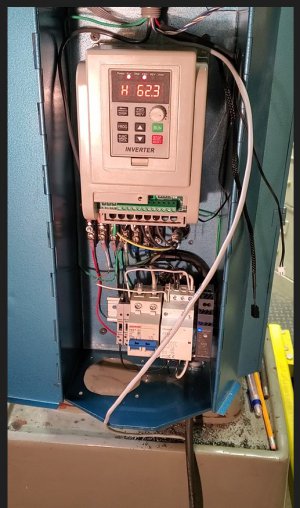
Fortunately the head is hollow and open at the back so that was an easy fix. Bought a 5' piece of double shielded vfd power cable to feed the motor. Is it necessary? Probably not. How to get it into control box? It's not that flexible, the wire I bought is probably the most flexible available today. Didn't want to swiss cheese the mill with holes, however it had to be done. Drilled a 1/2" hole through column as cable is 0.405" diameter and brought it into box under vfd.
Got a waterproof outdoor electrical box extension and drill and tap some 6-32 holes in column. Just covers it nicely. Micro switches for momentary switch for contactor and e stop. Had a nice metal tool box that I used for an enclosure as I didn't want the the big square box sticking out past the column.
Initially I planned on using flex into the control box, but realized that the head wouldn't rotate, after I had cut out the holes. That's no good.
Fortunately the head is hollow and open at the back so that was an easy fix. Bought a 5' piece of double shielded vfd power cable to feed the motor. Is it necessary? Probably not. How to get it into control box? It's not that flexible, the wire I bought is probably the most flexible available today. Didn't want to swiss cheese the mill with holes, however it had to be done. Drilled a 1/2" hole through column as cable is 0.405" diameter and brought it into box under vfd.
Attachments
-
 20221105_092721.jpg141.1 KB · Views: 54
 -
 20221116_125032.jpg495.9 KB · Views: 46
 -
 20221102_163442.jpg368.7 KB · Views: 60
 -
 20221116_125555.jpg172.1 KB · Views: 44
 -
 20221116_125608.jpg128.6 KB · Views: 48
 -
 20221116_124954.jpg156 KB · Views: 51
 -
 Control1.jpg139.8 KB · Views: 52
 -
 E stop.jpg95.3 KB · Views: 50
 -
 20221113_170642.jpg130.6 KB · Views: 45
 -
 20221113_170621a.jpg242.2 KB · Views: 49