[How-To] Shop extension - Yardmaster 10x12 metal shed assembly

DLF

Registered
Registered
Joined
Nov 7, 2018
Messages
122
Hello,

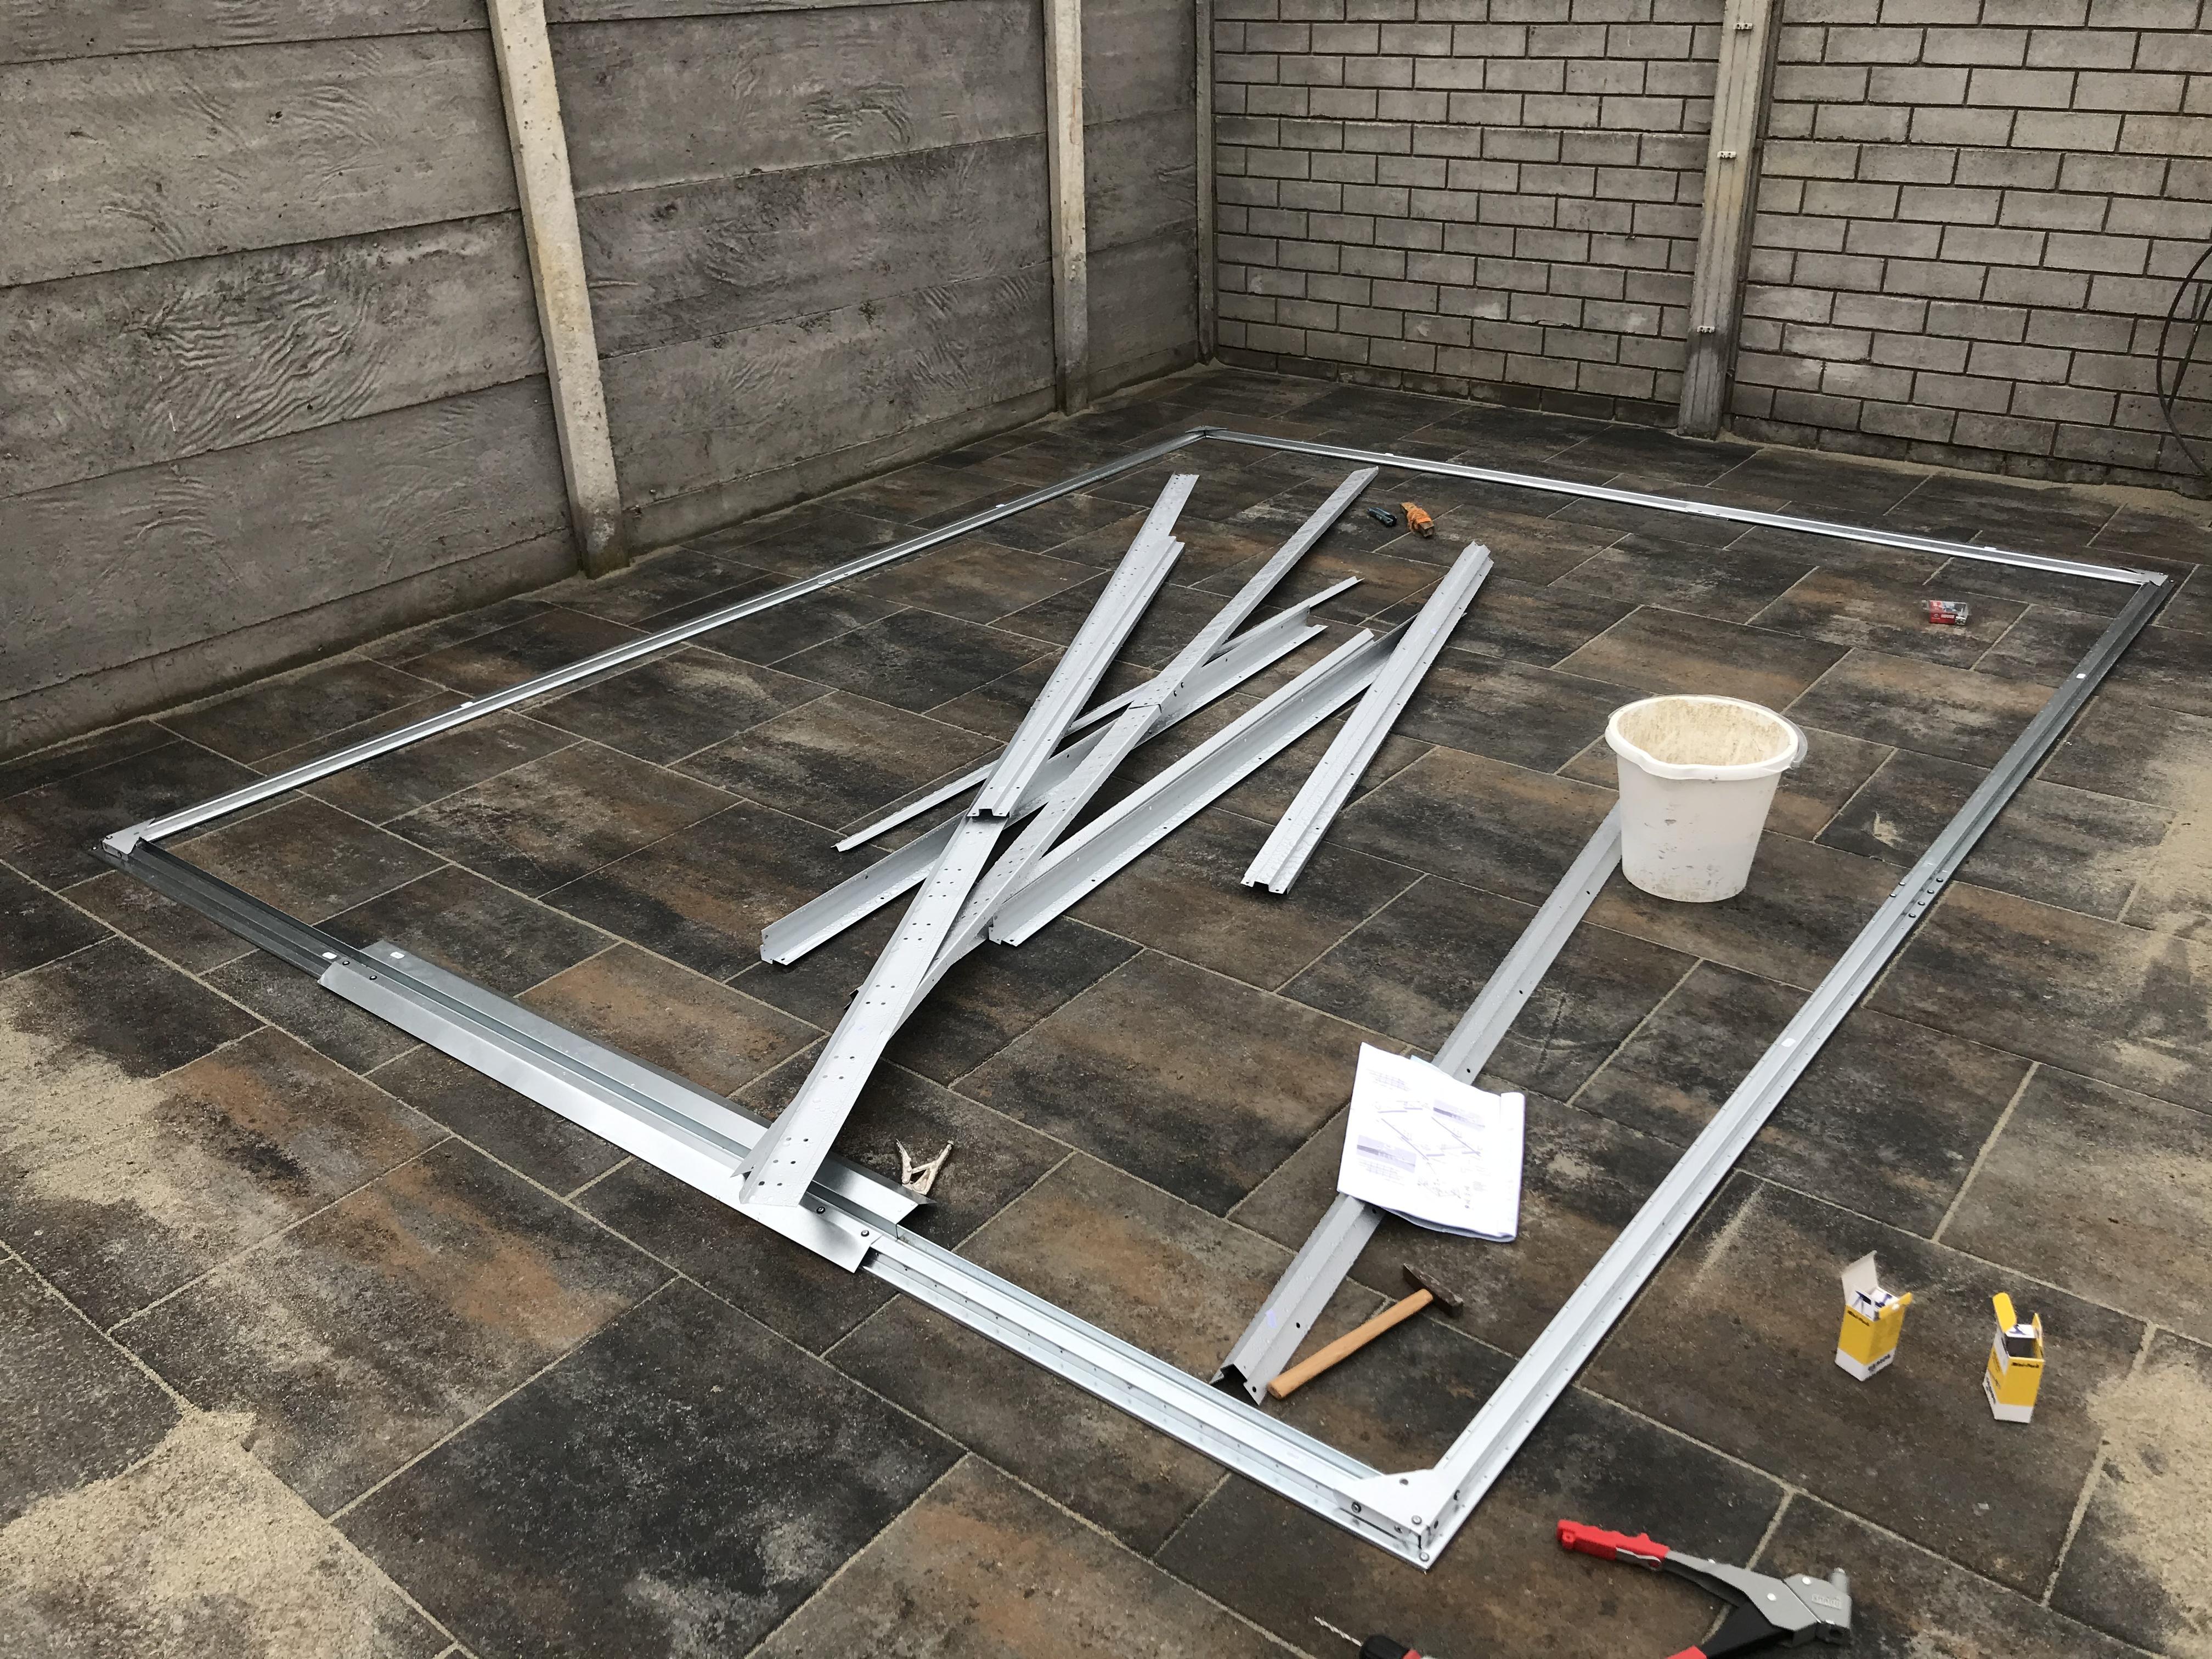
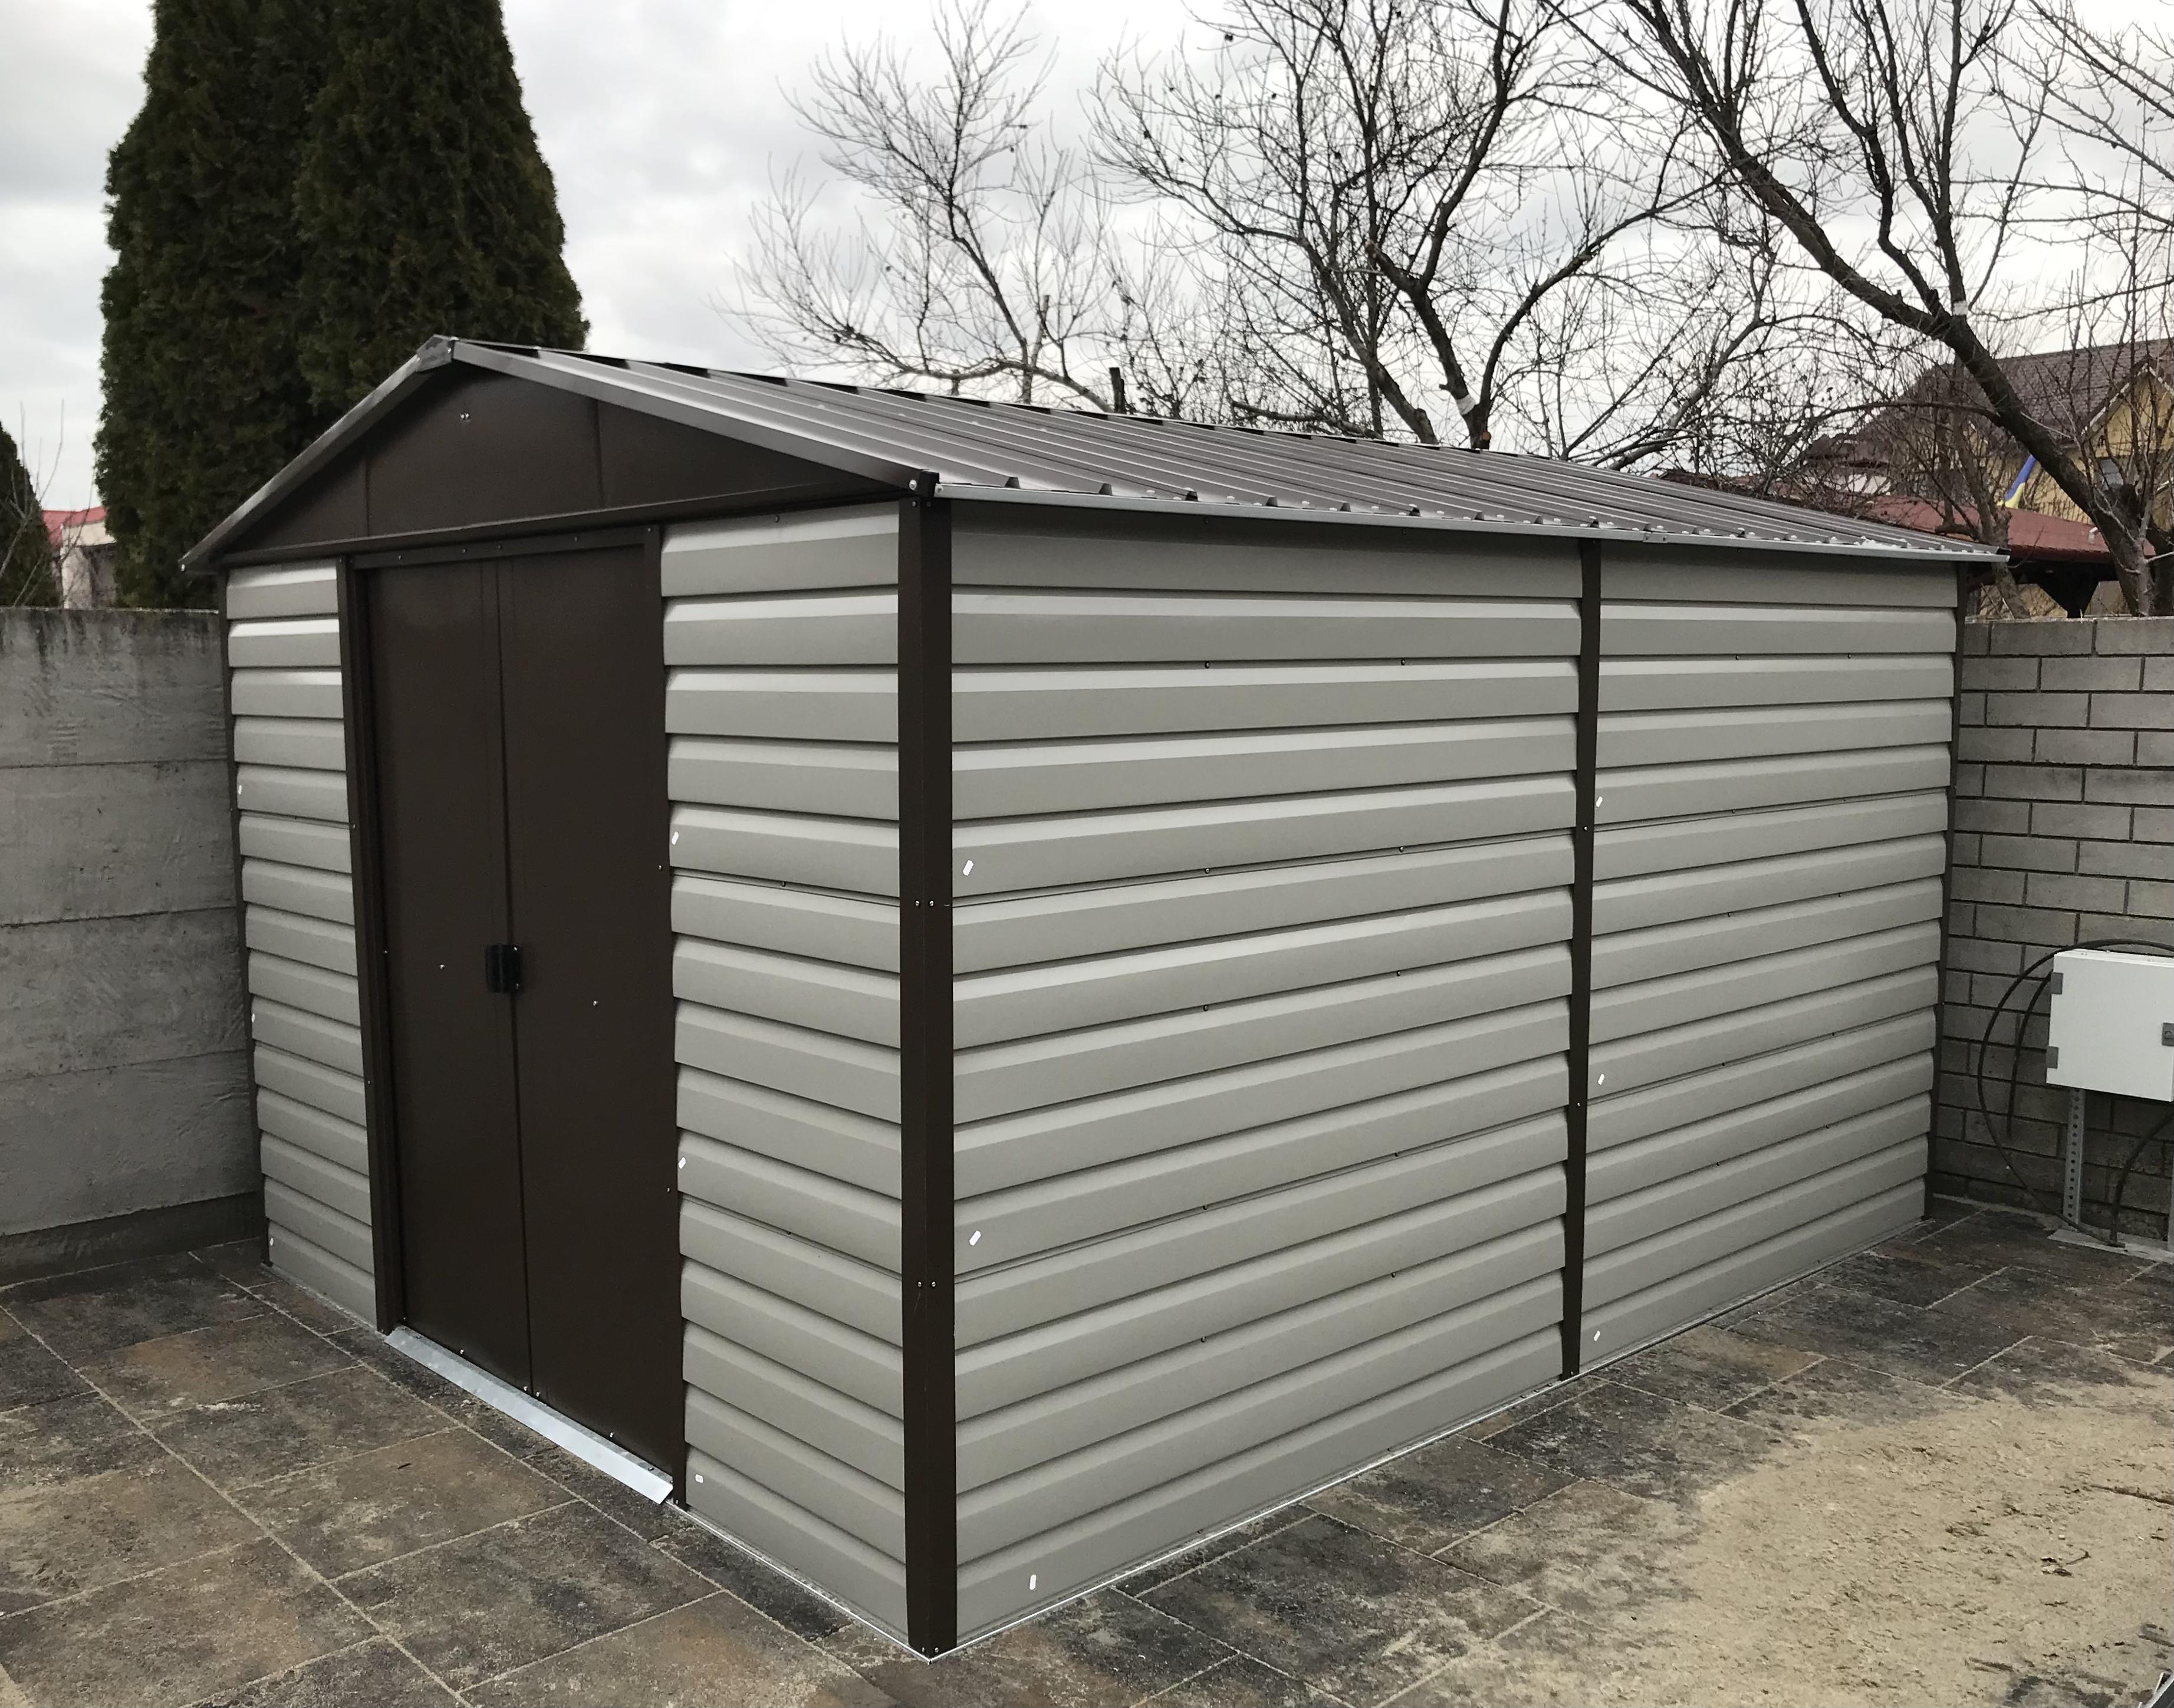
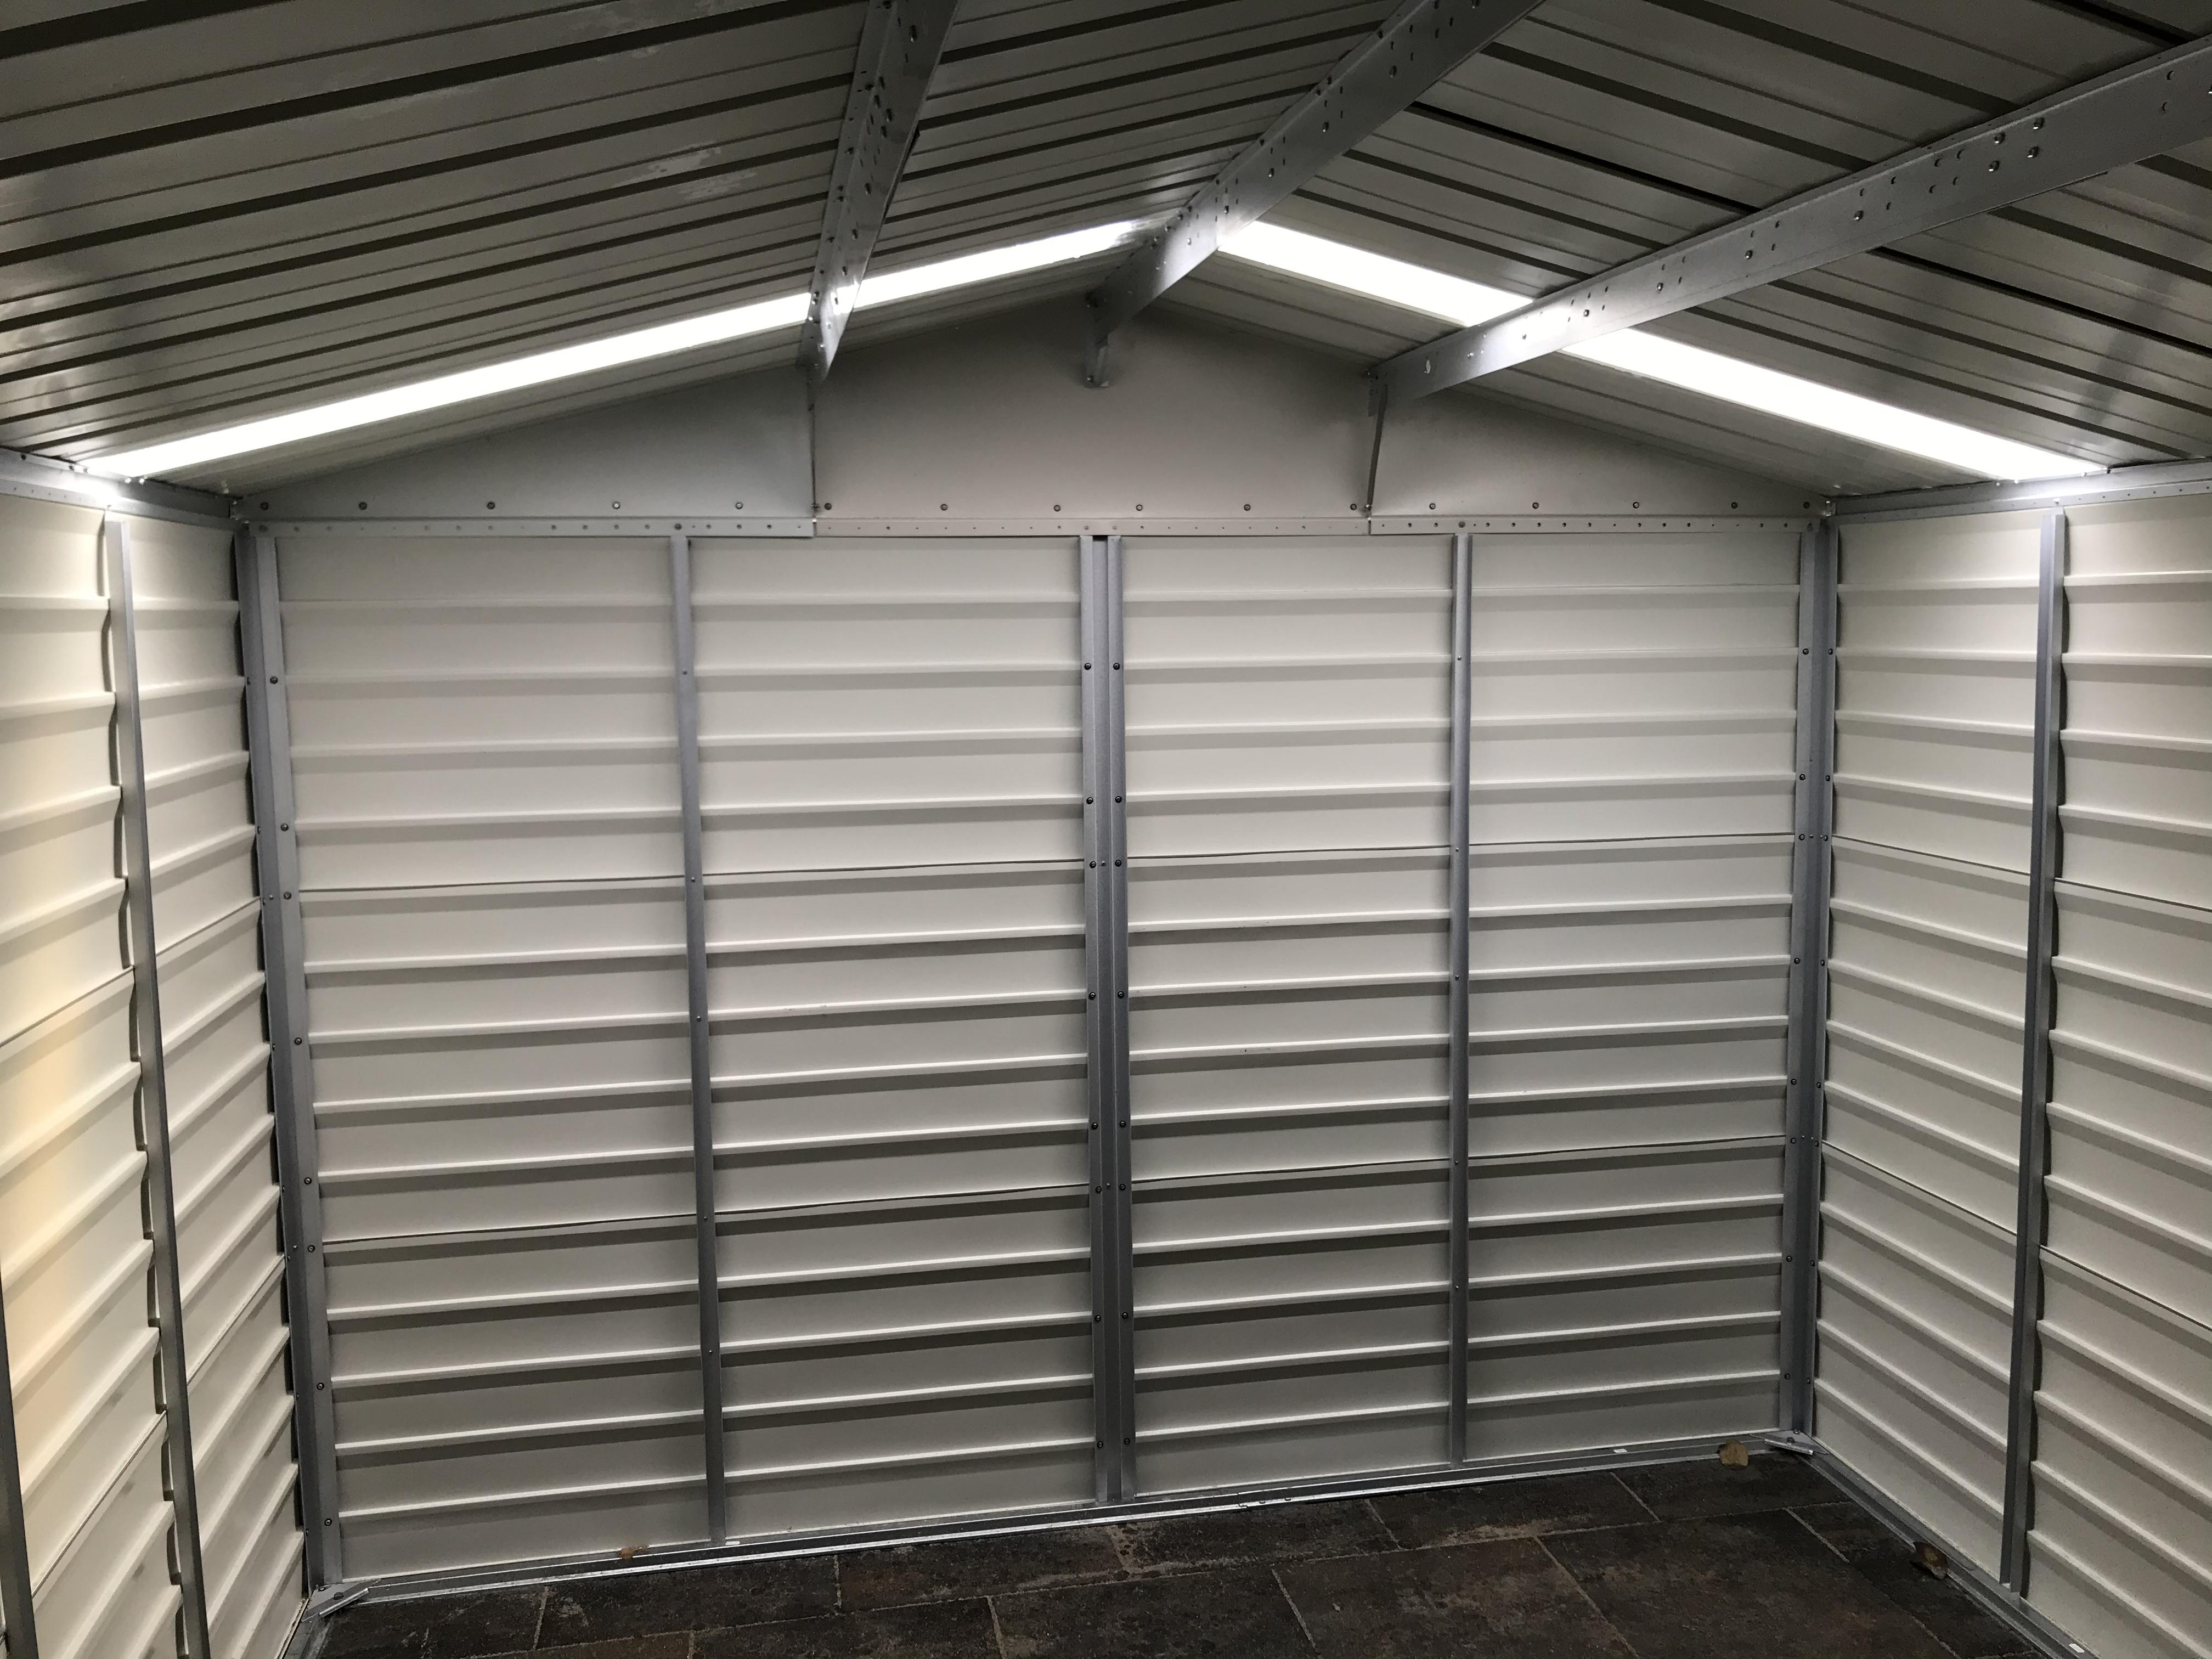
I need some extra shop-floor space so I bought a Yardmaster 10x12 (3x3.7m) metal shed. The less used tools would go in there, assuming they would not be bothered by the moisture and condensation (sandblasting booth, bench grinder, etc.)

This shed is sold under different brands. In the US I believe it is sold under the Arrow brand.

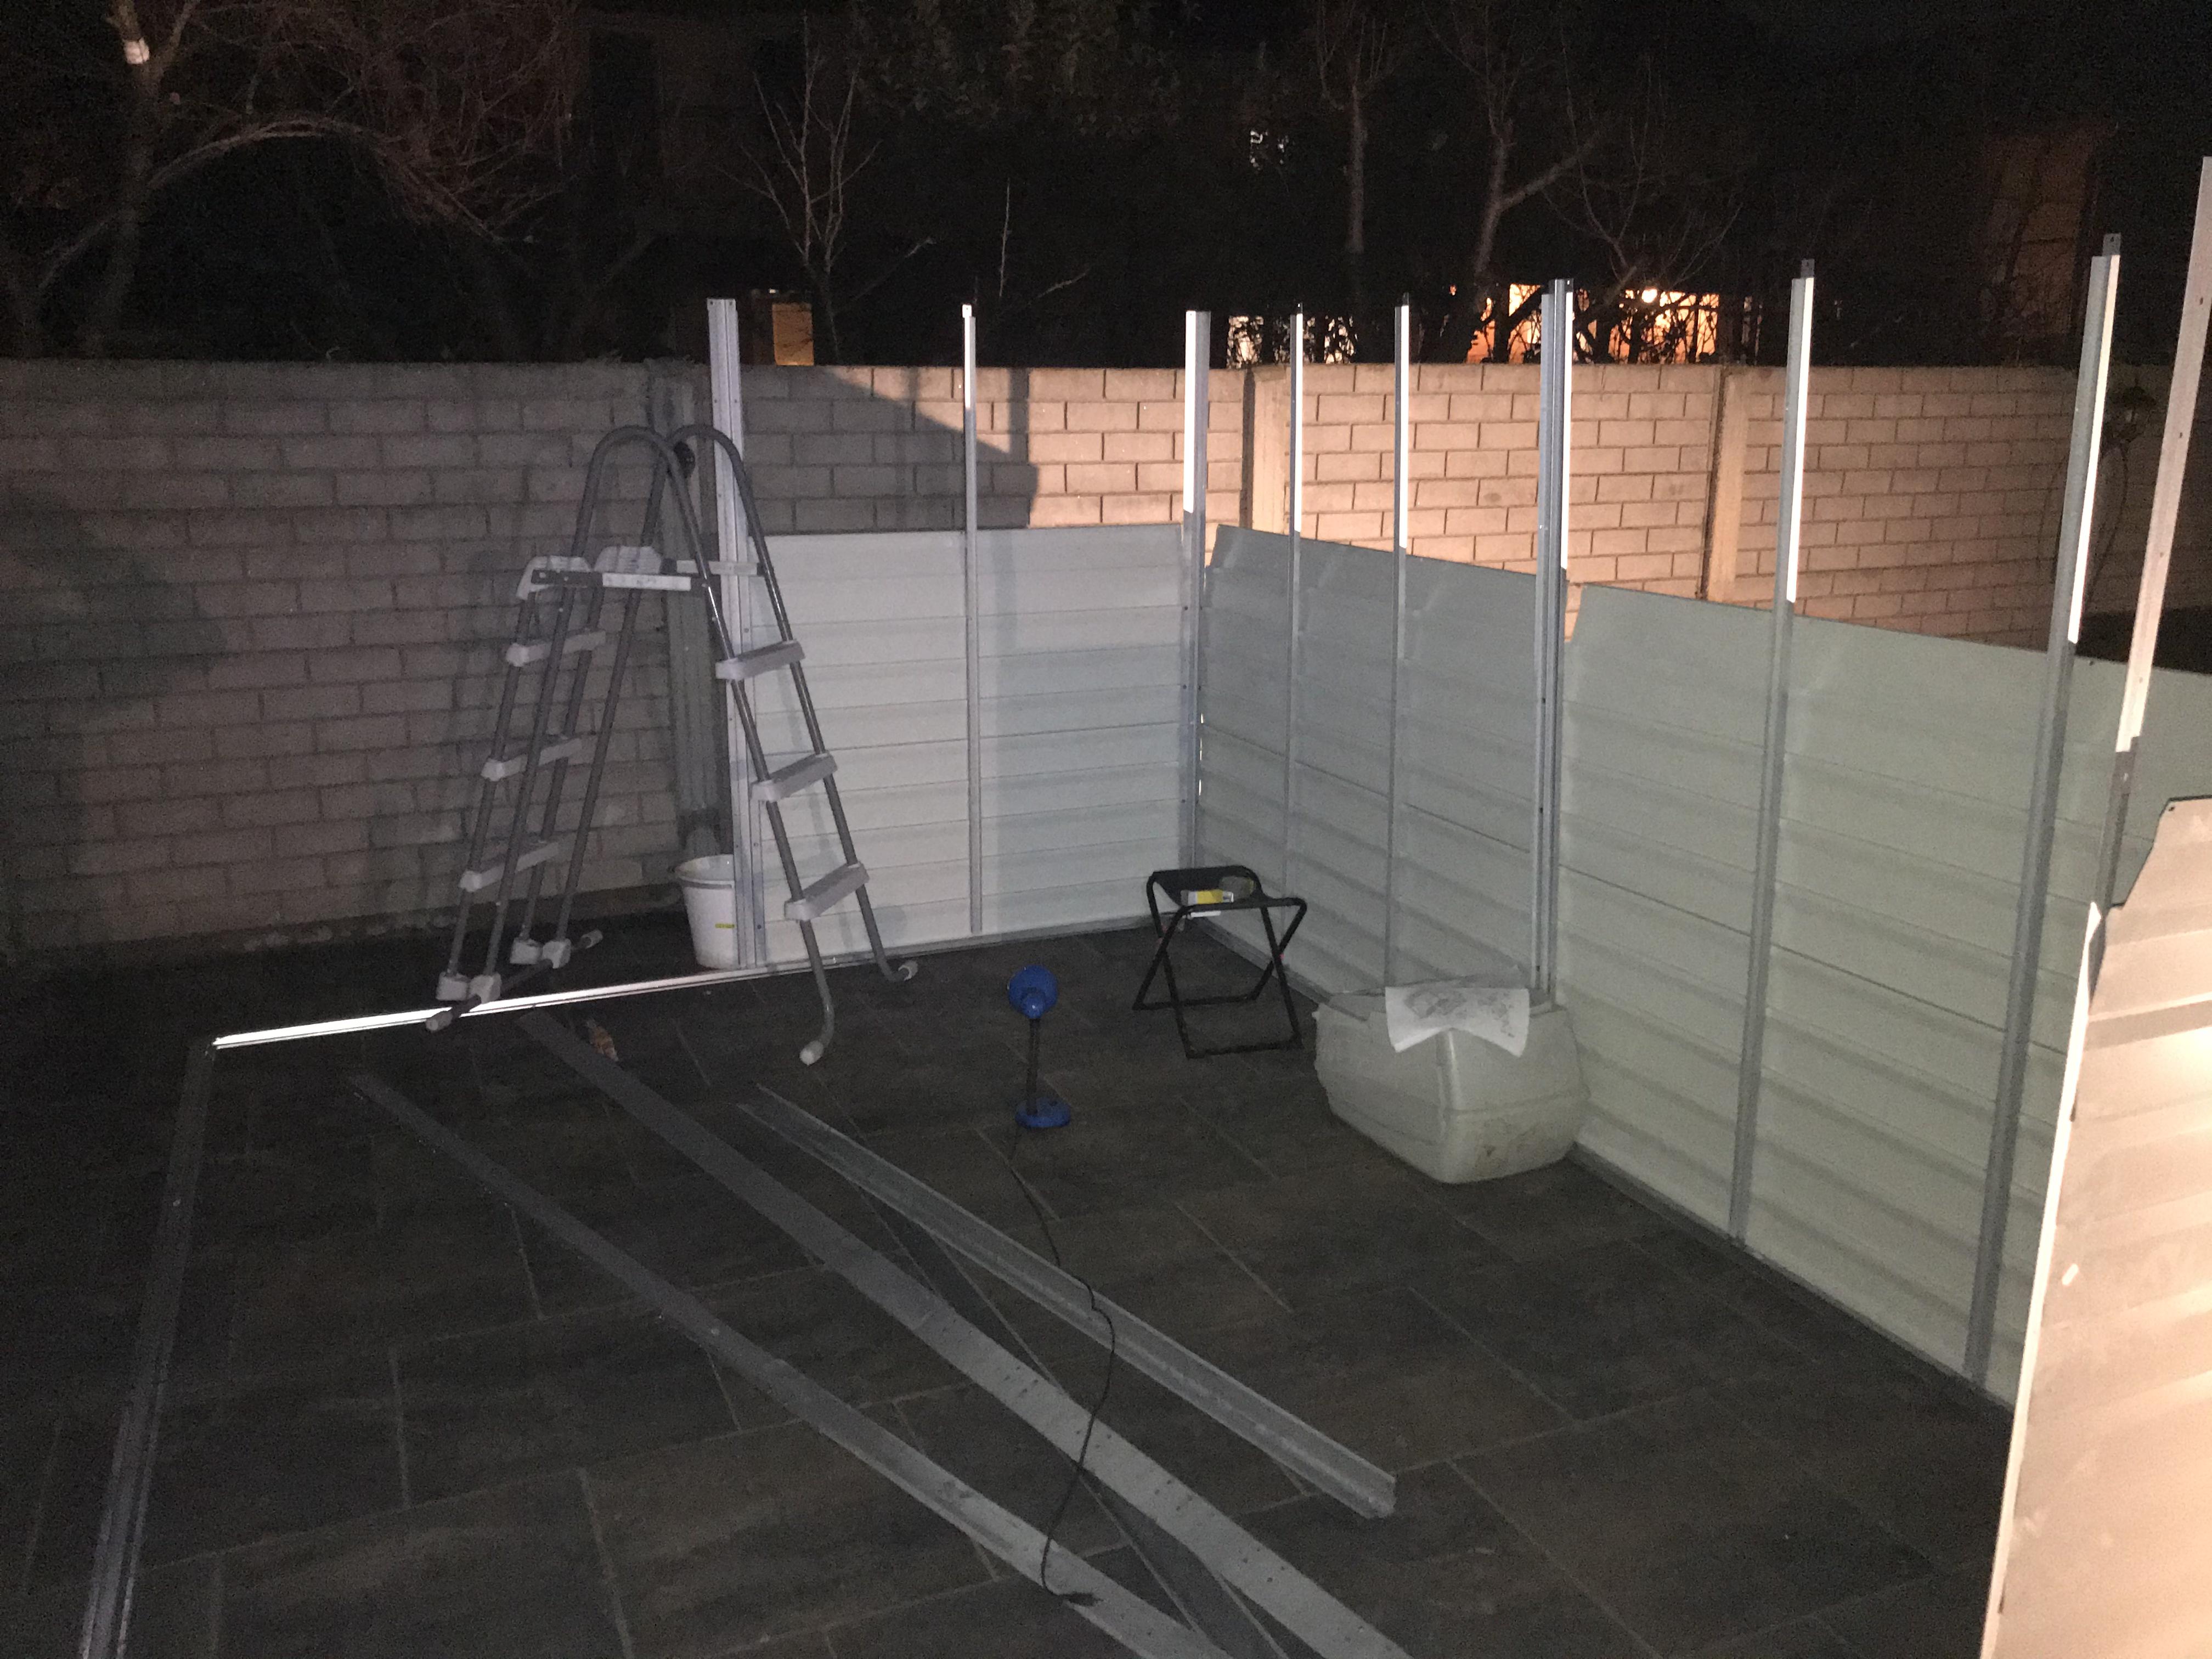
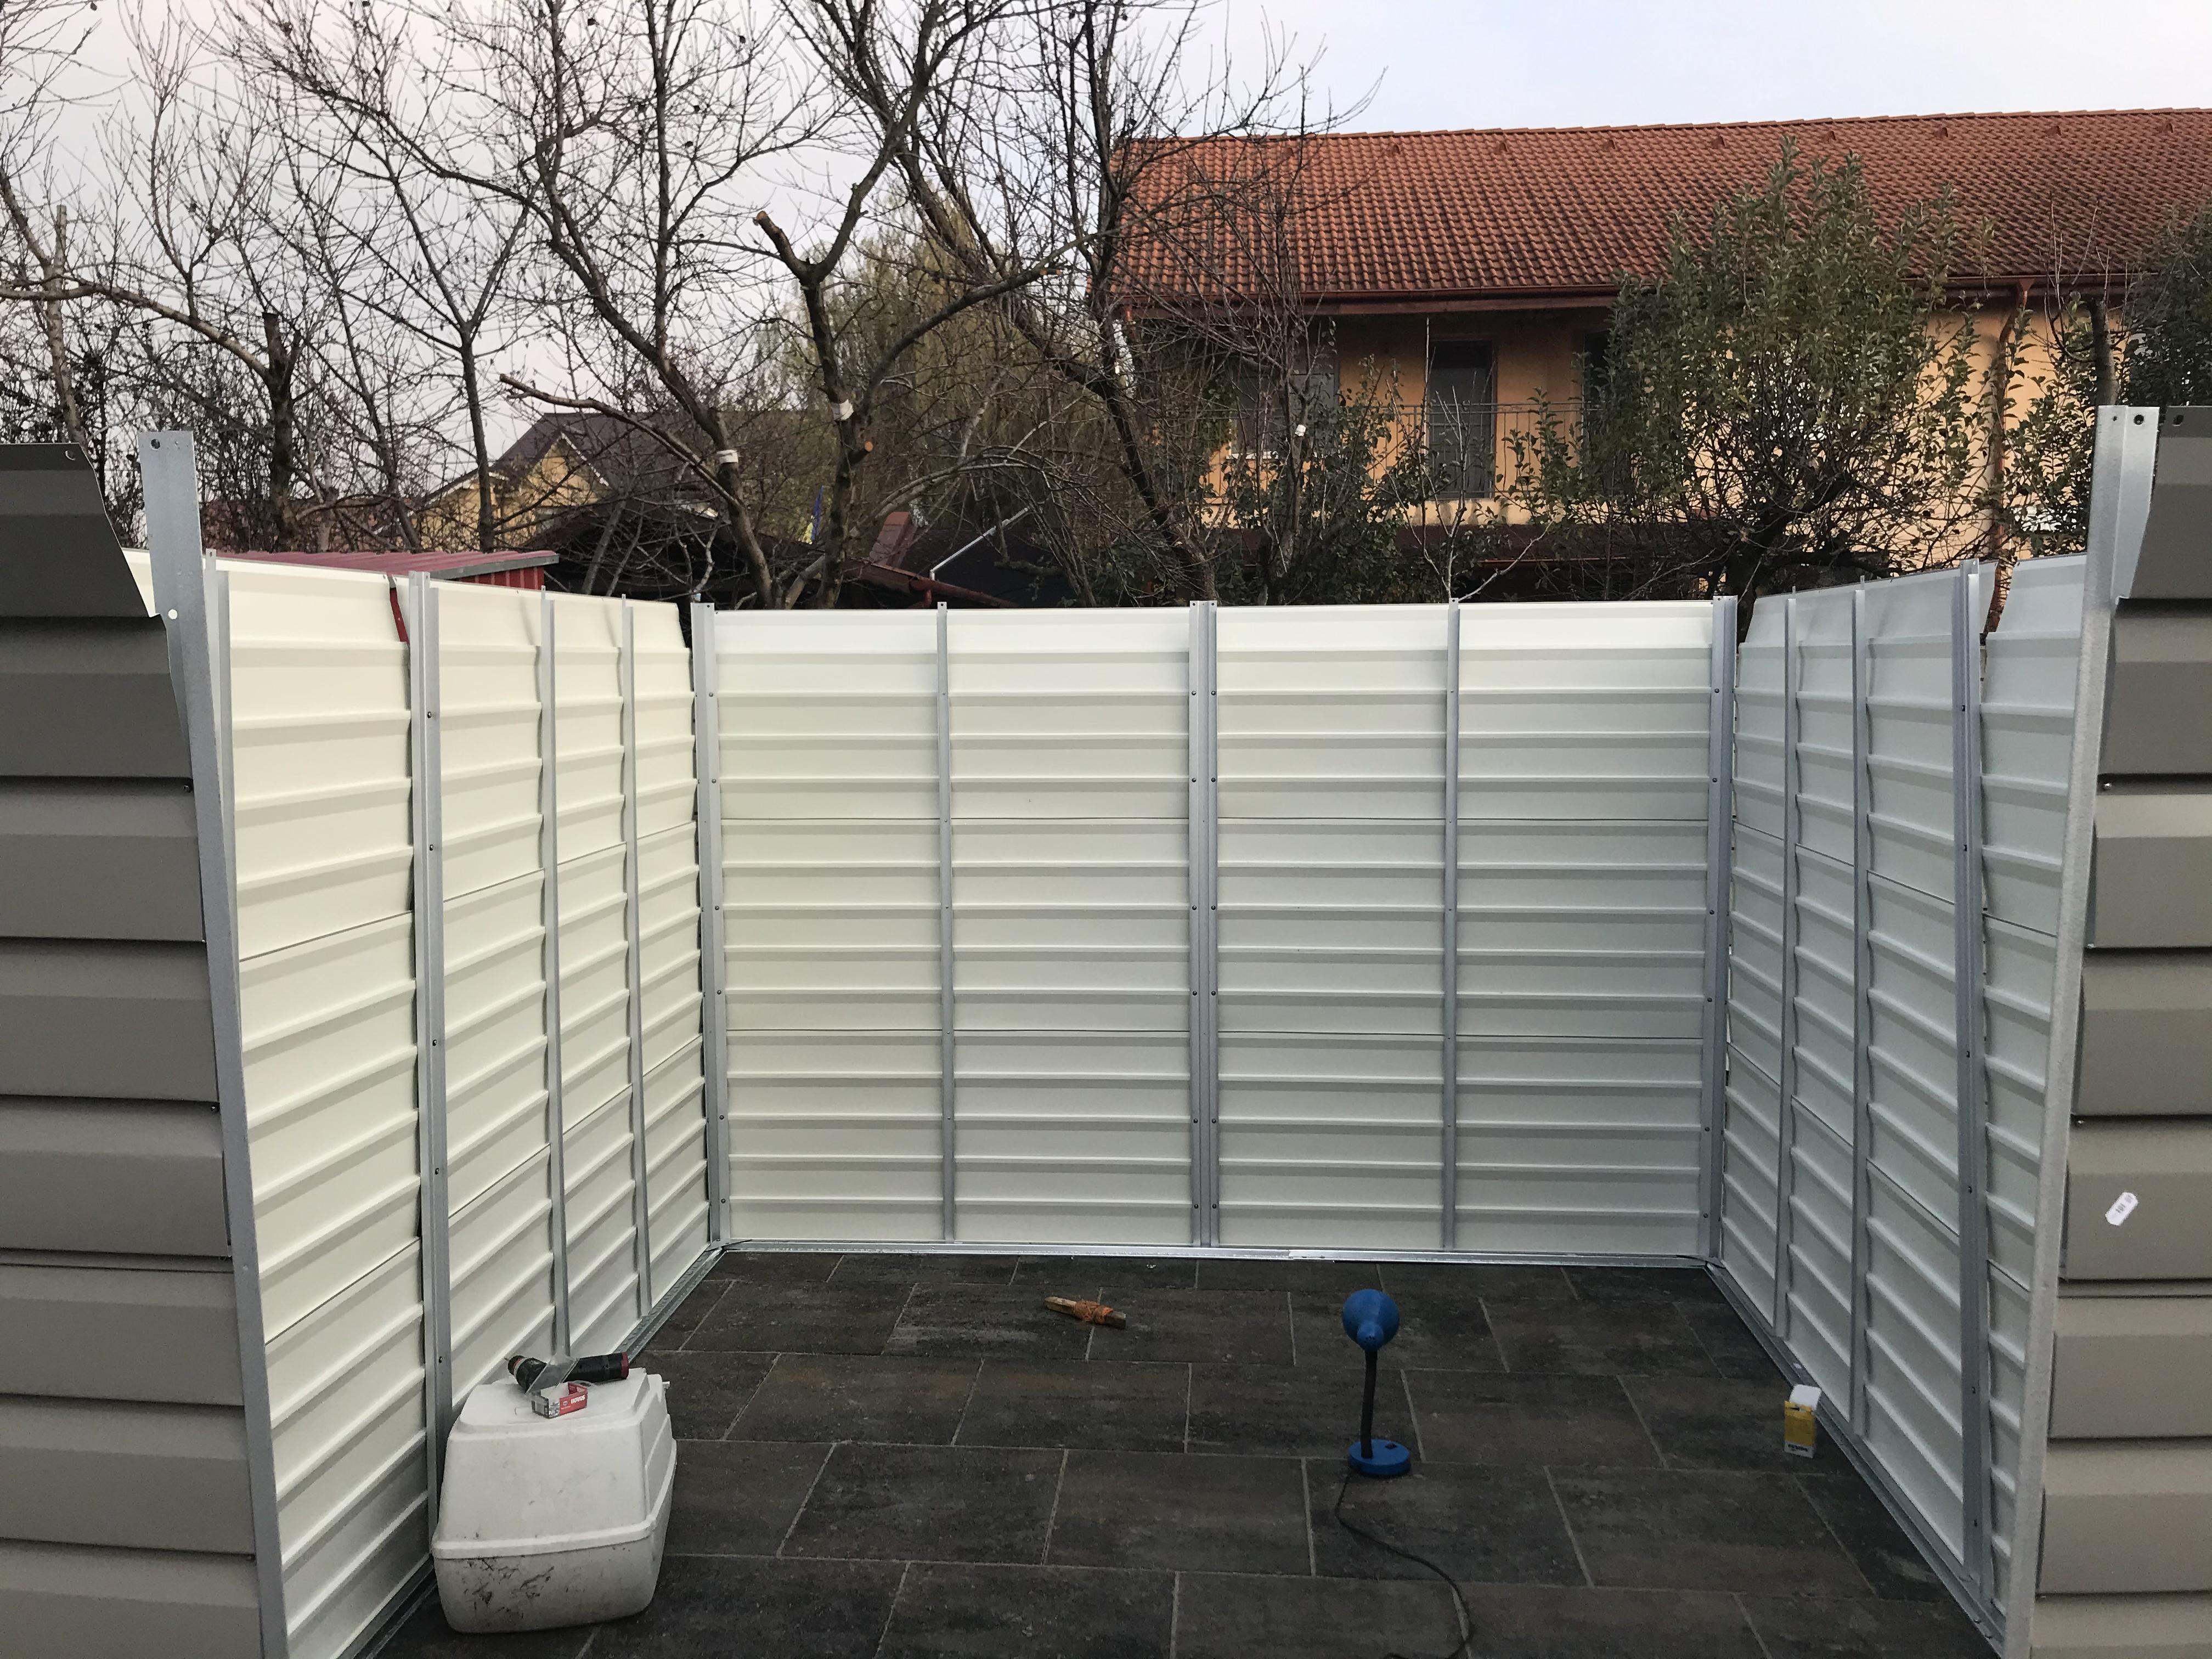
Pics are from day 2 of the build since day 1 was a major failure. This thing is all thin sheet metal and is supposed to be screwed together using a big bag of aprox 800 stainless screws.

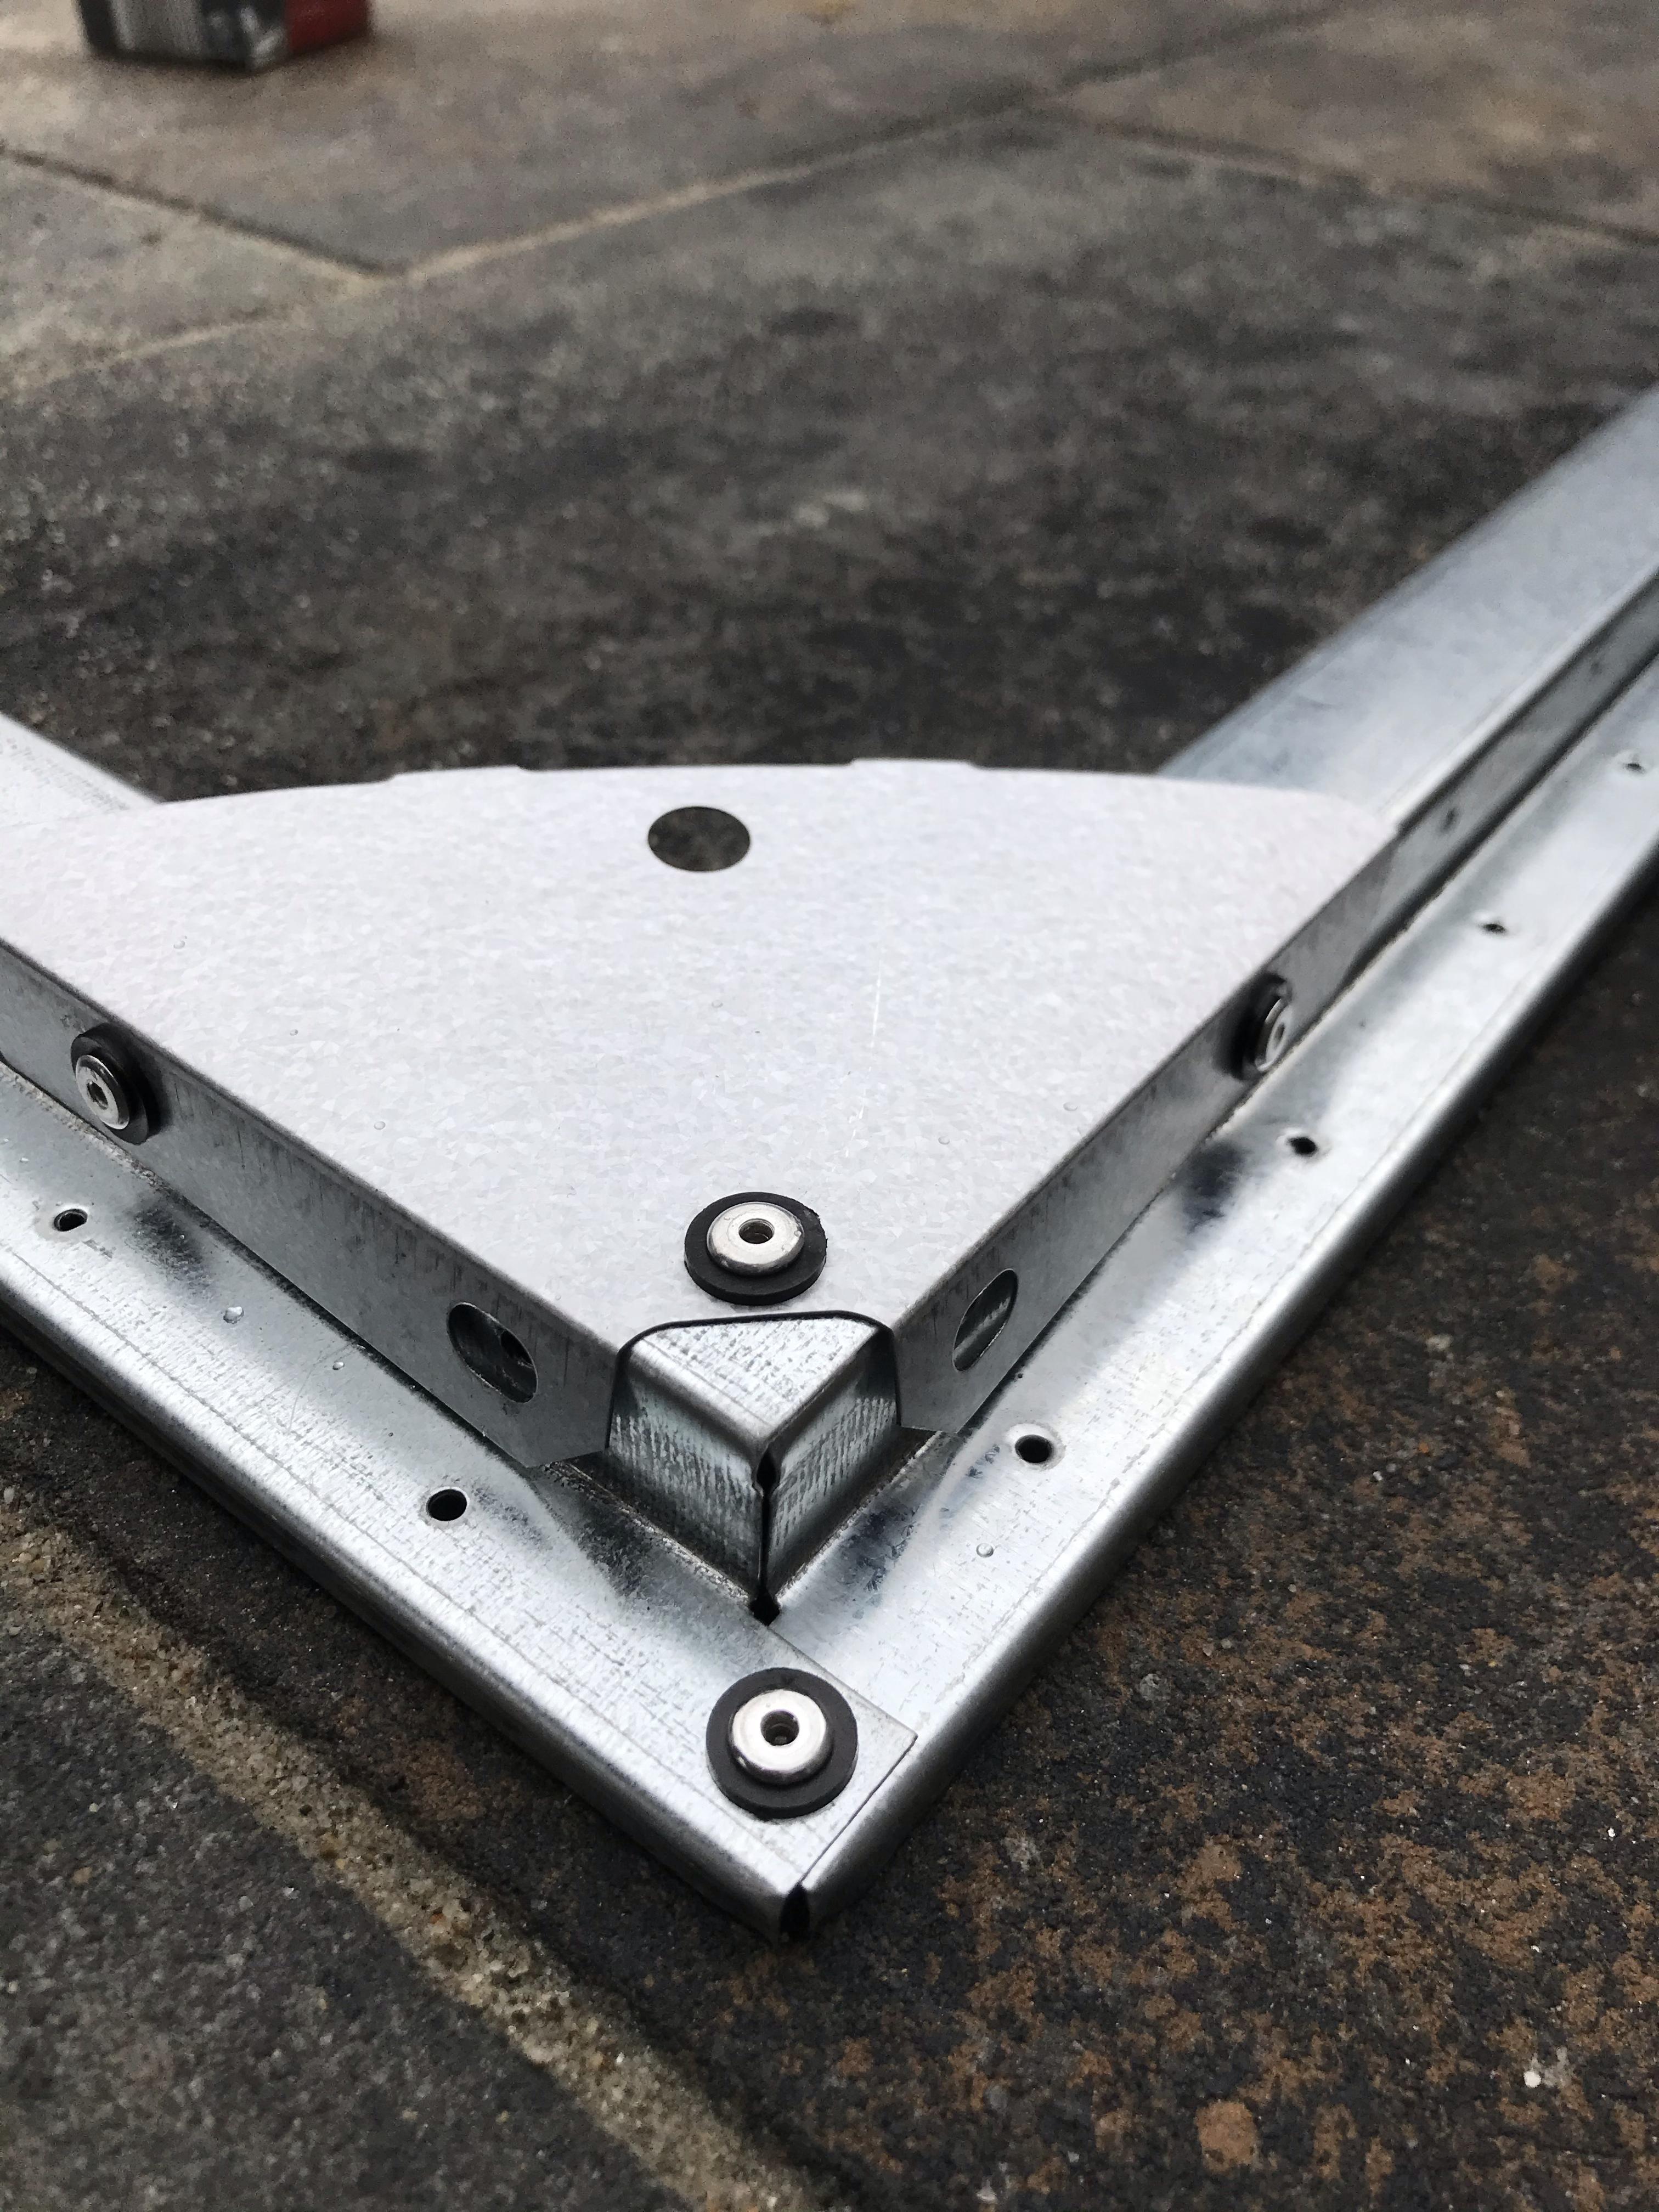
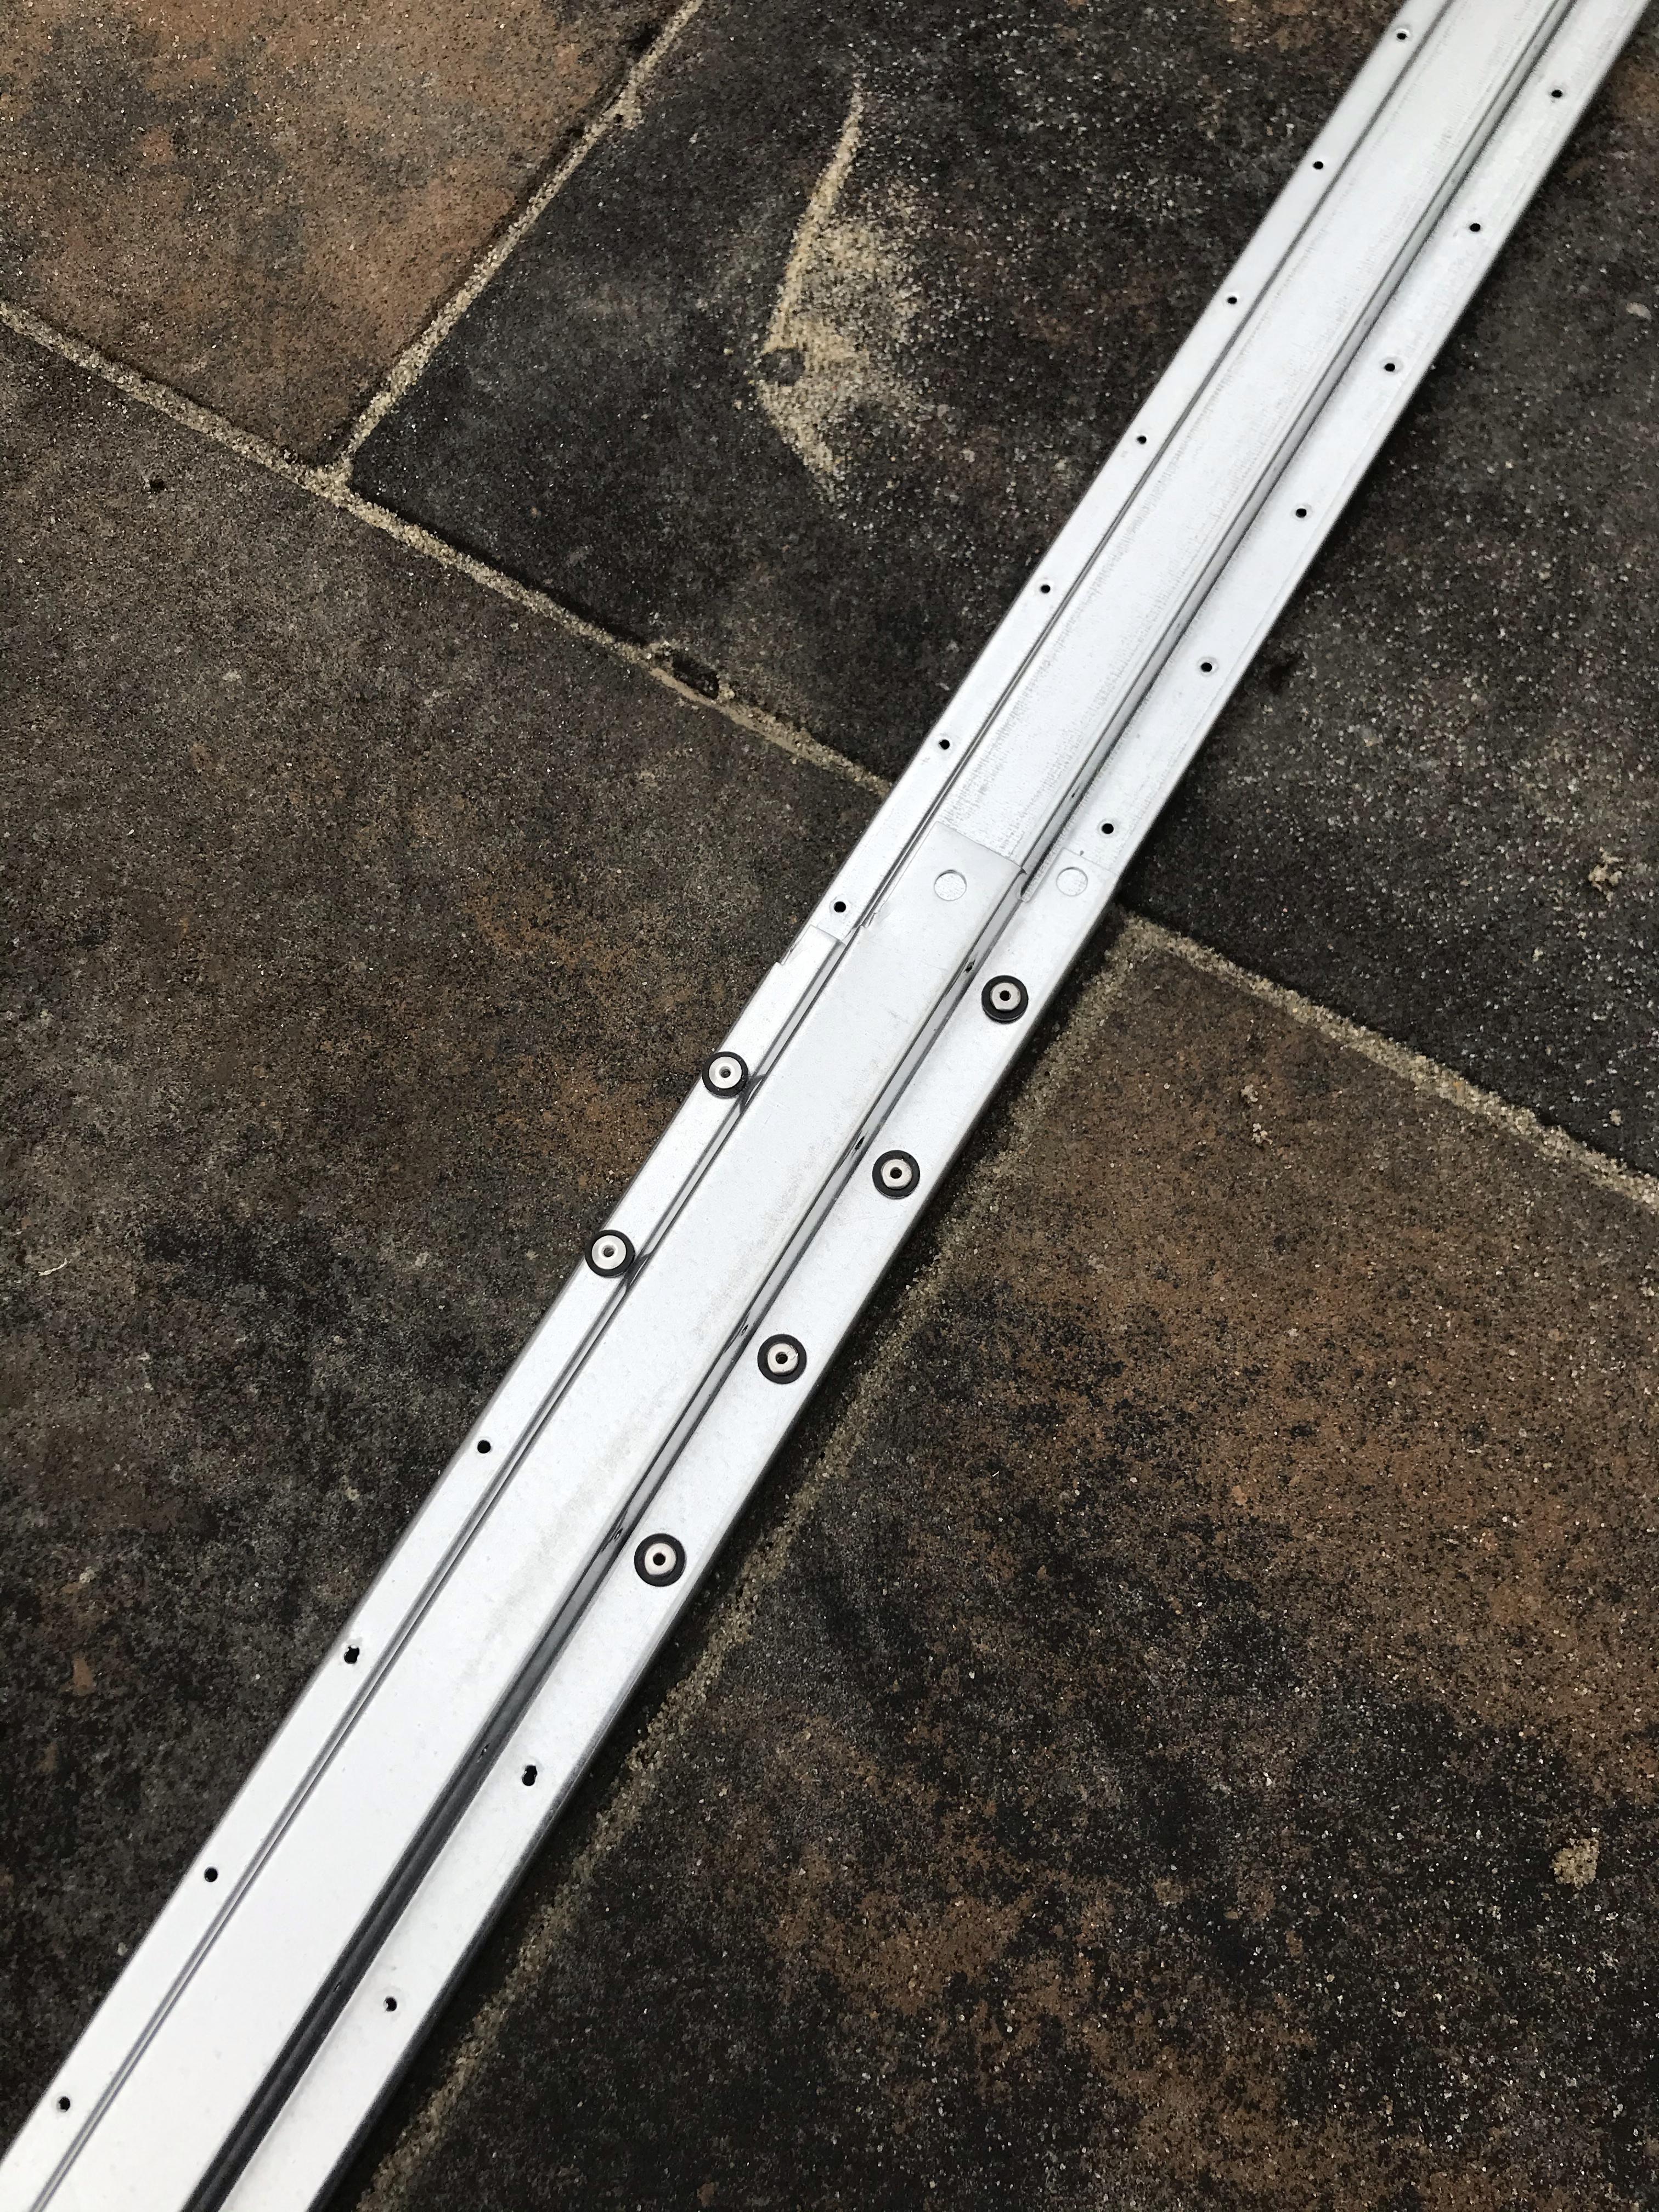
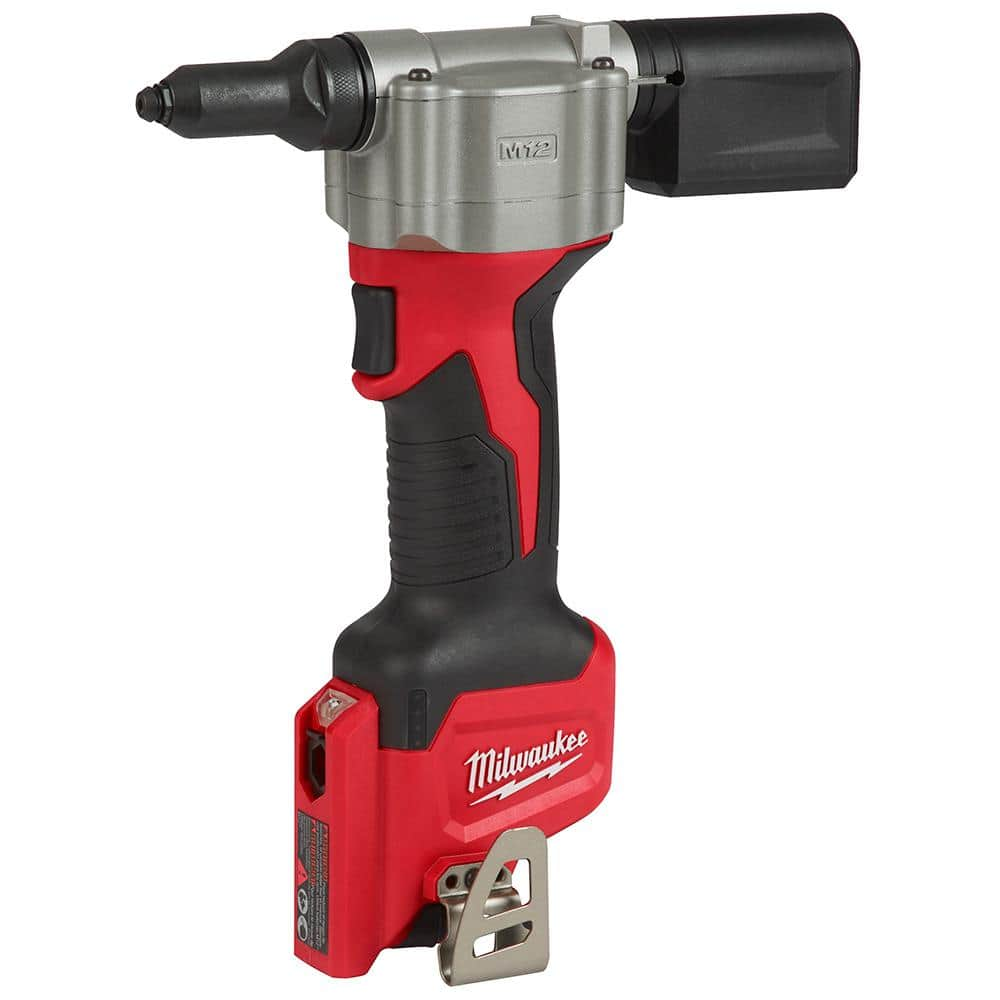
Needless to day, the thin sheet metal will strip by just being in the proximity of the screws. After stripping quite some screws I decided to follow the advice of youtuber Joshua De Lisle and rivet this thing together.

So day 1 was spent by unboxing (arrived in 3 large carton boxes) and trying to use the supplied screws for assembly. When this did not work I bought a riveting tool and an obscene amount of rivets in different sizes. The surplus will be returned to the shop after the project completion


Sent from my iPhone using Tapatalk
 
Day_2 of the build. Riveting makes the structure much more rigid, but the riveting tool requires a considerable amount of force.

A pneumatic or electric riveting gun would have been awesome, but I do not have one and it is quite expensive to buy. Plus I do not plan to rivet this much in the future.

So, pictures time:
93c190d9789812d07c5bc38419e4981d.jpg


ca7187de5acc38efe867034c6c732bd0.jpg


e5773b98c2dc13eb9ad5797e54bb7480.jpg


4009de041de628696b7ea26aadc8de30.jpg


318951da2ba112b4d8f50d58f8927fdf.jpg


Sent from my iPhone using Tapatalk
 
Fascinating build! And a great idea to go with pop rivets. I've neem thinking about replacing a funky storage shed in my yard, and you really got my juices flowing. Of course, Yardmster is a UK product. Did some looking and came up with what looks lie a good US dealer - shedsforless.com I'm seriously considering ether a "Commander" 10x15 shed, or the Murray Hill "garage" shed. Thanks for posting!!!!!


A pneumatic or electric riveting gun would have been awesome, but I do not have one and it is quite expensive to buy. Plus I do not plan to rivet this much in the future.

Have you looked into renting one? My hand hurts just thinking about all the rivets you have ahead of you.
 
Have you looked into renting one? My hand hurts just thinking about all the rivets you have ahead of you.

Looked for renting one but unfortunately could not find one. And yes, it is hard work to do all those rivets.

Looking on the bright side, the package included ~800 screws, but so far I used less than 200 rivets, so I am kind of hoping that they included way too many screws and I have only about 2-300 more rivets to go


Sent from my iPhone using Tapatalk
 
Fascinating build! And a great idea to go with pop rivets. I've neem thinking about replacing a funky storage shed in my yard, and you really got my juices flowing. Of course, Yardmster is a UK product. Did some looking and came up with what looks lie a good US dealer - shedsforless.com I'm seriously considering ether a "Commander" 10x15 shed, or the Murray Hill "garage" shed. Thanks for posting!!!!!


In the US it is sold under the arrow name. Regardless of brand name please check the specs since many such sheds have a very low ceiling - 1.6m door frame height and only 1.8m max height!!!

Mine is a wee bit generous at 1.8m door frame height and 2.24m total height.


Sent from my iPhone using Tapatalk
 
Day_3 started with the first snow of the season

But now the weather has cleared and the walls are finally done. Now “all” that is left is to do the roof.

b93cf43ba9c84b09d223f5144dc81013.jpg


As a side note, the packaging is a mess. Box 1 did not contain the items needed for building the base frame and inside any box whatever is needed first is offcourse under whatever other items (e.g. the wall panels are packed under the roof panels). A 5-year old could have proposed a better packaging concept.

And Lego kits have way better instruction manuals...


Sent from my iPhone using Tapatalk
 
In the US it is sold under the arrow name. Regardless of brand name please check the specs since many such sheds have a very low ceiling - 1.6m door frame height and only 1.8m max height!!!
YES! I've seen several sheds on sale at the "big box" stores, and been extremely un-impressed by the vertical sizes. The ones from shedsforless.com that I cited are from Arrow, but were chosen because they had decent heights. Nice thing about the website - you can download and check the instruction manual before you buy.
Nice progress so far! And be careful not to get carpal tunnel syndrome in your hand! I bought one of these about a year ago ... well worth the price, even for the relatively low volume of riveting I normally do:
 
Day_4 brought a little progress. The roof structure is in place. More riveting and a lot of stainless screws for the roof beams.

The overall feeling is good, when all the screws (rivets in this case) are in place the structure becomes very robust.

Tomorrow the shed will be pushed a bit towards the fence (that shall be fun) and the corner trimmings will be installed.

23ce6099f1057b39a1cc06e65f3ed0ef.jpg


f3a2b40f22a49983001d4df3cdb44254.jpg


51b5b1e8c3bcee91eaba4e4684074997.jpg


Sent from my iPhone using Tapatalk
 
Well, 700ish rivets and 100+ screws later it is finally done.

Had some trouble with the last roof panels. When moving to the final position I checked it for squareness at the base when I should have checked it at the base of the roof.
The roof base was a little off so I had to pull and push a bit to get the last roof panels fit. But it all worked fine in the end.

Total effort spent: 50 man-hours (split between me and the misses) using the manual riveting tool. A pneumatic or electric tool would have shaved 20 hours from the build time.

Riveting was the best assembly choice. The shed now looks and feels very sturdy. But it is much more work compared to the recommended assembly method.

The only place where screws were used are the roof beams and the skylight roof panels. I was afraid to rivet the skylight since they are fiberglsss and could crack when popping a rivet.

The skylight is a nice touch. It provides all the needed natural light, but I fear it will yellow and crack in time.

Next step is to build some flooring from some waterproofed square stock and OSB.

18a7e31c468ad71c6eb5deeacf856665.jpg


890ce0d1e6f501a0ccd176742a0b1df8.jpg


Sent from my iPhone using Tapatalk
 
Back
Top