shop made tramming tool

burgermeister

Registered
Registered
Joined
Nov 18, 2013
Messages
20
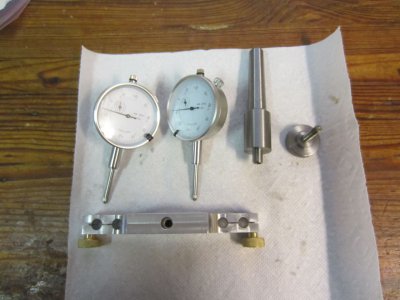
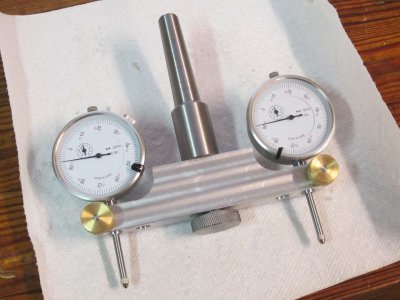
Nothing fancy or novel. 2 HF dial indicators, an arbor, and a bar of aluminum with the top & bottom parallel. I set it, without the arbor, on a 123 block & zero the indicators to calibrate it. Works pretty well. It shows that the mill is out of tram front-to-back by about .003/5", which is unfortunately not adjustable.

Having the arbor separate makes calibrating it easier, and it requires less space under the spindle to attach everything since the arbor and the bar can be installed separately.
machine4.jpg
machine5.jpg

machine4.jpg machine5.jpg
 
Nice job. Looks really well done.

I got mine from Edge. By the time I got the metals and parts and took time out from other things, the commercial unit just made more sense. The Edge unit has one interesting thing that you might want to try. It has a little button magnet. You put the magnet on the table and put one gauge over it. After zeroing the dial, you turn it and zero the other gauge. The magnet ensures intimate contact with the table and gauge tip.
 
The Edge unit has one interesting thing that you might want to try. It has a little button magnet. You put the magnet on the table and put one gauge over it. After zeroing the dial, you turn it and zero the other gauge. The magnet ensures intimate contact with the table and gauge tip.
Great idea! To be honest, I never even thought about calibrating the unit once it's in the mill. As Mr. Simpson would say, D'ouh! For some reason I was stuck on calibrating it beforehand (by setting it on a block) and then having a really square shoulder on the arbor to register it against. Calibrating it in the mill makes a lot more sense, since all the other errors just go away completely. Thanks!!
 
Back
Top