Show me your DRO scale mounts please.

Trek

Active User
Registered
Joined
Mar 20, 2014
Messages
25
I am just finishing up uncrating and mounting my new LittleMachineShop mill. I have the DRO Pro kit for X/Y and I want to make sure I do it right. The X axis looks pretty easy, scale mounts to back of table and head to the saddle. Seems I will have to remove the accordion cover on the back for that but I will manage I guess. The Y axis is the one that looks to be a bit tricky. Think Im going to have to fab a spacer to offset the head because the saddle goes far enough out that the head cant mount directly to the side of the saddle.
Id like to see what other guys have done so I don't do something I will have to undo later. Not thrilled with having to drill holes by hand in the base and saddle but I suppose its part of the process.

BTW Im not really happy with the way the fine feed for Z is done but for a inexpensive machine I cant complain. Out of the crate the X tramed .002" end to end. I want to get the scales mounted before I start doing anything serious but may have to fab the Y axis head spacer before I do this or do it at work on a full size machine.
Looks like I am going to need more money. I already can think of things Im going to have to add in the future.
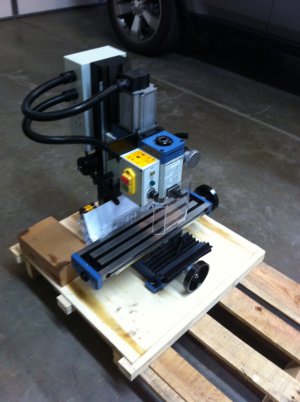
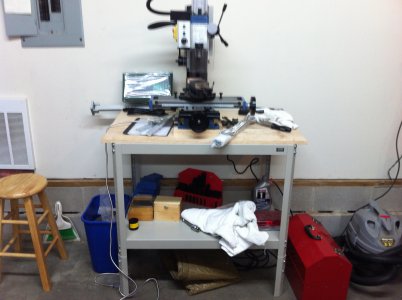
008.JPG011.JPG

008.JPG 011.JPG
 
Best shots of mine I have at the moment.

The air spring conversion from LMS really helped with the z-axis repeatability. As you can see below, I have a 3-axis setup on mine, and have made cuts to a couple tenths above a z-axis reference. The air spring helps that much. It also adds a bit of travel at both ends of your z-axis. Every little bit helps. :)

Bill

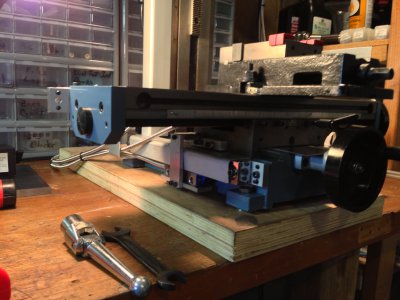
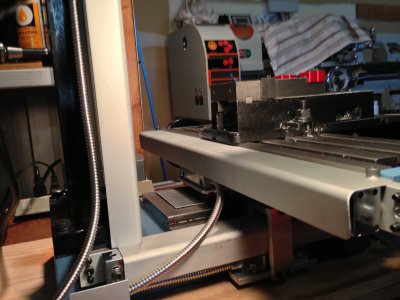
IMG_0362.JPG
IMG_0364.JPG

IMG_0362.JPG IMG_0364.JPG
 
Thanks for the info. I have the AirSping kit but they sent me the wrong one. I also bought the spindle lock the one without the switch and it does not line up. Going to have to elongate the hole slightly.
 
Bill does the X scale at the rear cut down on your Y axis travel?
 
You would think so, but doing before and after measuring (mark I eyeball) before taking off the y-axis way cover I lost very little once the scale was mounted. I can still get almost to the front of the table which is close enough for what this machine does. I have a bigger machine if I need to do larger parts.

Bill

Bill does the X scale at the rear cut down on your Y axis travel?
 
check these photo's:
https://www.facebook.com/#!/pages/Birch-Industrial-Tool-Serv-Inc/1406807829568869
you don't need to joint to look. . . .
they may offer some insight. . . . .

The link didn't work for me.

I don't want to try and drill in the table and saddle by hand. I think Im just going to pull it off and use my drill press. I have no problem taking it all apart and putting it back together. I am going to have to wait for the replacement air spring kit anyway and this is a long term hobby not a issue I have to have done in a couple days. I ordered several different sizes of flat aluminum plate and angle from onlinemetals to use to fab what I need. I will drill the X axis mount and drill 2 5MM holes in the saddle on the side where its going to have to attach and figure it out from there. Too bad these don't come with some kind of predrilled holes with this in mind.
Part of the learning curve.
 
I drilled everything by hand, as I had no choice. I will admit that I was a bit nervous doing that, but then realized that if the bolts are a bit crooked, so what. Nothing registers off the mounting bolts anyway.

But I would have used a drill press if I had one around:LOL:

Bill

(that link didn't work for me either)
 
Bah drill it by hand you will be tapping the holes so there's lots of wiggle room. By the time you set a heavy cast iron table on your average drill press (they flex horribly) your odds of straighter are not much better. They will flex under weight and flex more when drilling. I have a big heavy floor mounted 18" drill press, it flexes trust me on this. I discovered how much drill presses flex while pressing (swaging) turrets, the least bit of flex and the turrets would swage off center. I had to jam blocks of wood under the drill press table to deal with this. When drilling by hand just center punch the holes well and start with a small drill bit and work your way up to size with 2-3 bits and buy good bits I like cobalt bits with the pilot bits in the end by DeWalt.
 
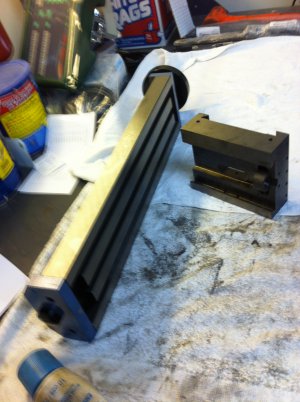
Well its going to be done by drill press. I already have it pulled apart. Don't know if folks do it this way or not but its not like its a million dollar machine center. After pulling apart I wasn't that surprised to find a fair amount of machine chips and grit.
Im not a tool and die guy or machinist but worked many years at a transmission plant for one of the big 3 as an electrician. Now THAT is an interesting place to see some of the latest and greatest machining equipment. Nothing sucks worse than crawling under a 30 year old Kingsbury drill to fix old wiring. Well maybe a crappy gundrill or 4" broach. Its amazing how many 30 year old machines of all types still hold precision tolerances. Watching some of the new stuff is just cool. I actually worked a year for Caterpillar at their large engine plant where they make the stuff that has to be shipped out on rail. Its amazing to see how they cut cranks 10 feet plus long. The chips it makes are bigger than the full size Frito's. There is one cool machine there that hones the main journal in one pass. Its called a Dabb machine. Its vertical and what a filthy mess.
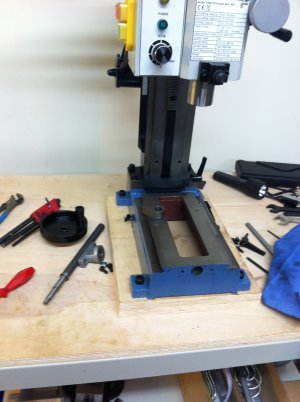
014.JPG015.JPG

014.JPG 015.JPG
 
Back
Top