- Joined
- Nov 21, 2010
- Messages
- 1,602
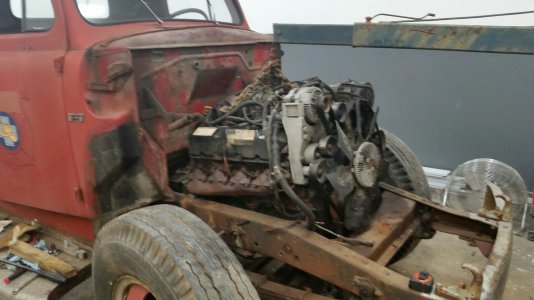
I'll try to make it short. The job; customer has a 1949 Ford F7 or F8. He already put a V8 diesel in it.
Now for disk brakes. He bought late fr & rear axles from a late GMC. This front GMC is too wide.
Found to be the F8 & GMC are both Rockwells. So the plan is putting GMC knuckles on the Ford (for
the original axle width. The GMC bushing bore is say 1.224 and the Ford bore is 1.359. The job was set
up and I chose my smallest Criterion boring head. I bored one bushing side that came out to 1.3595 which
is target for a press fit. The second side?? I am taking .005's and .010's. I got up to 1.349 now I got ta
sneak up to 1.359. So I'm cutting back to .002 cuts. I stick my snap gauge in and measure that, now I get
1.410????????? Where did .60 or so go. No way in hell will my little boring head chop .060????
Every cut was checked twice and written down, & mic was locked after measuring. Thats a day for not!
Any way I ran down & got a piece of CI water pipe & turned it to the 1.410, pressed it in the bore with
locktite, now to rebore that back to 1.359 and press the bushing to that. And yes my table is locked and
the DROs still on 0.0000. This is my first big time %(R$ up. So whats possessed? my mic (Starrett) -
snap gauges (Starrett) , even with old eyes, that lost .060 I can see- as the head is whizzing around.
No one in this shop can figure this one out. Also the mic & snap gauge was checked with a standard.
sam
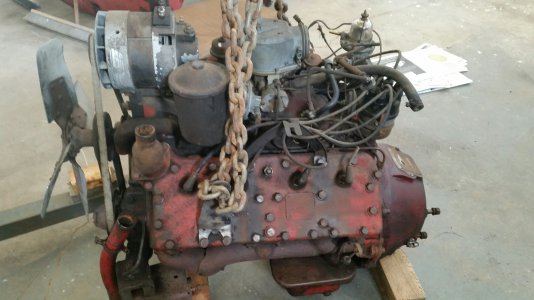
A pic of the diesel we installed and then I now own the big 337 Flathead I love Flatheads
good luck


 And yes it is frustrating so don't beat your self up to bad.