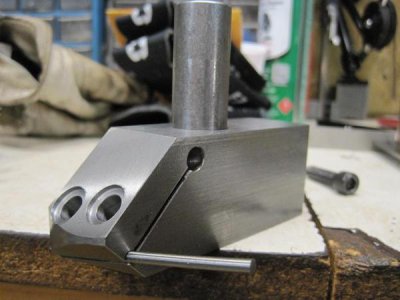
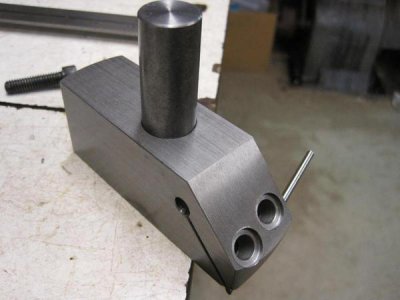
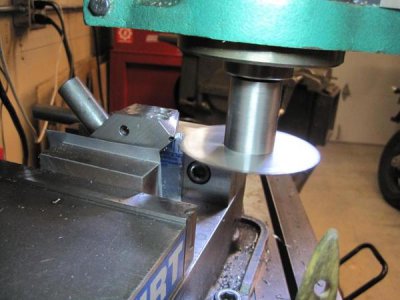
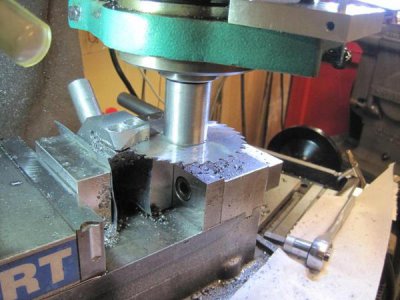
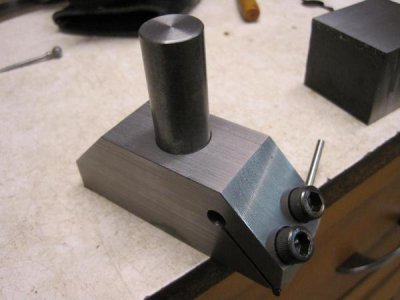
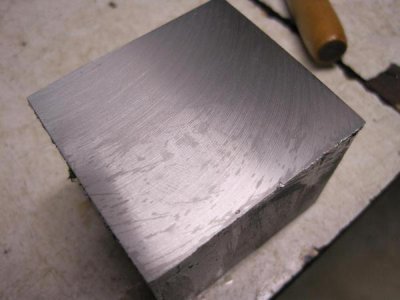
I made up a tangential flycutter a couple years ago.
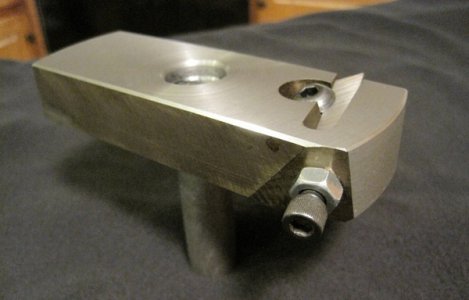
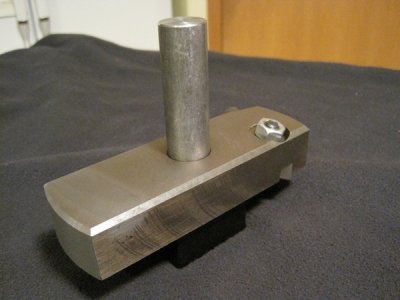
using an idea that I copied from
http://mikesworkshop.weebly.com/tangential-tool-flycutter.html
In use the flycutter is just, well, OK. . . . If the metal is harder than mild steel, or rusted, or scaly it tends to dull very quickly. I haven't noticed this problem with the tangential tools that I've made for the lathe. They tend to last longer and not completely lose the point. It also tends to take a fair amount of grinding to re-establish a good edge on the tool. Heavier cuts tend to cause "hammering" on the spindle and bearings, and when I say "heavier", I mean 0.015" to 0.020". So, it ends up being useful primarily for finish cuts. And, it's not particularly well suited to that either because the bit has such a sharp point that it is difficult to feed it slowly enough to eliminate the ridges. The tool has a larger radius than the cutting edge, so there can be clearance issues with some setups, also.
For these reasons, I finally broke down and bought a carbide face mill for roughing. It's a cheapy from Shars with integrated R8 shank, 2" diameter. It seems to do the job, anyway. . . .
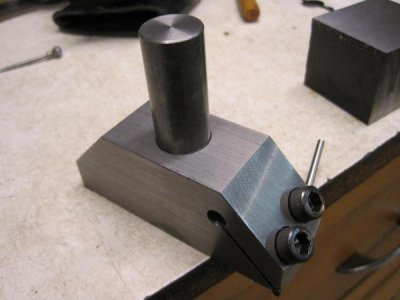
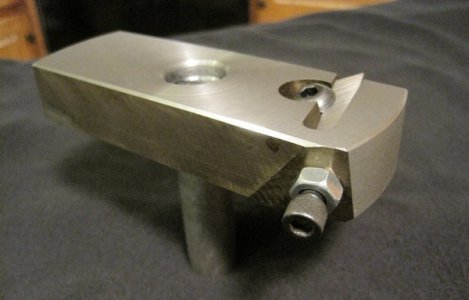
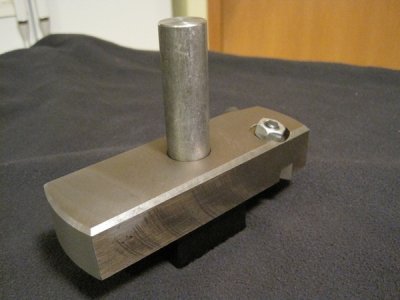
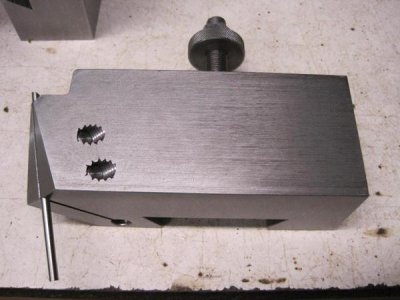
I'd been making some tangential lathe tools recently with round HSS bits, which I posted on another thread. Here's the latest one:
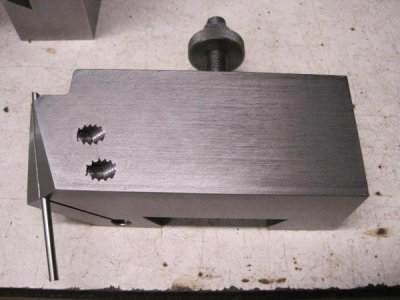
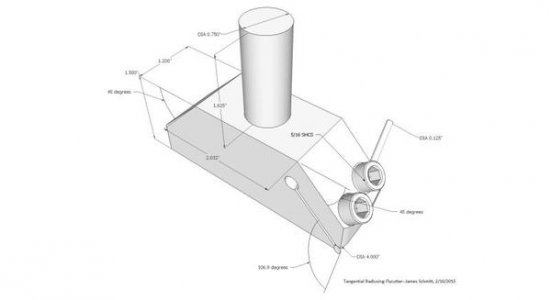
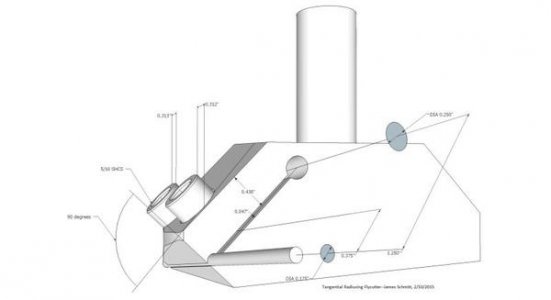
It occurred to me that, borrowing from this design, an improved tangential flycutter could be made. Now that I've got the carbide to handle roughing duties. A tangential tool with a round HSS would be better suited to a light, finish pass because the rounded tip would leave a better finish. So, here's the plan
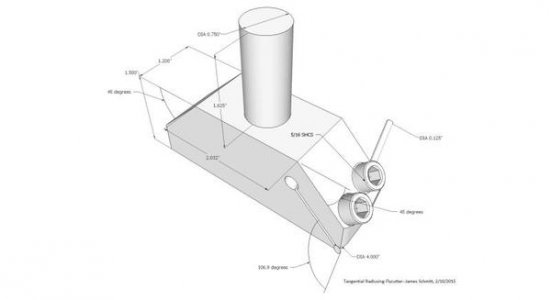
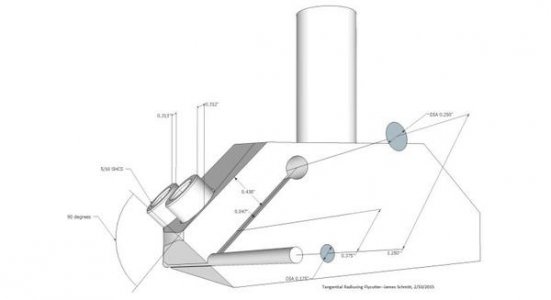
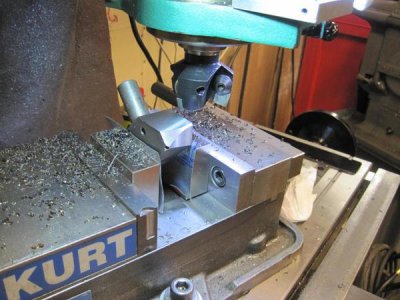
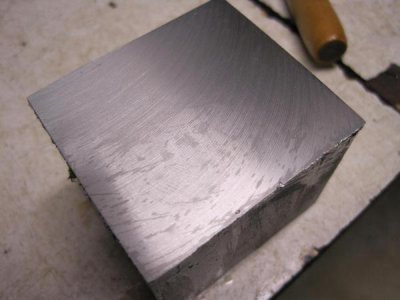
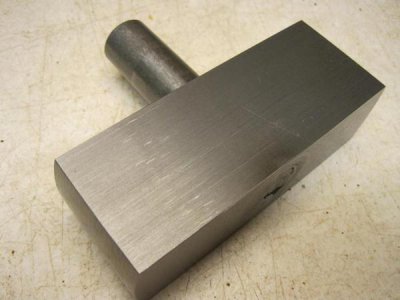
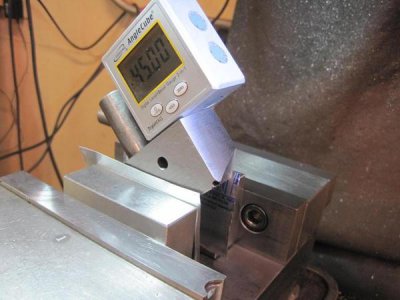
Here's the body of the tool ready to drill the holes for the toolbit and the "flex".
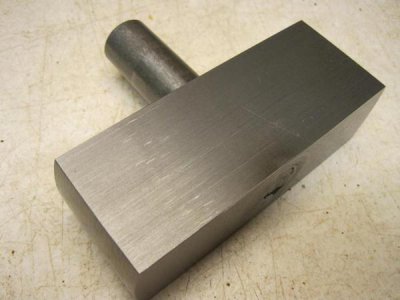
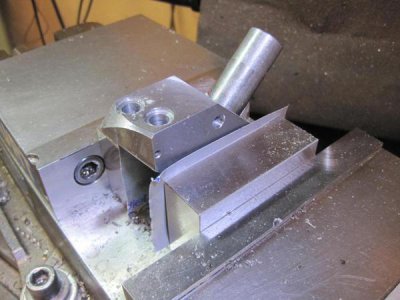
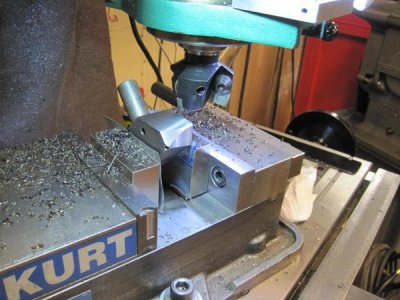
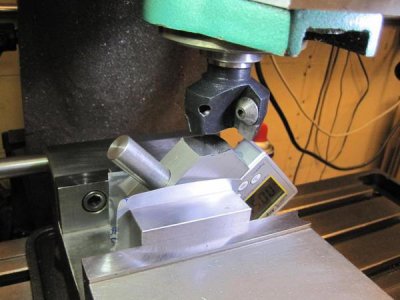
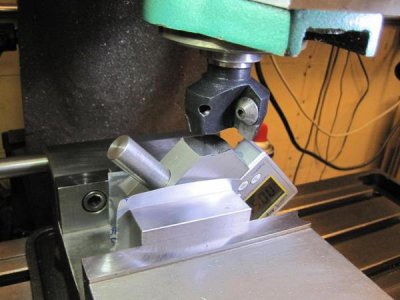
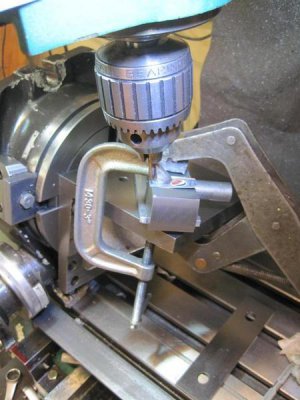
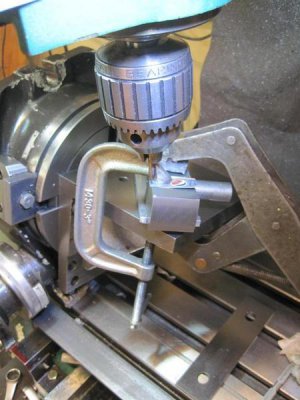
Here's the setup to drill the hole for the toolbit
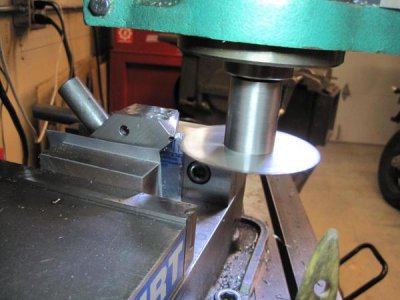
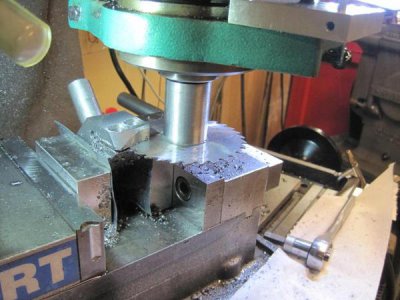
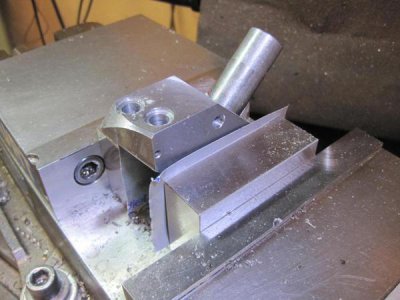
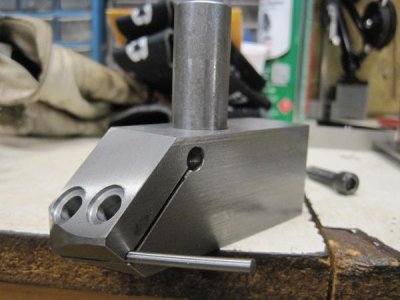
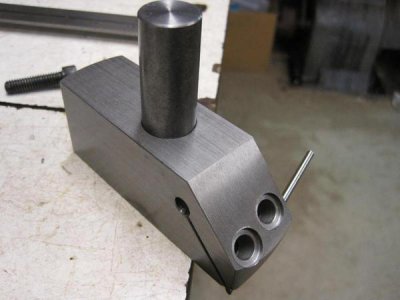
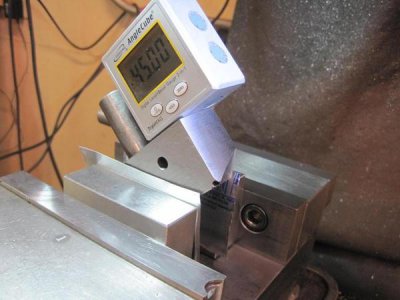
The holes are in place, and I've cut the facet for relief behind the cutting edge. Setting up to remove the metal where the bolts will be drilled
Well, that's as far as I am for now.
Jim


using an idea that I copied from
http://mikesworkshop.weebly.com/tangential-tool-flycutter.html
In use the flycutter is just, well, OK. . . . If the metal is harder than mild steel, or rusted, or scaly it tends to dull very quickly. I haven't noticed this problem with the tangential tools that I've made for the lathe. They tend to last longer and not completely lose the point. It also tends to take a fair amount of grinding to re-establish a good edge on the tool. Heavier cuts tend to cause "hammering" on the spindle and bearings, and when I say "heavier", I mean 0.015" to 0.020". So, it ends up being useful primarily for finish cuts. And, it's not particularly well suited to that either because the bit has such a sharp point that it is difficult to feed it slowly enough to eliminate the ridges. The tool has a larger radius than the cutting edge, so there can be clearance issues with some setups, also.
For these reasons, I finally broke down and bought a carbide face mill for roughing. It's a cheapy from Shars with integrated R8 shank, 2" diameter. It seems to do the job, anyway. . . .
I'd been making some tangential lathe tools recently with round HSS bits, which I posted on another thread. Here's the latest one:

It occurred to me that, borrowing from this design, an improved tangential flycutter could be made. Now that I've got the carbide to handle roughing duties. A tangential tool with a round HSS would be better suited to a light, finish pass because the rounded tip would leave a better finish. So, here's the plan


Here's the body of the tool ready to drill the holes for the toolbit and the "flex".

Here's the setup to drill the hole for the toolbit

The holes are in place, and I've cut the facet for relief behind the cutting edge. Setting up to remove the metal where the bolts will be drilled

Well, that's as far as I am for now.
Jim


Last edited:


