- Joined
- Dec 24, 2020
- Messages
- 1,054
Okay, not exactly a tantrum, but it got your attention, right? 
Edit to add: To save folks from typing out how to set a taper using indicators, I know how to do that, but appreciate people covering the concept. I'm simply trying to figure out why the taper scale seems to be significantly inaccurate...like 30% error.
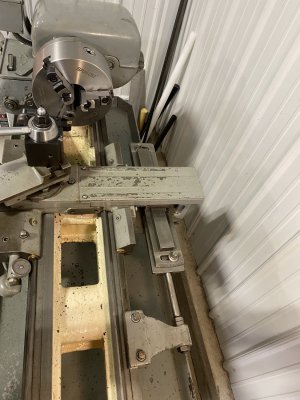
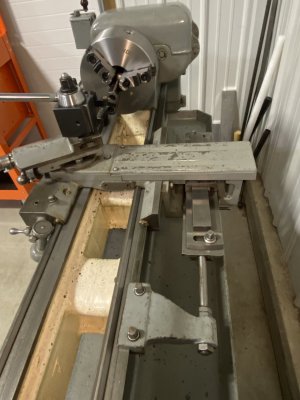
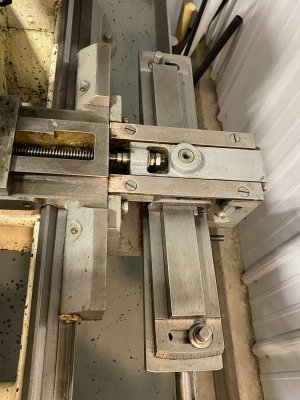
I finally got to a project where I needed to use the taper attachment and I'm clearly missing something, or doing something wrong. The lathe is a Sheldon M series 13x36 with a telescopic taper attachment. The taper has a degree scale on the tailstock end, and an inches per foot scale on the headstock end...pretty typical. I will say the manual doesn't even talk about the taper attachment, but it is mentioned in catalog pages and describes it as I have. I can't guarantee the catalog is from the same era as my lathe...just in case something might be different, like not in inches per foot.
The lathe has been leveled and I haven't noticed it turning taper previously...certainly not on anything just over an inch long. I've got a couple of pieces about 12" long I turned recently and I'm going to double check those for taper.
I used my normal setup with the compound at 29.5*, the tool holder perpendicular to the chuck as confirmed with a 123 block and a fresh CCMT insert in the holder.
The part is 1.15" long, .622 on the small end and .682" on the big end. That should be 1.494* or .626" per foot using online calculators. I was using a piece of .75" diameter 1144 stress proof with maybe 1.5" of stick out from the chuck, turning from small to big, towards the chuck. I will say I was happy to exactly nail the diameters and the finish was really nice....glass half full!
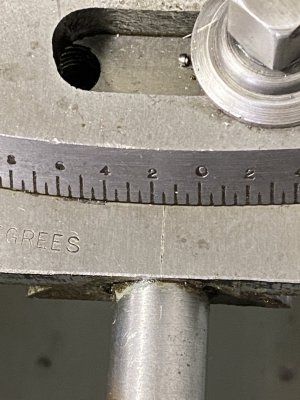
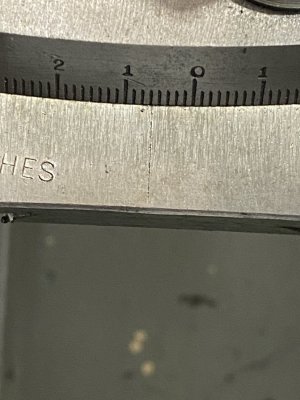
I set the taper at 1.5* on the degree scale, confirmed that multiple times, checked my tool height carefully so it was on center, put the carriage close to the part with plenty of travel for the taper, locked the taper clamp screws down, turned the part using power feed and wound up with 1.1* rather than 1.5*.
The part looks nice, it's just not even close to the right taper. The compound was definitely moving smoothly in the direction intended and I thought I went more than far enough towards the tailstock to eliminate backlash. I wasn't taking heavy cuts and the surface finish was very good the whole time.
I've got to be missing something here. Hopefully you're already laughing because it's something stupid like my Trig is terrible, but could it be something mechanical?
I haven't moved anything on the taper, so I went back confirmed the setting on the angle scale at 1.5* and looked at the inches per foot scale and it's on the 5th line where the graduations are .125" so it's set for .625" per foot. The online calculator I was using (I tried two) gave me .6285" per foot when I used 1.5* so that's pretty close.
I can get the indicators out and set the taper angle using inches per foot, but I'd hate to think the taper scale is that drastically far off (it doesn't appear to have ever come off the lathe and the serial number is a T prefix which suggest a factory taper attachment.
On the Sheldon group page someone suggested setting the taper to 0 and turning a part with it engaged...seems like a good idea. It would seem if it's moving less than it should I would get a negative movement when set at 0....we'll see.
I can make the part, I'd just love to hear what I'm doing wrong, or what might need to get looked at. I know taper scales are just ballpark, but this seems a bit much. Thanks in advance!
Last edited:


