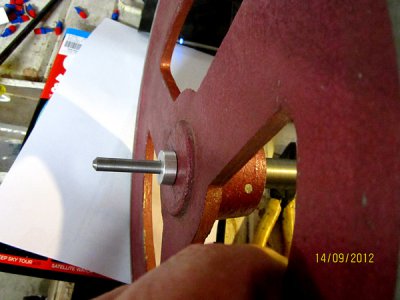
tapered bore

If someone does this with an optical comparator please do more than one collet to check for any deviation. I have access to a comparator but only have ER40 Collets. Probably would do for this test................

While physically larger, the ER40 collets have the same angles as the ER32s (8 degrees body / 30 degrees nose).


M
 
I am getting ready to make an ER40 collet chuck for my atlas lathe. I plan on mounting a collet between centers and a DTI on the tool post to set the compound. I have done that before it works well.
 
I am getting ready to make an ER40 collet chuck for my atlas lathe. I plan on mounting a collet between centers and a DTI on the tool post to set the compound. I have done that before it works well.

Sounds like the most practical and accurate way without going the trig route.

While the collets are of necessity flexible, I believe they're sufficiently rigid that they could be gently mounted between centers without changing dimension.

I think I'll try that for my initial setup with the wax (got my $1 short fat candle today, it could have been made for the job!)


M
 
Re: tapered bore or how I did it.

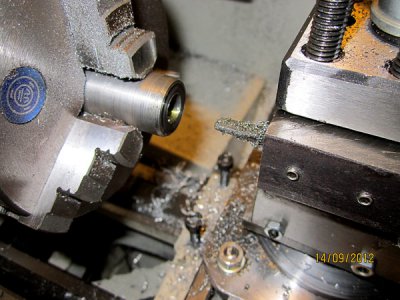
first I bored a hole lengthwise through a bit of 1" square bar, ground one side off with the angle grinder, drilled and tapped three holes into the bore.
Found an old drill bit, ground the end of the shank into a "D" profile and stoned it, hardened and tempered it where it got too hot in grinding.
Set in the square bar with three grub screws and hopefully I now had a boring bit. Talk about sling something together, I must make a real version next.
The compound was still set at the original angle so off I went.
I took a chance it would work because it sits a wee bit above centre but it did.
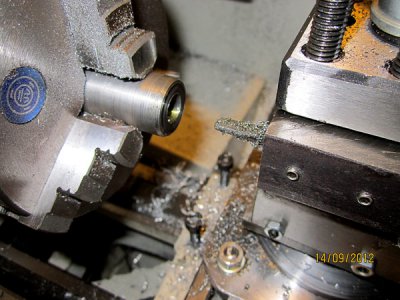
taper-boring.jpg

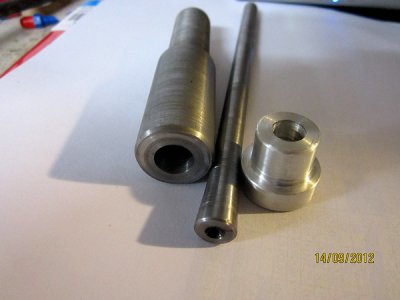
Heres the three parts so far, the large one still has to be slit so the tapered rod can expand the end.
The tapered rod still has to be threaded but I'm waiting for my fish gauge.
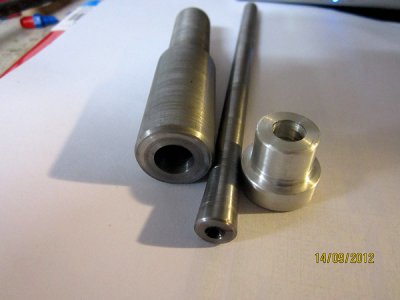
tapers.jpg

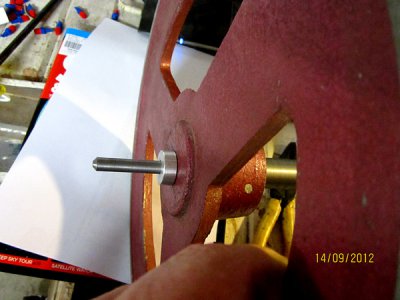
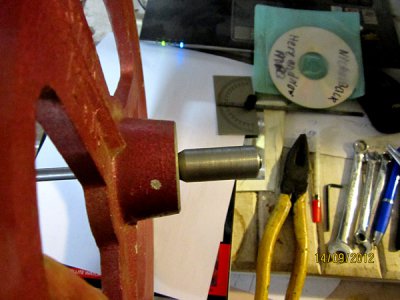
and this is the pulley it will all be going in so I can turn the lathe by hand.
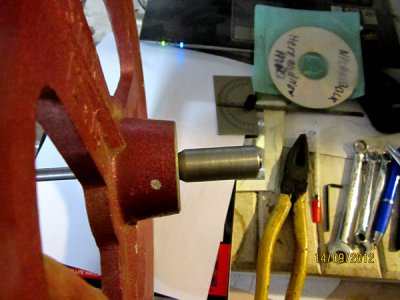
pulley-1.jpg
pulley-2.jpg

taper-boring.jpg

tapers.jpg

pulley-1.jpg

pulley-2.jpg
 
Well done Charles, well done.

"Billy G" :thumbsup:
 
good job charles your picking this up fast.
steve
 
Nelson,

When I try to access this page, it says I don't have permission to access it.

My bad, I left out a check in the read permissions box.

Should work now.

The permissions settings on the VBulletin Comtent Management System (CMS) are a PITA.


:tiphat:Nelson
 
Time to own up.
All three parts were done using the "eye"crometer and an old caliper, I havnt yet got to grips with using the dials for measuring distance/feeds etc.
At least I know that twice the indicated number is removed from the diameter but I must make a large notice for the actual distances the divisions relate to and start using them.

Would anyone be willing to make a simple tutorial regarding the trig method of working out the taper including the tools required etc?
I havnt touched trig since high school so am all at sea.
 
Back
Top