All great stuff. Thanks Graham and Homebrew. I have been reading up on this and was wondering about that micro crack layered nickel. You explanation makes perfect sense Graham. When I first read “cracked Nickel electroplating “ I actually thought it was some silly decorative coating. Finding out it’s micro cracks which aren’t visible makes total sense now.
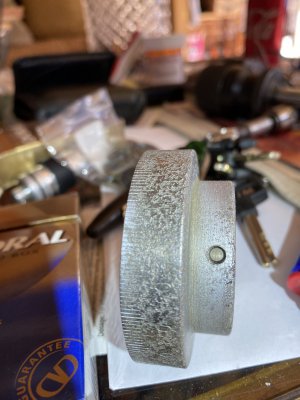
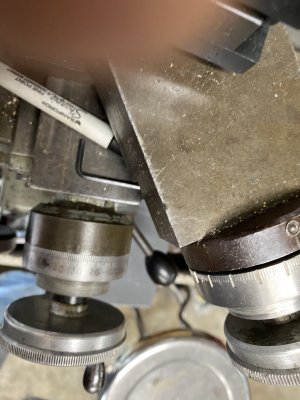
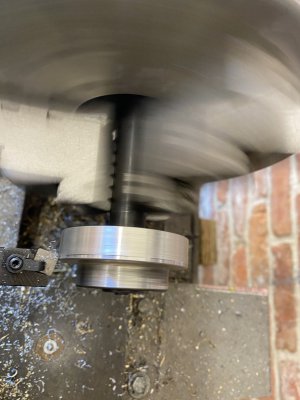
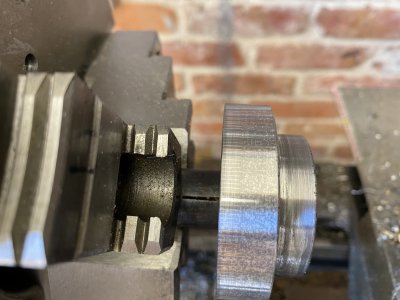
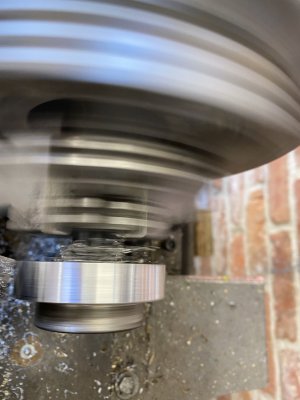
FWIW, I spent half the day cleaning my dial and filling the pits with tin / silver ( 95/5 ) solder. Soaked it in Evapo-Rust and then I even did a quick acid dip to get the rust out of the pits. The filling of the pits came out great. But, I totally screwed the pup when I mounted it on the lathe and went to turn it down. My goal was to turn just back to the surface and then I was going to use a manual graver to clean the tin out of the lines and numbers.
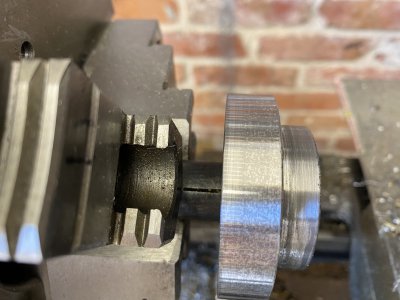
It was going well but I ran into a problem because I just rushed it. I should have mounted the dial in my Tru-chuck. The problem is when I got to the surface on half of the dial…. I still had a lot of solder on the other side.
I might have to make a new one but it just the dial on the compound and I only need it for threads. And for threads which don’t have to mic to specs I can still wing it by “try and fit “ the thread depths.
It’s just that I don’t feel like spending all day for a dial with 200 graduations plus the numbers….especially 110 to 190. Just for the numbering means I have to spend the better part of another day building a jig set up to stamp the numbers.
Anyway, here’s a few of the pics.
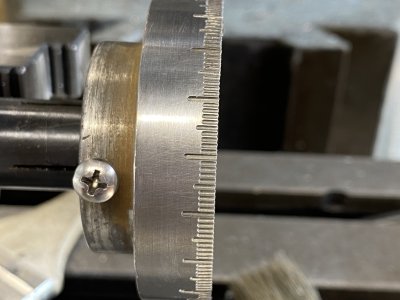
in the end….I just cut too deep and removed all the numbers and graduations because I got distracted and I think I took too deep of a cut. The depth of the original graduations are really shallow on these dials. It’s almost like if I tried to make a new one, I’ll have to be super careful not to cut the lines deep and then the lines would just all mesh together.
FWIW, I spent half the day cleaning my dial and filling the pits with tin / silver ( 95/5 ) solder. Soaked it in Evapo-Rust and then I even did a quick acid dip to get the rust out of the pits. The filling of the pits came out great. But, I totally screwed the pup when I mounted it on the lathe and went to turn it down. My goal was to turn just back to the surface and then I was going to use a manual graver to clean the tin out of the lines and numbers.
It was going well but I ran into a problem because I just rushed it. I should have mounted the dial in my Tru-chuck. The problem is when I got to the surface on half of the dial…. I still had a lot of solder on the other side.
I might have to make a new one but it just the dial on the compound and I only need it for threads. And for threads which don’t have to mic to specs I can still wing it by “try and fit “ the thread depths.
It’s just that I don’t feel like spending all day for a dial with 200 graduations plus the numbers….especially 110 to 190. Just for the numbering means I have to spend the better part of another day building a jig set up to stamp the numbers.
Anyway, here’s a few of the pics.
in the end….I just cut too deep and removed all the numbers and graduations because I got distracted and I think I took too deep of a cut. The depth of the original graduations are really shallow on these dials. It’s almost like if I tried to make a new one, I’ll have to be super careful not to cut the lines deep and then the lines would just all mesh together.
")