- Joined
- Jul 28, 2017
- Messages
- 2,383
We have a Weber barbecue that is over 30YO. It's been through a lot -- spending much of that time outside exposed to our wet Oregon weather. All the wood parts of the handles rotted off and have been replaced by Meranti (related to Ipe). A large tree branch hit the lid and put a crease in it. It's had two fire grates and (approximately) 5 grill grates. It still does a good job of cooking stuff, but the bottom vent stuff rusted out awhile back so it can't be damped down a whole lot. It tends to burn through charcoal pretty fast, and it burns HOT.
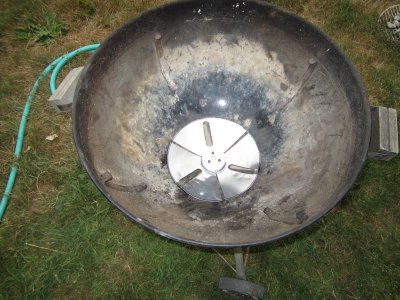
So I decided to rebuild the bottom vent setup. This is what I started with:
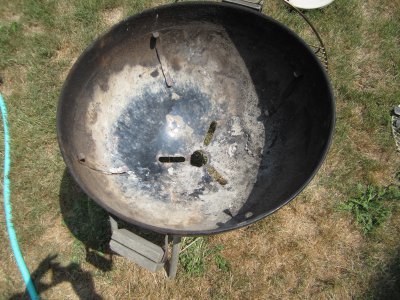
The photo also shows the replacement wood parts of the handles. The metal pieces were "uglified" by encounters with falling tree limbs.
The central hole originally was part of the damper. My scheme was to capture a louver between two disks, one on the inside and another on the outside. So I used my rotary tool fitted with a grinding bit to make that central hole more-or-less round. Then I started making the disks:
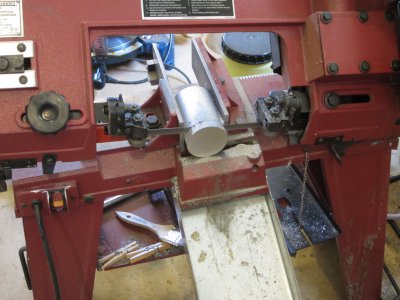
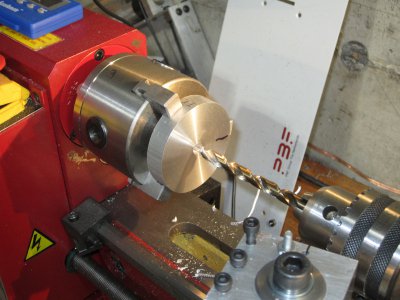
The central hole accepts a 5/16" bolt, which will clamp the two disks and my louver together. The bottom disk (not shown) has a reduced-diameter "boss" that goes through the hole in the Weber, and provides some clearance so the whole assembly can rotate. I made the boss .100" tall and that turned out to work fine. Then I moved on to making the louver disk:
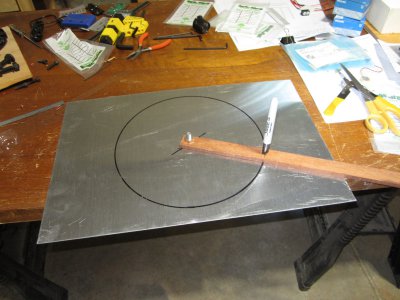
I made a simple compass to mark the outside diameter of the louver, which is slightly larger than the OD of the BBQ vent holes, then cut the disk using some metal snips. Now for making the damper slots for air to enter the BBQ:
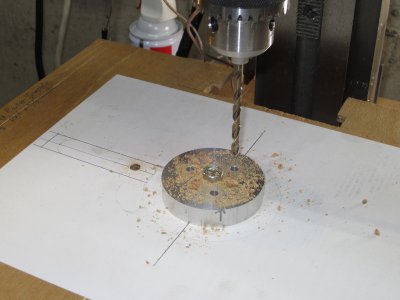
I drew the pattern on some printer paper, then glued it to a thin piece of plywood. I drilled a center hole, then bolted one of the disks to the template. I used the three #10-sized holes as a drill guide. The as-drawn slot on the left was sawed out using my scroll saw, and you can see the hole I drilled so I could install the saw blade.
Here's the finished template:
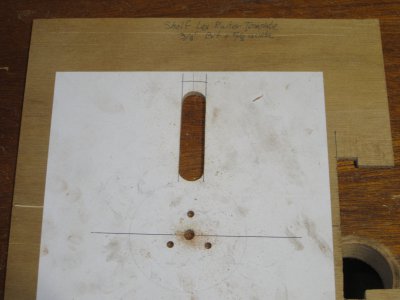
I stacked my bottom disk, the damper disk, template and top disk in that order and clamped them all together with the center 5/16" bolt. The bottom disk was drilled and tapped for #10-24 screws (the top disk was drilled for a loose fit). The #10 screws really aren't used to hold the assembly together (that's the purpose of the 5/16" bolt). The #10'S are there to capture the damper disk so it can't slip, but in this case they also serve to "index" the template so I can mark the air slots.
After I marked the slots I drilled a hole in each of them to pass the scroll saw blade through, then sawed out the slots.
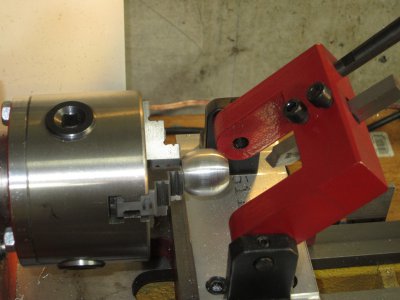
The final bit of machining was to make a knob for the handle:
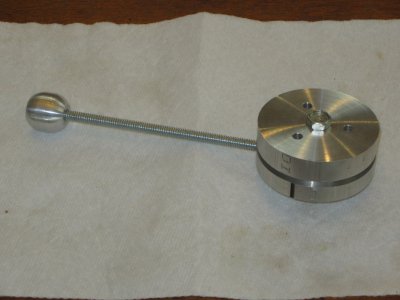
I used a length of 1/4" all-thread for the lever arm, and drilled/tapped a 1/4-20 hole in the bottom disk. The combination looks like this:
And here's a photo showing it all installed in the old Weber:
The adjuster handle is underneath so it's not visible in the above photo. I discovered that the damper started to buckle when I pulled it down to conform to the curved bottom of the BBQ, so I cut three additional slots in the damper. That worked OK.
I haven't tried this yet but fully expect it to do the job.
So I decided to rebuild the bottom vent setup. This is what I started with:

The photo also shows the replacement wood parts of the handles. The metal pieces were "uglified" by encounters with falling tree limbs.
The central hole originally was part of the damper. My scheme was to capture a louver between two disks, one on the inside and another on the outside. So I used my rotary tool fitted with a grinding bit to make that central hole more-or-less round. Then I started making the disks:


The central hole accepts a 5/16" bolt, which will clamp the two disks and my louver together. The bottom disk (not shown) has a reduced-diameter "boss" that goes through the hole in the Weber, and provides some clearance so the whole assembly can rotate. I made the boss .100" tall and that turned out to work fine. Then I moved on to making the louver disk:

I made a simple compass to mark the outside diameter of the louver, which is slightly larger than the OD of the BBQ vent holes, then cut the disk using some metal snips. Now for making the damper slots for air to enter the BBQ:

I drew the pattern on some printer paper, then glued it to a thin piece of plywood. I drilled a center hole, then bolted one of the disks to the template. I used the three #10-sized holes as a drill guide. The as-drawn slot on the left was sawed out using my scroll saw, and you can see the hole I drilled so I could install the saw blade.
Here's the finished template:

I stacked my bottom disk, the damper disk, template and top disk in that order and clamped them all together with the center 5/16" bolt. The bottom disk was drilled and tapped for #10-24 screws (the top disk was drilled for a loose fit). The #10 screws really aren't used to hold the assembly together (that's the purpose of the 5/16" bolt). The #10'S are there to capture the damper disk so it can't slip, but in this case they also serve to "index" the template so I can mark the air slots.
After I marked the slots I drilled a hole in each of them to pass the scroll saw blade through, then sawed out the slots.
The final bit of machining was to make a knob for the handle:

I used a length of 1/4" all-thread for the lever arm, and drilled/tapped a 1/4-20 hole in the bottom disk. The combination looks like this:

And here's a photo showing it all installed in the old Weber:

The adjuster handle is underneath so it's not visible in the above photo. I discovered that the damper started to buckle when I pulled it down to conform to the curved bottom of the BBQ, so I cut three additional slots in the damper. That worked OK.
I haven't tried this yet but fully expect it to do the job.

