-
Welcome back Guest! Did you know you can mentor other members here at H-M? If not, please check out our Relaunch of Hobby Machinist Mentoring Program!
- Forums
- THE PROJECTS AREA
- PROJECT OF THE DAY --- WHAT DID YOU DO IN YOUR SHOP TODAY?
- Project of the Day Mega-Thread Archives
You are using an out of date browser. It may not display this or other websites correctly.
You should upgrade or use an alternative browser.
You should upgrade or use an alternative browser.
2016 POTD Thread Archive
- Thread starter sanddan
- Start date
- Joined
- May 14, 2013
- Messages
- 237
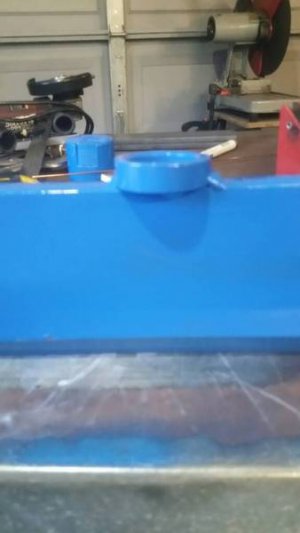
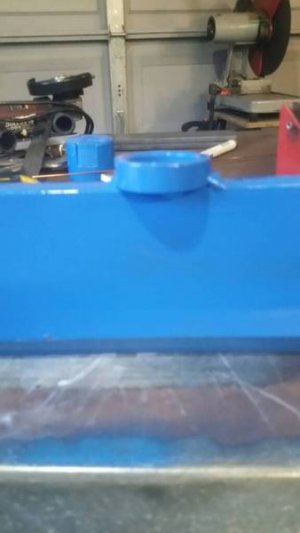
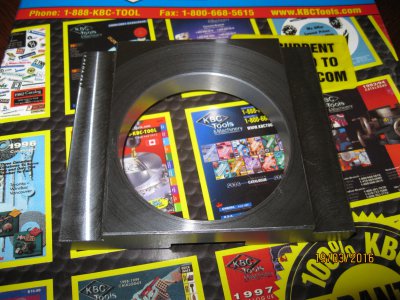
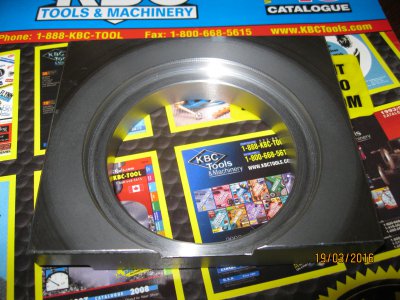
Sunday was a " make the lathe cross slide more ridged day ! " I re made the clamping piece for the compound slide on my 10x22 King. It started off as a square ( ish ) chunk of 3/4" flat bar so I wasn't expecting great things from it as far as surface finish I still have the bolt holes to drill in both the lock plate as well as in the cross slide should get it done tomorrow after work.


- Joined
- May 14, 2013
- Messages
- 237
- Joined
- May 14, 2013
- Messages
- 237
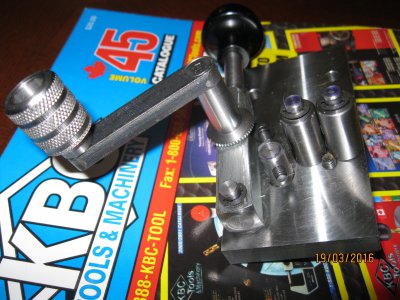
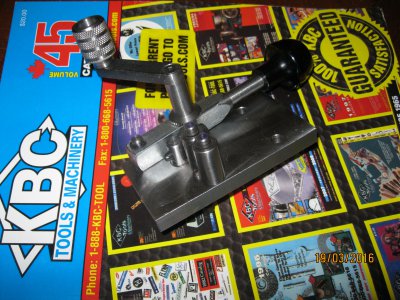
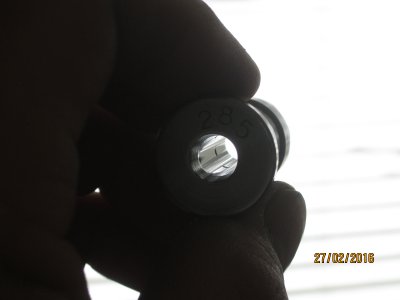
One Quick picture showing off interior surface finish of one of the " star type " lube sizer dies I am making, they are cut from o-1 steel with a carbide micro boring bar , thru holes drilled and then hardened. I have found leaving 1 - 2 thou to be lots for lapping out to finish diameter. I have started using expanding brass lapps and diamond laping compound. The die shown is only polished to 8000 mesh equivalent I have since received 14000 mesh, just to be sure that my dies are SMOOTH !!!

F
Firestopper
Forum Guest
Register Today
With the new motor arriving I jumped on the lathe to work on the spiders bronze tips. The motor arrived around 2 pm and pulled the old heavy basterd out. I also had to pull the pivot mounting plate out as well as the new motor will require an adaptor to align the drive pulleys.
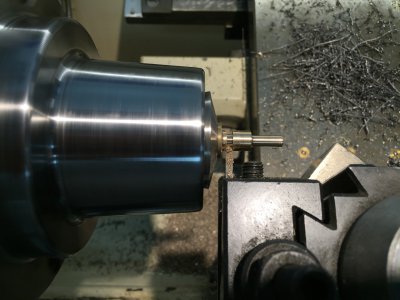
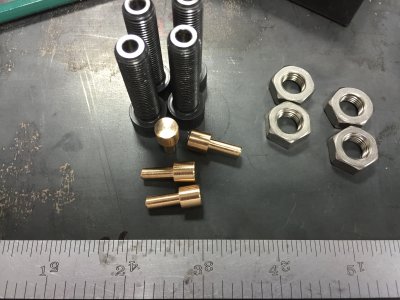
I used the 5C chuck for the spider tip build. The 3/8" allen bolts where drilled out to .177"x .500" deep and edge broken. The bronze tips where turned to .320" and the small shaft portion to .1775x .497" for a interference fit. I'm really liking the 5C system for short multiple runs not to mention the close in work. The Hall proximity sensor shut-off works amazing allowing me to repeat end cuts with a repeatability of .00019. The new motor will be the icing on the cake for the new control build as it will be 100% compatible with the VFD.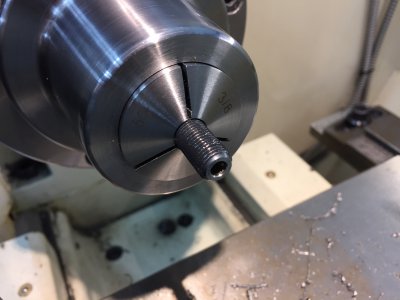
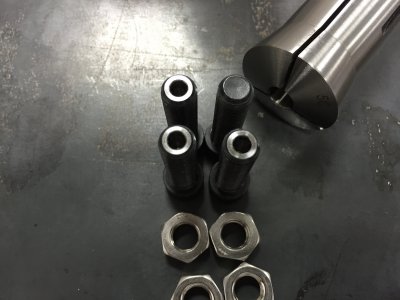
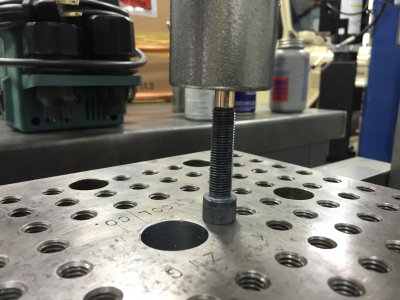
The tips where placed in the shop freezer prior to pressing while the holes got a small drop of green Loc-tite.
After the new motor install, I plan on re-chucking and turning a 15* taper/bevel on the tip.
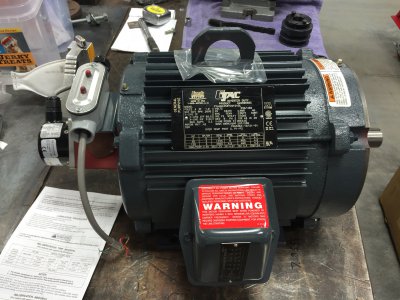
New motor arrived from SC unscathed. The little UPS girl handled it like it was nothing. I didn't appreciate this fact until I placed it on the table for layout.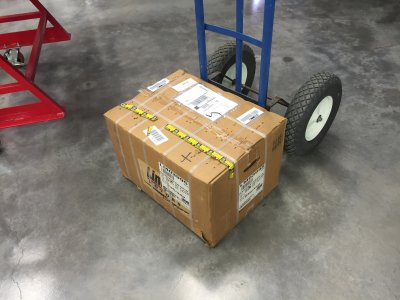
Old and new side by side. New motor is 97lb. while the old is around 140 (two speed). A bit tricky to pull from machine as it required rotating to clear the opening. The side electrical box also required removal for it to come out. Need to see my Chiropractor after that haha.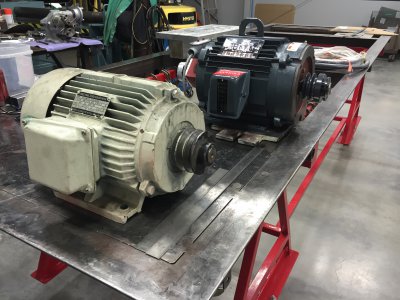
You can see the new motor overhanging the mounting plate awards the rear. This retrofit will require an adaptor as mentioned. The new drive pulley is also a bit smaller (1/2") for more speed. Mark thinks he might be able to incorporate the encoder as well but more than likely not needed.
All in all a productive day in the shop. Made up for yard work on Saturday and the overtime 24 hour shift on Sunday.
I used the 5C chuck for the spider tip build. The 3/8" allen bolts where drilled out to .177"x .500" deep and edge broken. The bronze tips where turned to .320" and the small shaft portion to .1775x .497" for a interference fit. I'm really liking the 5C system for short multiple runs not to mention the close in work. The Hall proximity sensor shut-off works amazing allowing me to repeat end cuts with a repeatability of .00019. The new motor will be the icing on the cake for the new control build as it will be 100% compatible with the VFD.


The tips where placed in the shop freezer prior to pressing while the holes got a small drop of green Loc-tite.
After the new motor install, I plan on re-chucking and turning a 15* taper/bevel on the tip.
New motor arrived from SC unscathed. The little UPS girl handled it like it was nothing. I didn't appreciate this fact until I placed it on the table for layout.


Old and new side by side. New motor is 97lb. while the old is around 140 (two speed). A bit tricky to pull from machine as it required rotating to clear the opening. The side electrical box also required removal for it to come out. Need to see my Chiropractor after that haha.

You can see the new motor overhanging the mounting plate awards the rear. This retrofit will require an adaptor as mentioned. The new drive pulley is also a bit smaller (1/2") for more speed. Mark thinks he might be able to incorporate the encoder as well but more than likely not needed.
All in all a productive day in the shop. Made up for yard work on Saturday and the overtime 24 hour shift on Sunday.
T
TOOLMASTER
Forum Guest
Register Today
I threw a brand new 3 h 3p away last year...i ended up with it at an auction. no-one wanted it ;-/
- Joined
- Nov 18, 2012
- Messages
- 1,352
T
TOOLMASTER
Forum Guest
Register Today
- Joined
- Feb 10, 2014
- Messages
- 366
With the new motor arriving I jumped on the lathe to work on the spiders bronze tips. The motor arrived around 2 pm and pulled the old heavy basterd out. I also had to pull the pivot mounting plate out as well as the new motor will require an adaptor to align the drive pulleys.
I used the 5C chuck for the spider tip build. The 3/8" allen bolts where drilled out to .177"x .500" deep and edge broken. The bronze tips where turned to .320" and the small shaft portion to .1775x .497" for a interference fit. I'm really liking the 5C system for short multiple runs not to mention the close in work. The Hall proximity sensor shut-off works amazing allowing me to repeat end cuts with a repeatability of .00019. The new motor will be the icing on the cake for the new control build as it will be 100% compatible with the VFD.View attachment 125377 View attachment 125378 View attachment 125379 View attachment 125380 View attachment 125381
The tips where placed in the shop freezer prior to pressing while the holes got a small drop of green Loc-tite.
After the new motor install, I plan on re-chucking and turning a 15* taper/bevel on the tip.
New motor arrived from SC unscathed. The little UPS girl handled it like it was nothing. I didn't appreciate this fact until I placed it on the table for layout.View attachment 125382View attachment 125383
Old and new side by side. New motor is 97lb. while the old is around 140 (two speed). A bit tricky to pull from machine as it required rotating to clear the opening. The side electrical box also required removal for it to come out. Need to see my Chiropractor after that haha. View attachment 125384
You can see the new motor overhanging the mounting plate awards the rear. This retrofit will require an adaptor as mentioned. The new drive pulley is also a bit smaller (1/2") for more speed. Mark thinks he might be able to incorporate the encoder as well but more than likely not needed.
All in all a productive day in the shop. Made up for yard work on Saturday and the overtime 24 hour shift on Sunday.
What's on the opposite end of the shaft on the motor? Encoder? Brake? Thermal switch connections?
Sent from my iPad using Tapatalk


