2016 POTD Thread Archive

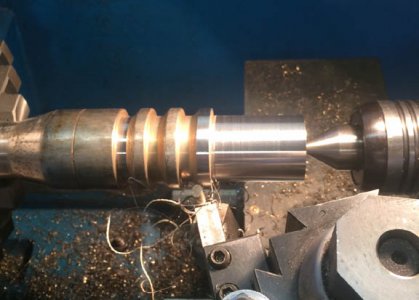
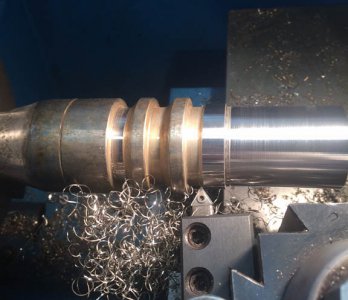
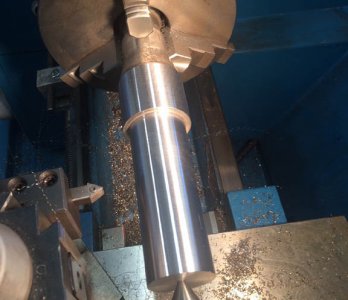
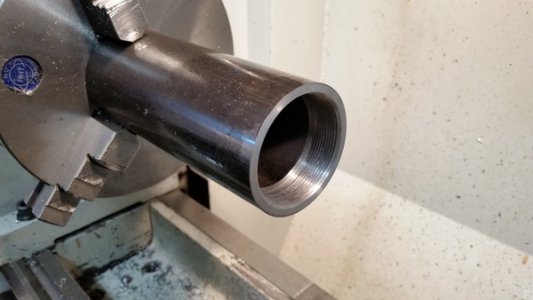
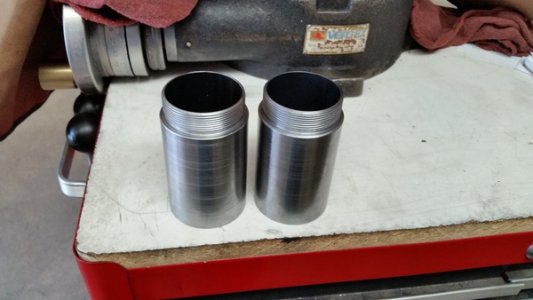
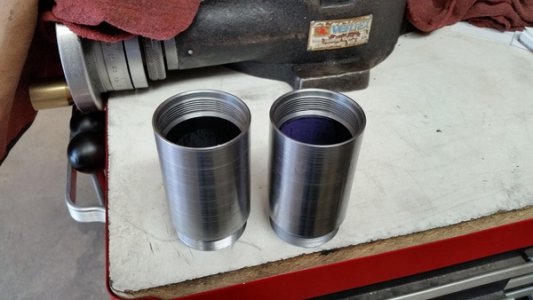
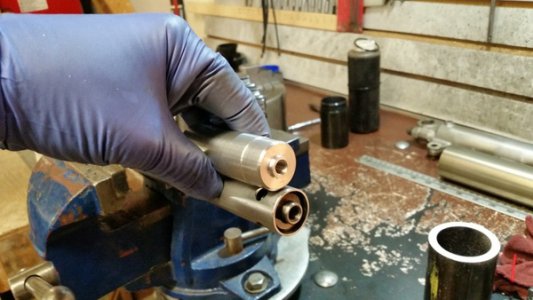
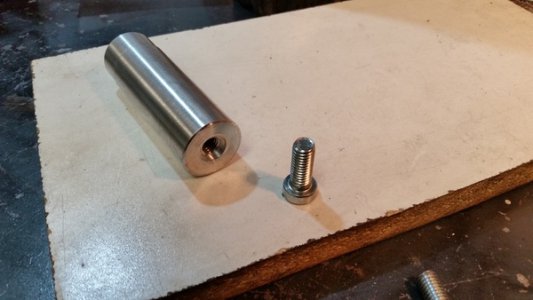
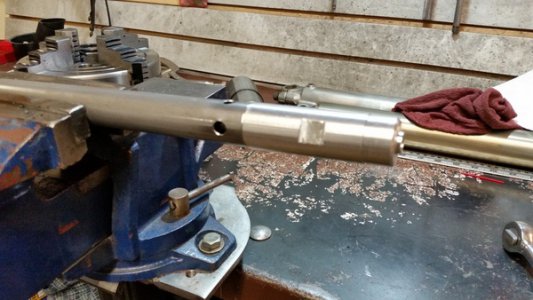
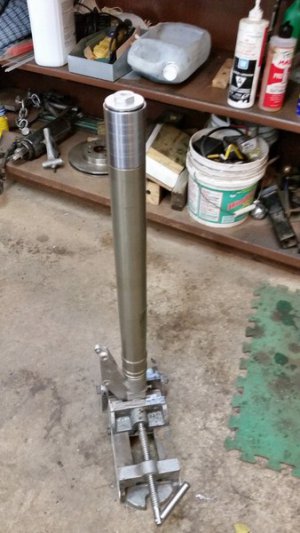
Spent most of the day turning down a couple of oilfield sand plungers that were given to me recently. They were about 1 7/8" when I started and ended up about 1 1/2" on the small end and just under the 1 7/8" on the big end. Got two pretty nice chucks of steel out of them for some unknown future project.
I have no idea what kind of steel they are, but they were very stringy to turn---had to stop nearly every pass to clear the birdsnest:(

swab.jpg swab1.jpg swab2.jpg
 
Spent most of the day turning down a couple of oilfield sand plungers that were given to me recently. They were about 1 7/8" when I started and ended up about 1 1/2" on the small end and just under the 1 7/8" on the big end. Got two pretty nice chucks of steel out of them for some unknown future project.
I have no idea what kind of steel they are, but they were very stringy to turn---had to stop nearly every pass to clear the birdsnest:(

View attachment 133230 View attachment 133231 View attachment 133232
 
I learned a lesson today. Don't leave ammunition in the leather loops on a western holster rig.

I have lost a lot of weight this year and thought I'd try on my western holster rig for my Ruger Single Six. It had a little over a dozen rounds of .22 WMR cartridges in it. The rig is way too big now and needs to be taken down a few inches.

Before cutting the stitching, I pulled the ammo from the loops and discovered they were corroded and gunked up something fierce. While I was at it, I removed the cartridge loops, too. I won't be using those again.

Since I haven't done anything in the shop all summer, I took them out there and chucked them gently in my lathe and turned them very slow and smoothed them off with a Scotch bright pad. They are all nice and shiny now. I know. I could have just done it by hand, but I haven't turned on the lathe in almost a month. A man must find some use for his lathe once in a while.

Now all I have to do is figure out how to stitch up the belt straps so the rig will be about 4" shorter. It isn't like a regular belt, but is wide and contoured, with small straps for the buckle and tag end.
 
I know. I could have just done it by hand, but I haven't turned on the lathe in almost a month. A man must find some use for his lathe once in a while.

LOL, Glad I'm not the only one to do that. I have found myself turning scrap metal, just because I can.
 
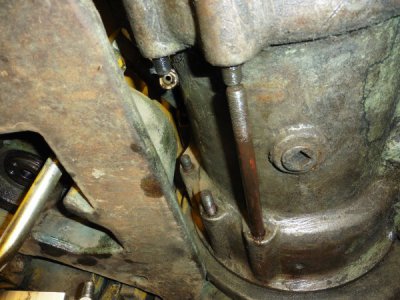
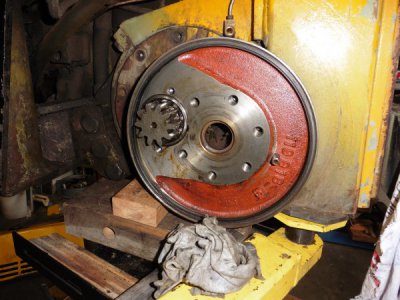
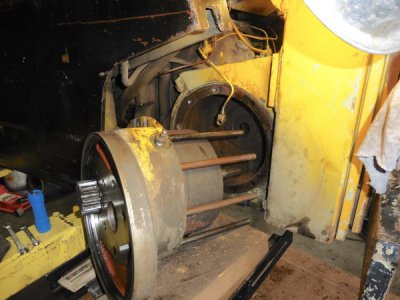
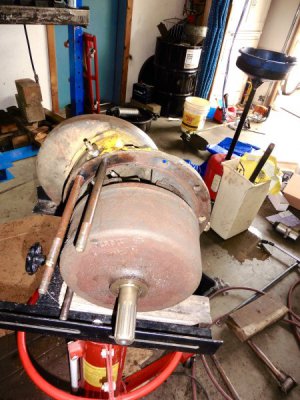
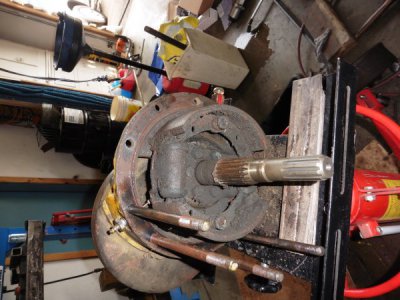
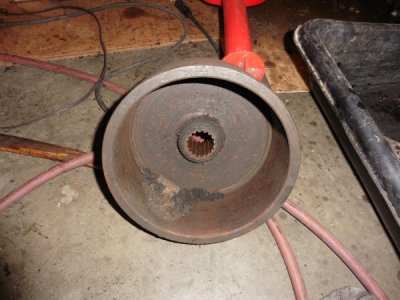
I've been working on the forklift on the weekends. Spent two days scraping off around 70# of gunk. Today finally got the right drive axle and brake assembly off. I've d0ne a lot of brake jobs over the years, on all sorts of vehicles and equipment, but I think this one has been the toughest, and filthiest. Had to remove hydraulic lines to access some of the studs and nuts on the back side, and took awhile to convince it to come out once all the hardware was off. The wheel hub and spindle came off last week. The other side should go easier now that I know the drill. Hope everyone had a great weekend. Cheers, Mike

P1000895.JPG

P1000893.JPG

P1000896.jpg

P1000898.jpg

P1000899.JPG

P1000900.JPG
 
Last edited:
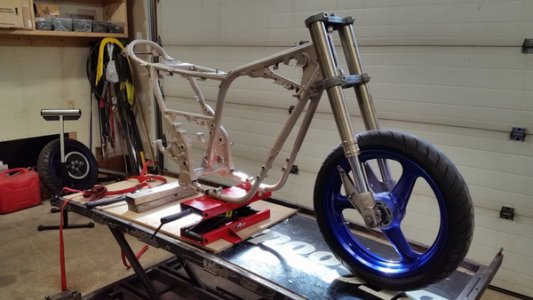
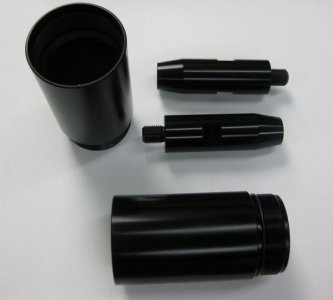
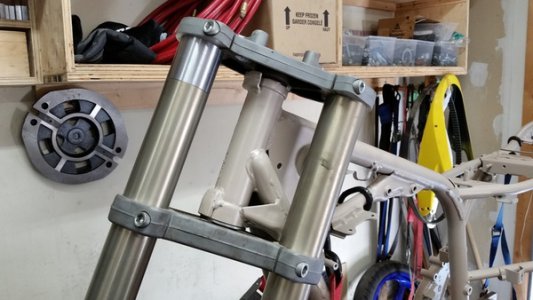
I recently picked up a couple of Buell project bikes, a 99 X1 which I am now riding daily and a 98 S3 which had no engine. The S3 has a nice set of 54mm WP upside-down forks that I could sell but I thought they would work on my Yamaha XS650 project bike. I mocked up the triple clamps from the Buell onto the Yamaha and liked what I saw so I decided to go ahead and try to make the swap work. I haven't decided yet if I'm going to use the 19" Yamaha wheels or the 17" Buell wheels, that will depend on what I come up with for the rear suspension. Here is the XS650 frame mocked up with the Buell triple clamps, forks and front wheel.

20160719_100417_zpsnbk85jxs.jpg

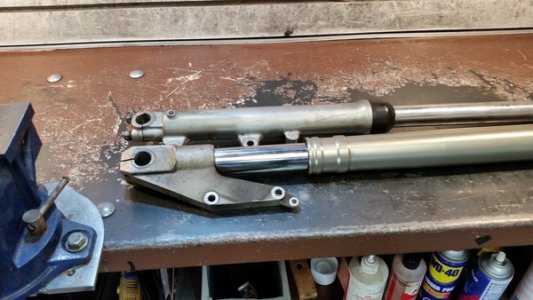
The Buell fork legs are 2" shorter than the XS forks so they will need to be extended, also the 17" wheel would put the bike 1" closer to the ground than the 19" ones.

20160725_082434_zpslmmrtcgn.jpg

20160725_082429_zpsb05przrw.jpg

I decided to make up a pair of 3" extensions like these ones from Extreme Creations.

http://www.extremecreations.com.au/post/2013/05/01/Hayabusa-fork-extensions.aspx

0000092_suzuki-fork-extensions_zpskbm9hojo.jpg

I decided to use some thick wall high strength steel tubing instead of the aluminum ones from EC, just because it was what I had on hand. The fork OD is 2.125" and the ID is 2.00" and the steel tube I have is 2.5'OD and 2.0" ID. The thread required is 49mm X 1.5mm pitch. I made up 2 three inch long outer tube extensions with a male thread on one end and female on the other.

20160728_105932_zpslmk847bj.jpg

20160730_150739_zpslgpyeq0x.jpg

20160730_150753_zps9zchjnym.jpg

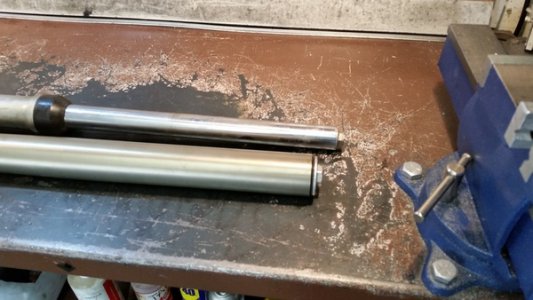
The internal dampers in the fork will have to be moved up 3" as well so I made up a couple of 3" damper assembly extensions from some 1" 6061 aluminum I had on hand.

20160727_134921_zpsdvdx9unh.jpg

20160727_134942_zpsjvk9wsdk.jpg

20160727_140922_zpscnrnzaj3.jpg

Before I install them on the forks I'm going to color them with gun blue but they thread on very nicely and the O-rings on the original caps fit perfectly into the top of the extensions.

20160728_134426_zpshxinkagb.jpg

20160727_105510_zpsjbs9flxp.jpg

The triple clamps will need work to be retrofitted so that's the next thing on the list.

John
 
Nice job on the extensions. Back in the day we called those slugs. The Yamaha should be an interesting build. I have a low mile 650 I was planing on doing as a scrambler. Cheers, Mike
 
Great work Johhny, I love Buells. My son's first bike out of high school was an anniversary edition 2008 XB9 and he loved it. We did a few mods to it and he rode it for a few years until he bought his Street Bob. Great bike, easy to ride for a first timer and unique as well.

Enjoy.

Mike.
 
Back
Top