I continued work on my screw bluing tools...
I put a few coats of polyclrilic sealer on the handles I turned last week
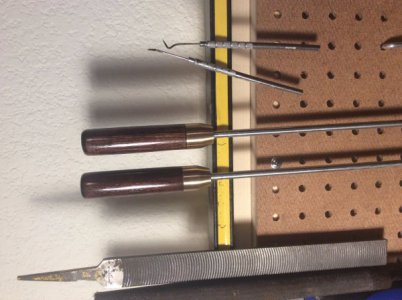
I'm not sure why, but the color I chose for the handles is the one specific color the polyclrilic says not to use it with, red mahogany.
I cut down a piece of 1/4x3" brass flat bar stock (360 brass), cleaned the edges on the mill, filed the burrs and touched up the surface with some 320 grit.
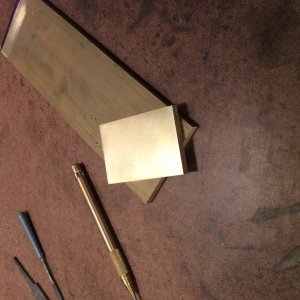
I layed out the marks for the holes and got to use my home made scribe for the first time!
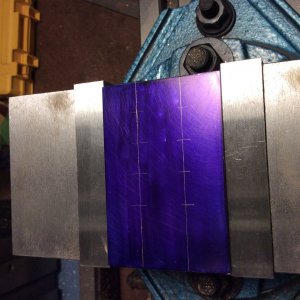
Since horology is all about precision I took some time to get the holes aligned perfectly and used a center drill to start all the holes that were 1/8 or larger.
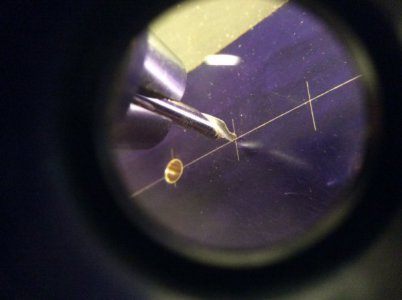
In the process,
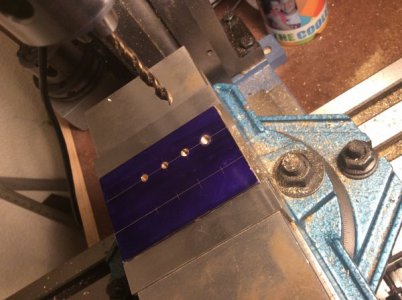
Done with the holes
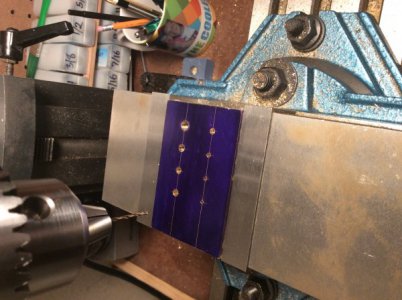
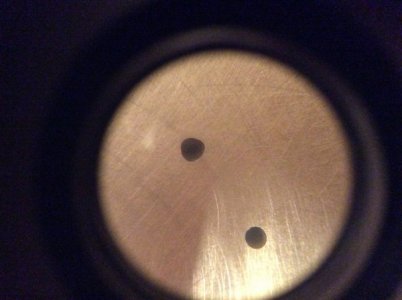
Unfortunately one of the smaller sized holes wasn't so round on the back of the plate so touching it up with a 45 degree countersink was the best I could do after several other failed attempts. I bet you can't drill a triangle hole!
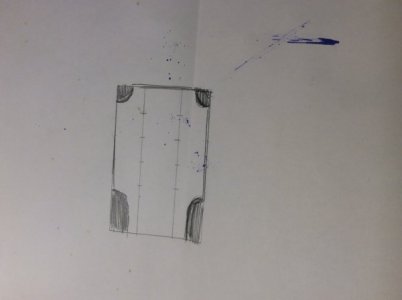
After cleaning up the surfaces, the piece was still really large visually so I came up with this insanely complex technical drawing...grab your reading glasses,
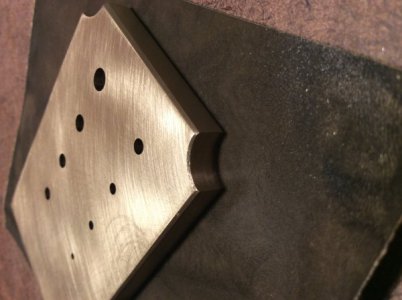
So, back to the mill to remove the corners. So far I've only removed the front two corners and just couldn't help but try my hand at beveling a plate (again something for horology in the future) and it didn't come out so bad.
Anyways, today I'll knock down the back corners, drill and tap a hole for the handle and the feet, turn the feet, and finish up beveling and it'll be done.
I put a few coats of polyclrilic sealer on the handles I turned last week

I'm not sure why, but the color I chose for the handles is the one specific color the polyclrilic says not to use it with, red mahogany.
I cut down a piece of 1/4x3" brass flat bar stock (360 brass), cleaned the edges on the mill, filed the burrs and touched up the surface with some 320 grit.

I layed out the marks for the holes and got to use my home made scribe for the first time!

Since horology is all about precision I took some time to get the holes aligned perfectly and used a center drill to start all the holes that were 1/8 or larger.

In the process,

Done with the holes

Unfortunately one of the smaller sized holes wasn't so round on the back of the plate so touching it up with a 45 degree countersink was the best I could do after several other failed attempts. I bet you can't drill a triangle hole!

After cleaning up the surfaces, the piece was still really large visually so I came up with this insanely complex technical drawing...grab your reading glasses,

So, back to the mill to remove the corners. So far I've only removed the front two corners and just couldn't help but try my hand at beveling a plate (again something for horology in the future) and it didn't come out so bad.

Anyways, today I'll knock down the back corners, drill and tap a hole for the handle and the feet, turn the feet, and finish up beveling and it'll be done.


