2016 POTD Thread Archive

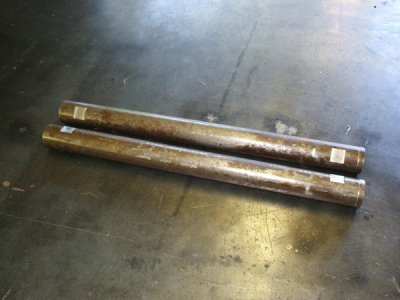
This is a square broach I made just to see if it would work. I don't have any current need for a square hole but who knows I might someday.
I started with a 1/2" square rod 8" long and cut 12 grooves about 0.300 apart , 0.100 wide, and a little under 1/2" diameter. Turned the starting end to just under 1/2" and about 5/8" long. Then using the compound set at 3 degrees proceeded to cut each land about 0.013 smaller than the one before it and ended up with 13 cutting spaces.
Drilled a 1/2" hole in some 1/4" aluminum scrap and pushed the tool through with the press. It worked quite well without much force but when the last land broke through the bottom it left a jagged square hole. I tried a couple more but this time I stopped two lands before breaking through the bottom. I then turned the plate over and finished the broach coming in from the other side. Much better finish and even in 1/2" material the press wasn't straining.
This is just mild steel from the box store and not hardened.

View attachment 137844

Thanks for looking
Ray

Great idea!! I wonder if the same approach could be used to make a broach for mild steel, maybe using hardenable steel.
 
I've seen this technique several times on YouTube. The only channel I can recall for certain was Clickspring (at least I'm 95% sure that was one of them). Definitely effective either way.

I've wondered if it would improve the performance to cut the "teeth" on a slight undercutting angle, to give them a slightly positive rake? Perhaps the neutral rake of this approach works well enough so there's no need?
 
I did the same to make a 3/4" hex broach. I used it to broach 2" long holes in 6061. When I cut the grooves, I cut them with negative rake for better cutting action. I cut 7 lands for about .008"/ land. I used a medium carbon steel of unknown alloy and didn't harden before use. I also tapped the front end for 1/2-20 so I could pull the broach through.

I see no reason that a hardened broach couldn't be made to cut steel. I would probably rough out the broach, harden, and then grind to sharpen the teeth, using a Dremel with a cutoff disk.
 
No machining but Repaired my Tig Cooler today .
Getting tired of using the 26 ...back to water cooled .
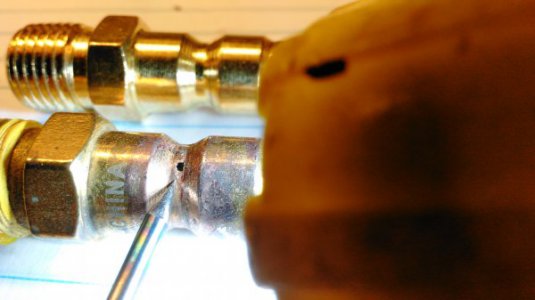
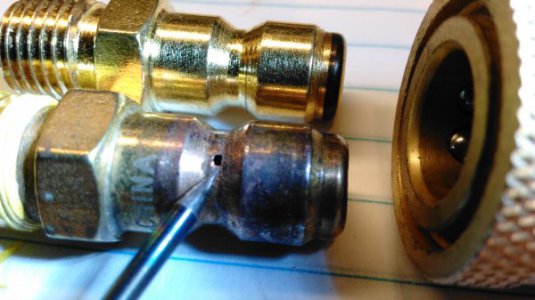
One if these water fittings does not look like the other .
Electrolysis did this ...replaced this fitting ...among other little things needed done .
---------------------------------------
1BrassFitting.jpg 2BrassFitting.jpg

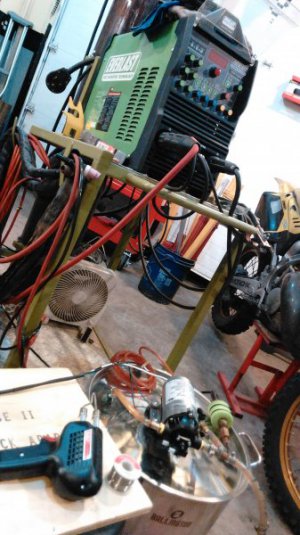
Wiring the pump back in .
3NewMotor.jpg
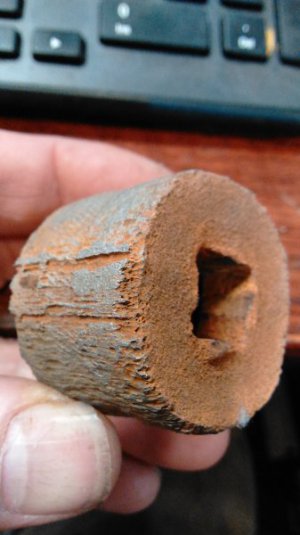
This was a large socket that held the intake line down in the water . Was in there about a year . ...again, electrolysisElectrolysis.jpg
 
Last edited:
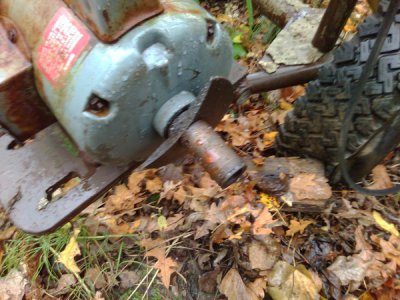
Im restoring an old Delta scroll saw. It originally had a variable speed drive but the spring loaded pulley was missing. Thought about building one, then was walking past an old cement mixer in the yard and noticed it had one for some unknown reason. Unfortunately after many years in the elements the pulley was seized on the shaft. Tried heating and used a bearing splitter for a backup but it still broke.

UnaB9OGMGhp68BNduLuBMyWyOfmsemjB4mE_mrtZn4ilPVmxxKWASYgGclcUbmBXd3GEYKHyI7EIcym4r=w1695-h1271-no.jpg

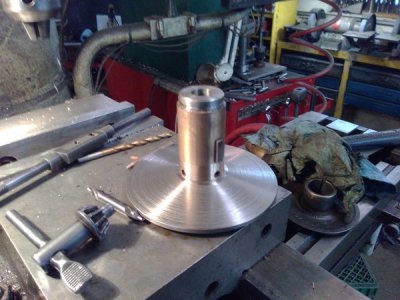
So, made up a weldament and did a bit of machining.

PAhxvyKitbufR63VEHaWj55TikTqP8EF84AHRicxZGp7B6OMYQYeWQsIs5sk9FJ1ub58RIAqabc8Y_7Ku=w1695-h1271-no.jpg

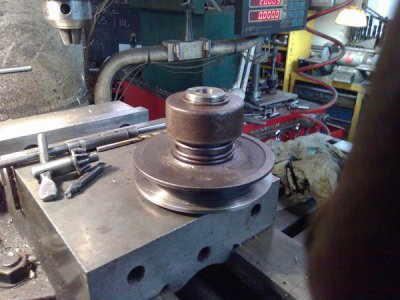
Assembled and almost ready to scroll.

vG8aiT18jVkJmBNhEOdlJATekfWV7NcfYiBS4cqsu44kyy5lrgBdy0GPgzd5FSGO7iWLddnBw0juNUr6y=w1695-h1271-no.jpg

Greg
 
No machining but Repaired my Tig Cooler today .
Getting tired of using the 26 ...back to water cooled .
One if these water fittings does not look like the other .
Electrolysis did this ...replaced this fitting ...among other little things needed done .
---------------------------------------
View attachment 137849 View attachment 137850

Wiring the pump back in .
View attachment 137851
This was a large socket that held the intake line down in the water . Was in there about a year . ...again, electrolysisView attachment 137854
Have you thought about using distilled water and a coolant like Millers Tig Welder Coolant? It might help that.
 
Have you thought about using distilled water and a coolant like Millers Tig Welder Coolant? It might help that.

I was wondering the same thing. I put distilled water in my cooler but with the winter months coming on I was thinking of adding an antifreeze instead of draining it. You see RV anti-freeze recommended boy a lot of folks. Does it have any anti-corrision properties and does anyone her have any experience with it.
 
In my little automotive world electrolysis and grounds go hand in hand
No machining but Repaired my Tig Cooler today .
Getting tired of using the 26 ...back to water cooled .
One if these water fittings does not look like the other .
Electrolysis did this ...replaced this fitting ...among other little things needed done .
---------------------------------------
View attachment 137849 View attachment 137850

Wiring the pump back in .
View attachment 137851
This was a large socket that held the intake line down in the water . Was in there about a year . ...again, electrolysisView attachment 137854
 
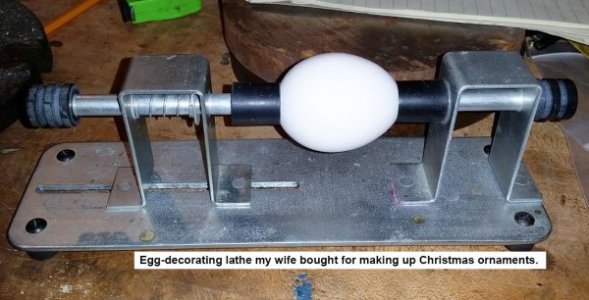
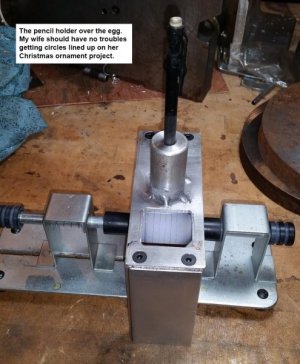
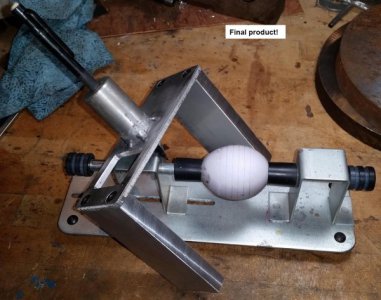
POTD was for my wife. Last year she gave me the clearance to buy a Grizzly G0709 14” x 40” lathe. Well, she wanted a lathe of her own and bought one off eBay. She does a different Christmas ornament every year for family and friends, this year’s ornament will be a decorated egg. Her lathe will be used to draw evenly spaced circles on the egg for the various patterns. Probably double as a holder as she paints them to.

Go figure, her lathe didn’t work as well as she hoped straight out of the box. One base is adjustable (we’ll call it the tailstock), the other base is fixed. There isn’t enough friction on either the headstock or tailstock to rotate the egg without it moving laterally a little bit. She was hoping to hold a pencil in one hand and rotate the egg with the other. So, she asked if I’d make her a pencil holder so she could turn the headstock and tailstock at the same time which keeps the egg from shifting laterally. What, go in my shop and make something!

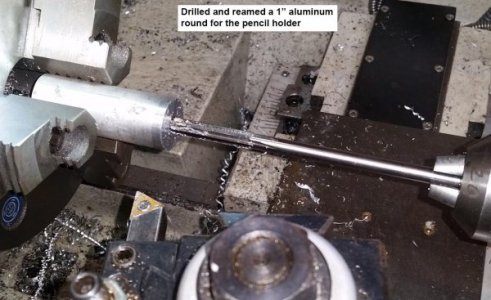
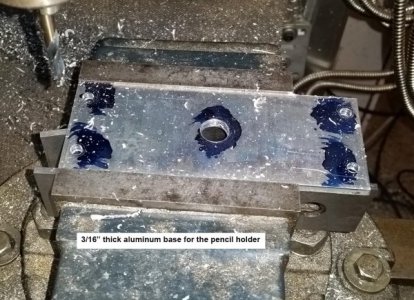
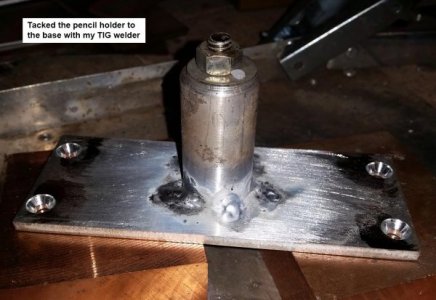
I used a 1” aluminum round drilled and reamed to a few thousandths over the pencil diameter. Made a base plate from 3/16” aluminum and tacked them together with my TIG welder. The 1” round had a ½” diameter shoulder turned to fit into a ½” hole drilled into the base for locating during the welding.

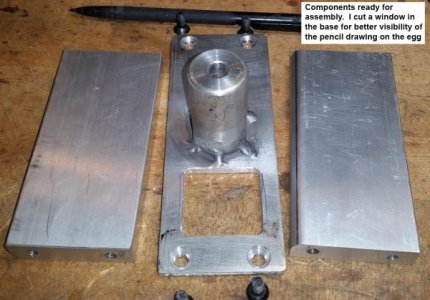
I didn’t show the operation, but milled a window on one side of the pencil holder for better visibility of where the pencil is hitting the egg. Should work out well for her.

Bruce

20161019_192352.jpg 20161019_193236.jpg 20161019_201415.jpg 20161019_203438.jpg 20161021_102745.jpg 20161021_103140.jpg 20161021_103226.jpg
 
Back
Top