2013 POTD Thread Archive

Freehand machining

I probably do more wood than metalworking, but sometimes I can combine the two. This time it was a decorative copper cover for some lamps I was making. One had a straight end and was no problem, but the other had to be cut to match the wood of the lamp. First I traced the shape onto a short piece of 1" copper pipe using a caliper and a sharpie pen. I could have done the whole job, slowly, with a hand grinder or (even slower) a file, but with a new (to me) mill, that just seemed silly. I figured I could get close spinning the cranks freehand, so I clamped the pipe in a v-block and started in on it:
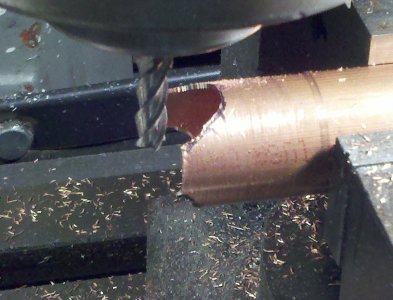
2013-08-01_19-15-55_161.jpg

Remember Etch-A-Sketch, and how hard is to do angles and curves with it? Same here. Of course, I had to rotate the tube a few times but I got it close, then finished the job with few trial fittings and a Dremel flex shaft with HSS cutter.
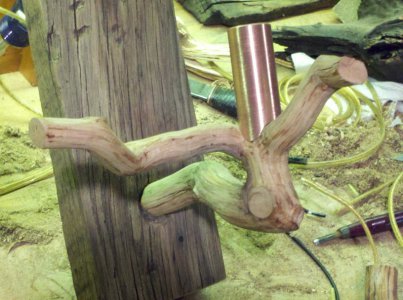
2013-08-01_19-35-34_281.jpg

Without the copper pipe it looks like this:
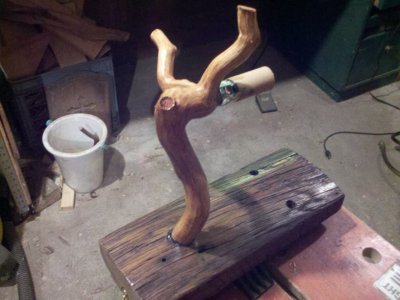
2013-08-01_20-19-58_768.jpg

And the final result (two of a matched set of four for my cabin, the other two still in progress:
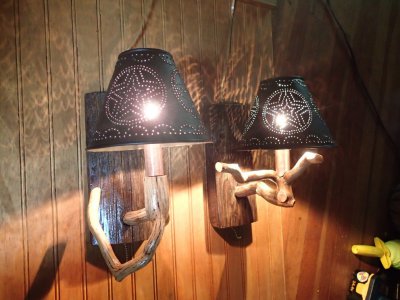
P8030399.jpg

I would like to find a way to keep the copper shiny and bright. I'm told laquer, but I don't know what kind. Alcohol solvents (like in the shellac I use on the wood) are said to darken copper, but it hasn't (yet) on a test piece I shellacked.

2013-08-01_19-15-55_161.jpg 2013-08-01_19-35-34_281.jpg 2013-08-01_20-19-58_768.jpg P8030399.jpg
 
FanMan, very cool lamps. I see more and more how the lines are blured between a wood worker and a metal worker, seems like it's only a matter of time before one crosses the line to the other side, LOL. I find that as a hobby working on anything, metal or wood is gratifying. My own shop is a wood shop, I have reserved a small corner of the basement shop for metal working machines though. Most of my metal working lately has been making carbide insert chisels for wood turners, there again, combining the two crafts.
 
Fanman, I like the lamps!
You probably want nitrocellulose lacquer to seal the copper. You should be able to find it in an aerosol can for the small amount you need.
Larry
 
Fanman
There is a lacquer specifically made for copper and brass called "Incralac" Its made by Wattyl paints here in Australia. I don't know if you can get it in the US but might be worth investigating.
I haven't used it myself but have heard that its pretty good.

http://www.wattylindustrial.com.au/documents/industrial/tds/metal/Incralac v3.pdf

edit - looks like you can get it in the US

http://apps.webcreate.com/ecom/catalog/product_specific.cfm?ClientID=15&ProductID=31368

Hope this helps you.
regards
bollie7
 
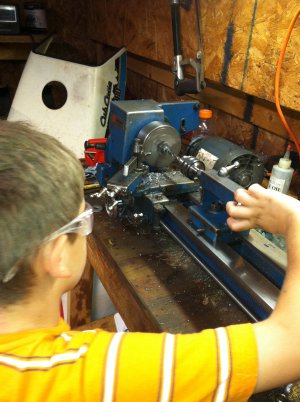
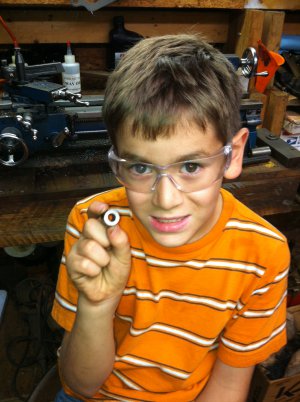
Had to make a spacer to night. Nuttin special, except for the guy running the tail stock.
DANNY TURNING 001.jpgDANNY TURNING 002.jpg

DANNY TURNING 001.jpg DANNY TURNING 002.jpg
 
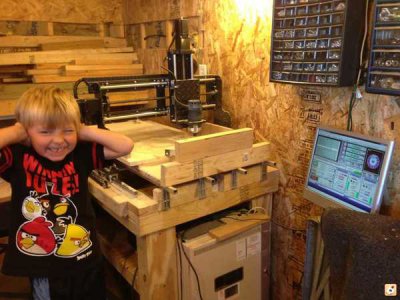
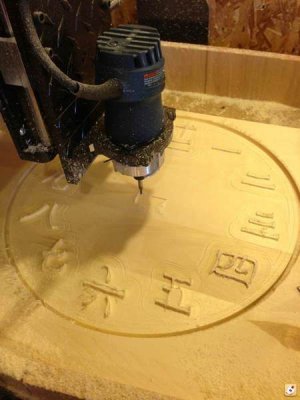
Tries to make a clock with Chinese characters on it for my 6 year old. He is in Chinese immersion school and wanted a clock. This was my first part on my machine and with mach3. I was at line 26,000 when I stopped the machine for the night. I thought I could goto zero and just start from the line I left off with. I hit the button and Mach zeroed x and y before Z. I ripped the number eleven in half. Lesson learned. [8e2uqu3y.jpgvyze5yna.jpgy2aty3u4.jpg

But I did get the dro on my x axis on my g0704 mill.
 
I found that out recently. Hit "Go To Zero" without raising Z first. A definite "Oh noooo" moment.
 
Sorry but haven't got pics! I bought myself a new to me bench grinder and wanted to change the wheels. The replacement 's came with the cheesy plastic inserts , so I put my new lathe to work and turned up a pair of tight tolerance center bushings. Mission accomplished!
 
I have a 1985 Dodge 1 ton pickup that I use for snow plowing and hauling wood. It's not worth much on the open road because of it's low gearing. That poor 360 is just screaming when it's out on the road. Oh, the speedometer doesn't work so I don't know how fast it's going but it sounds too fast.

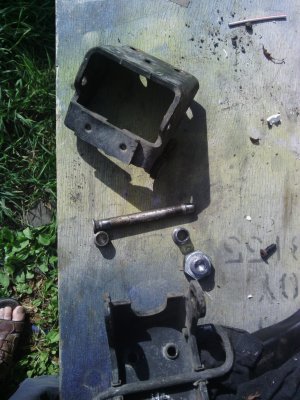
Anyway, to the topic at hand. I got tired of the drivers door having slop in the lower hinge. So, out came the hinge, found a bolt that was large enough to use for material and this is what happened.

Hinge bushing replacement.jpg

Hinge bushing replacement.jpg
 
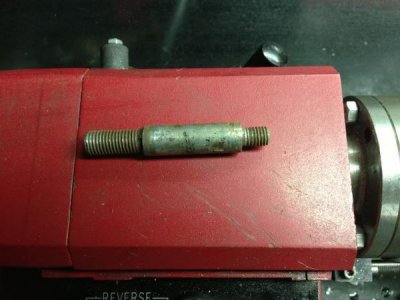
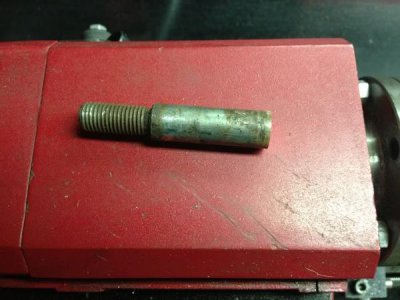
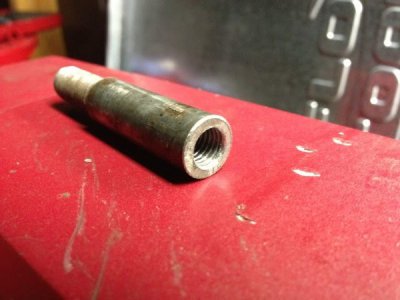
My first real project on my new to me HF 7x10 was modifying a set of foot peg mounting studs for one of my project motorcycles.

I parted the thread off, then center drilled, finish drilled, and tapped the bore. Not real exciting but I thought my first project outside of a machining class was a success.
D901504F-96C6-4BE2-BC02-107F738045B6-9579-0000042231009ADA.jpg
75852CFD-C088-4985-867F-E024C3C63388-9579-000004223583A9B1.jpg
4E700E09-F7AC-4F0B-96B7-F2C10238C1D5-9579-00000422417CF768.jpg


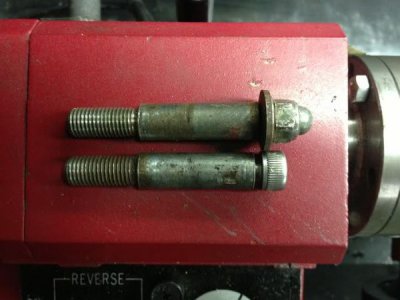
The stock setup is on top, while the modded one is on the bottom.
B827C84C-6106-4AA6-85E2-702154EC65BF-9579-000004224649A1C9.jpg


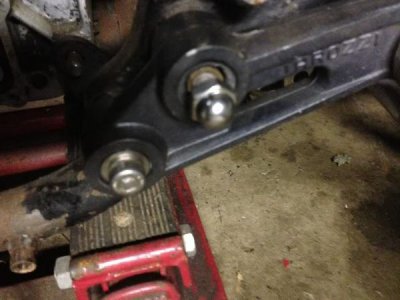
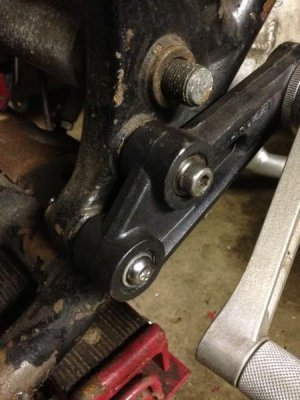
I know I have mismatched fasteners but I'm waiting on the correct ones to show up.
Before:
41318A60-A32D-4F19-8C92-E978CEB2D0E6-9579-000004223AC8B8D1.jpg

After:
A94C6C9D-8D39-49DA-BC3F-F951C19BAA59-9579-000004224AF08FF8.jpg

Later, Doug
 
Back
Top