2013 POTD Thread Archive

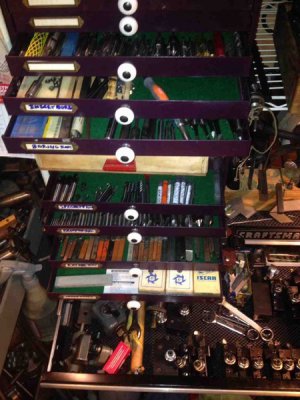
I organized the HECK out of my smalls. Boring bars, lathe cutters, milling cutters for each machine, QCT holders, milling collets and tools, ... You name it!
ytagyzab.jpg

And I still have spare drawer units for the rest. One more big step toward getting my shop back how it was before storage. Whew

I also organized the corner of the shop I've been avoiding. Sometimes a lack of sleep can be inspiring, instead of tiring!


Bernie
ytagyzab.jpg
 
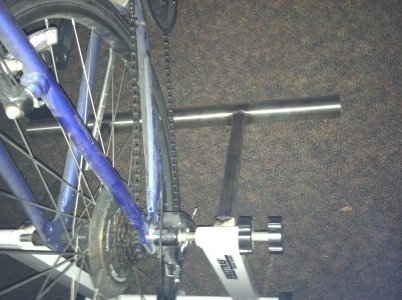
so me and my daughter found a bike trainer stand for 5 bucks...it was a little wiggly for her and the wheel hit the floor,so i added a taller and wider base..

photo-1.JPG

then she says its to easy.....

photo.JPG
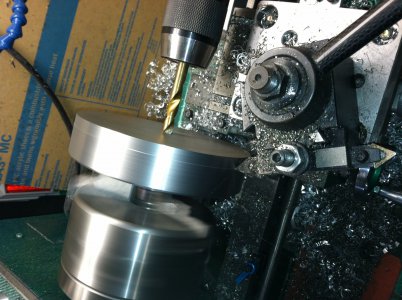
I had 2 pieces of 6" round laying around but it was 1/4" to big for my chuck. so i tig welded on a piece of 1" x1" round.trued up the ends first.

predrilled it for a set screw..welded on center....chucked up nice..took my time. did outer edge then one face. drilled 3"8 hole to mount..

then chucked up a 3/8 bolt , flipped flywheel to face other side...

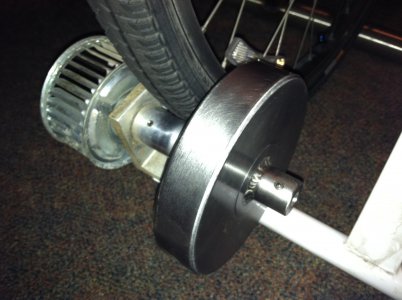
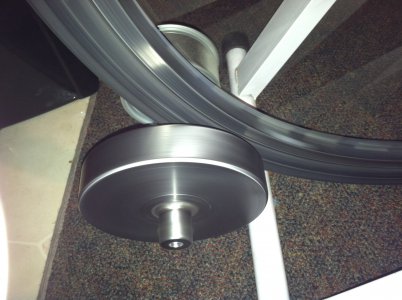
did final tap for set screw ...sprayed w clear and attached. (there was a fan on both sides )but wasn't much resistance ...

this should make her sweat..lol

photo 1.JPGphoto 2.JPG

photo-1.JPG photo.JPG photo 1.JPG photo 2.JPG
 
The only thing I did was dig out all of the parts for a dismantled Atlas 7b shaper that have been setting undisturbed for a decade and sell the machine to another member here. I hope he makes a real gem out of it too!
 
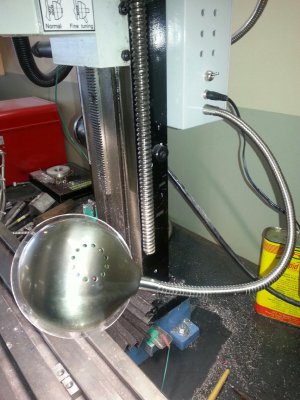
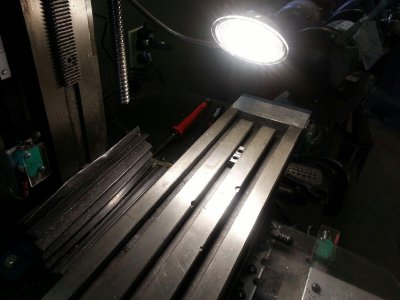
I was tired of not having enough light directly over the table of my mini mill. I was at Lowes home improvement and spotted a deck lamp that had an LED light. I looked it over the best that I could to see how it came apart.
When I got home I disassembled the lamp down to the parts that I needed. I measured the DC power adapter, the switch and the lamp stem. I decided to mount the lamp to the box on the back of the mill that houses the electronic which required drilling three holes in to plastic enclose.
This came out so well that I think I may mount another lamp on the opposite side.

led light1.jpg led light2.jpg
 
I was tired of not having enough light directly over the table of my mini mill. I was at Lowes home improvement and spotted a deck lamp that had an LED light. I looked it over the best that I could to see how it came apart.
When I got home I disassembled the lamp down to the parts that I needed. I measured the DC power adapter, the switch and the lamp stem. I decided to mount the lamp to the box on the back of the mill that houses the electronic which required drilling three holes in to plastic enclose.
This came out so well that I think I may mount another lamp on the opposite side.

You can get those lamps at OfficeMax for around $15. I bought one for the lathe, and another for the mill. Although the one for the lathe was bright enough, the one for the mill wasn't. I tried swapping the lamps without any change. I plan on buying a second lamp for the mill.


Sent from my Xoom using Tapatalk 4
 
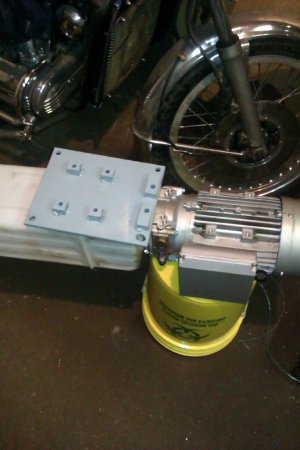
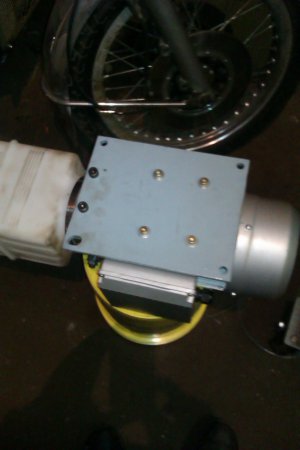
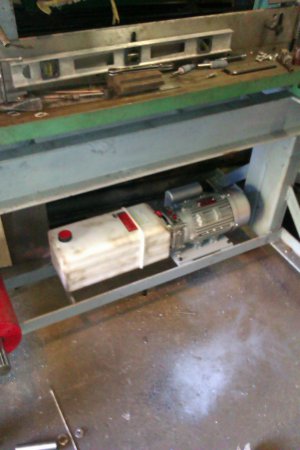
Finally got the hydraulic power unit mounted on the press via a mounting plate I had to make

IMAG0254.jpg
IMAG0255.jpg
IMAG0256.jpg

Not much more I can do on the press until I scrape up enough cash to get some hydraulic lines, the control lever and some 90 deg elbows.

IMAG0256.jpg IMAG0254.jpg IMAG0255.jpg
 
Well actually it was last weekend, but I finally got my shop cleared out where I can run my plasma table and machinery again in an uncluttered environment. I sent all of my Mechanics tools to a friend in Houston who needed them to get started in being an auto tech and even ran a broom over the concrete. I started a scale drawing of the rest of the shop so when my new to me mill arrives it will all fit together and flow through the shop nicely. It was hard to imagine just how much space that toolbox and one roll around cart took up. I started with a 20X20 building and the plasma takes up 1/4 and the table takes about 1/4 and the rest was tool box and cart. Now I have room to breath and work on stuff for a change. The fellow I sent my tools to will be able to take on any job he wants to tackle and not need to go onto the tool truck and spend money for a long long time to come. I figger I sent about 75 or 80 grand worth of tools and advanced diagnostics equipment so he should be good to go for the foreseeable future. Now all I gotta do is wait on a check and do a short 220 line run when the mill arrives...

Bob
 
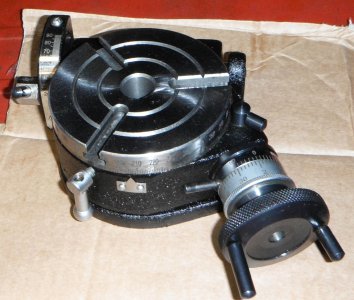
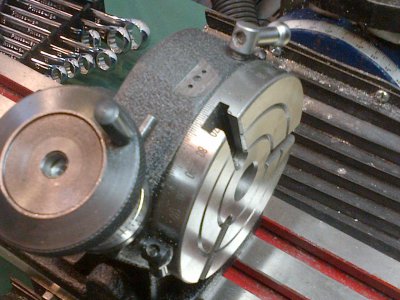
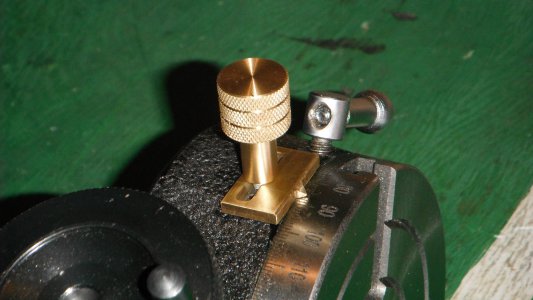
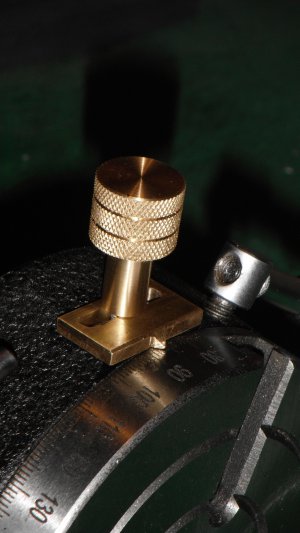
Finished the modifications to replace the fixed pointer on my 4-inch rotary table with an adjustable one. The photos show the original pointer, the modification to the casting to provide a ledge for the pointer to slide against, and the knob to lock it. I'm going to have to make a new, shorter arm for the table lock; the original interferes with the pointer knob.

Rotary Table Original Pointer.jpgRotary Table Casting mod.jpgRotary Table Pointer-knob.jpg

P.S. Hmmm... I can't seem to delete the redundant, vertically-oriented photo...

Rotary Table Pointer-knob.jpg Rotary Table Casting mod.jpg Rotary Table Original Pointer.jpg Rotary Table Pointer-knob (1).JPG
 
Finished the modifications to replace the fixed pointer on my 4-inch rotary table with an adjustable one. The photos show the original pointer, the modification to the casting to provide a ledge for the pointer to slide against, and the knob to lock it. I'm going to have to make a new, shorter arm for the table lock; the original interferes with the pointer knob.

View attachment 62678View attachment 62677View attachment 62676

P.S. Hmmm... I can't seem to delete the redundant, vertically-oriented photo...

I found the same problem with the swivel base for my milling vise. The pointer is off by about 2 degrees. I guess I know what tomorrows POTD will be.
 
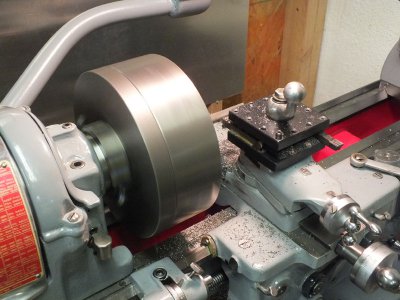
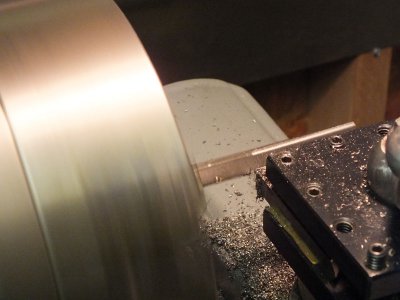
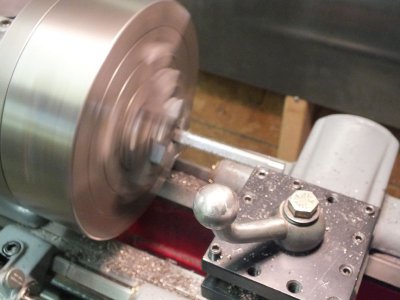
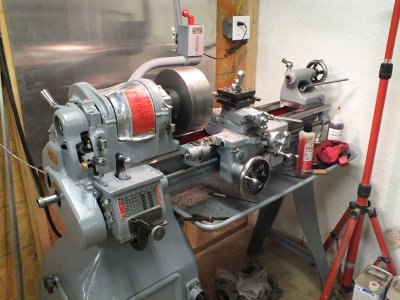
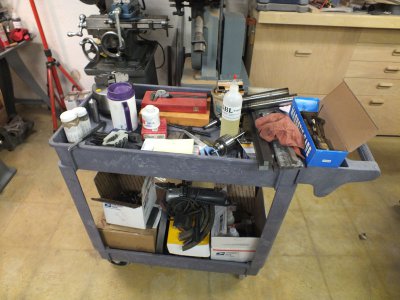
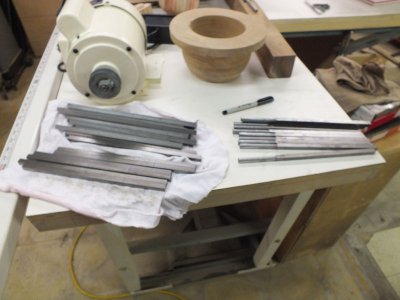
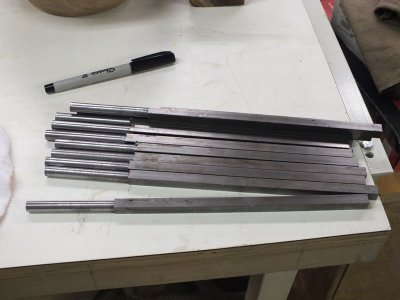
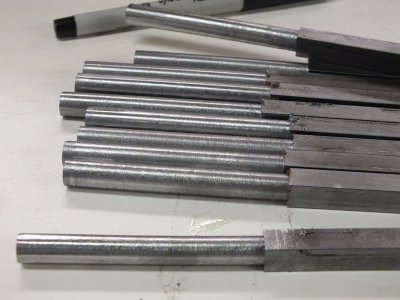
I spent some quality time with the south bend today! First real long session with her, she ran for about 5 hours and the bearing caps never even got warm. This was the first time I really used the south bend since I restored it, all I got to say is it is a real joy to use. It just flat out works. I have said all along that I intend to use it as she was designed to be, it's not art or a museum piece, but as close to a brand new 1949 south bend heavy 10 as I can get I think. So I oiled her up and got to turning, todays project was to make a bunch of blanks for wood turning chisels that I make. I started with 3/8" square cold rolled steel. I turn 3" of the shank round, that way all a wood turner has to do when making a handle for them is drill a 3/8" hole in the handle and epoxy them in. So here's a few pics of the lathe running and making cuts and getting covered with chips and oil. I have re purposed the cart that I used when restoring the lathe to a tool cart for the mill and lathe, I can just pull it out when I need it and stash it between the mill and lathe when I'm done. Was a fun day. Here's some pics........

chisel-blanks-001.jpgchisel-blanks-002.jpgchisel-blanks-003.jpgchisel-blanks-004.jpgchisel-blanks-005.jpgchisel-blanks-006.jpgchisel-blanks-007.jpgchisel-blanks-008.jpg

chisel-blanks-001.jpg chisel-blanks-002.jpg chisel-blanks-003.jpg chisel-blanks-004.jpg chisel-blanks-005.jpg chisel-blanks-006.jpg chisel-blanks-007.jpg chisel-blanks-008.jpg
 
Back
Top