2015 POTD Thread Archive

You are correct about thermal runaway - different colors of leds have different voltage drops - red has the least at about 2 volts - white has about 3.3v - just be cautious about wiring leds in series - there is a led calculator that is available on the web for both 1 LED, series LED, and Parallel LED =
http://ledz.com/?p=zz.led.resistor.calculator Hope this helps for those who don't live and breathe LED's!
LED's are fairly safe wired in series since the current is the same through all. Parallel wiring can cause some problems if the LED's are not matched as on may draw more current than the rest. This used to be more of an issue than it is now. I have wired LED's in series-parallel configurations, as many as 3 strings of 7 LED's in series driven by a 1 amp constant current driver. The LED's have been in daily use for eight years without a failure.

One issue which must be considered when wiring in a parallel or series-parallel configuration is the consequences of LED failure. If an LED in a parallel string fails open, the current drawn by it will be diverted to the remaining LED's which could overdrive them and cause all to fail. In a series -parallel configuration, one must also consider the effects of a shorted LED. A short will subject the remaining LED's to an proportional increase in the voltage applied to each. 3.5 volts is about the practical limit for a white LED. The increased voltage will draw more of the current from the configuration causing failure of that string which could then cause the remaining LED's to fail in a domino effect.
I dealt with that concern by adding an SCR crowbar circuit to the driver that dropped the current to a 2/3 level until the fault was cleared and the system restarted.

Bob
 
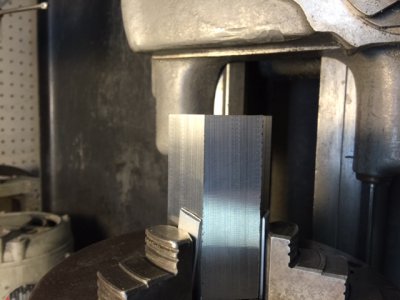
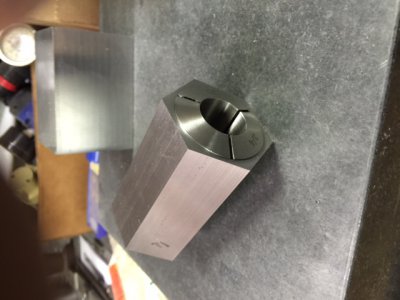
I know you can buy these at a reasonable cost but besides the fact I'm a cheap old b*****d, I have the material and know how to make them. I want a set of 5C collet blocks, so I set out to make some. I took a piece of hex steel bar stock and a piece of square steel bar stock from my scrap box and ground the sides of both. The hex was the trickiest , but I figured out how to get all the sides the same width and dimension across the flats. the hex stock is ground to .0005" tolerance all around. the square is even closer. This will be plenty accurate for anything I will use it for.
I chucked the hex stock in my 3 jaw with aluminum pads to not mar the ground surface. I is indicated all around and the jaws shimmed if needed to within .001". I bored the 1.250" hole through the hex block for a snug sliding fit on the collet. next I set up the angle and machined it. this was all done with one setup so everything is concentric. The collet fits nicely. Tomorrow I will bore the square block in the 4 jaw . it should be a piece of cake.
IMG_0304.JPG
IMG_0307.JPG
 
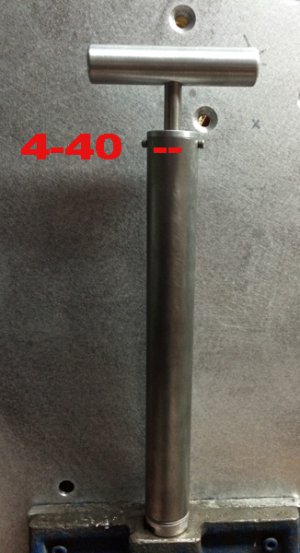
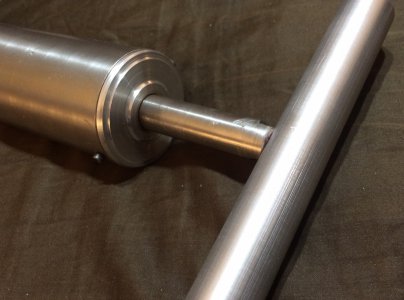
so i wanted a nice high volume pump for my big bike tires...The usual ones are kinda small for fat bike tires.

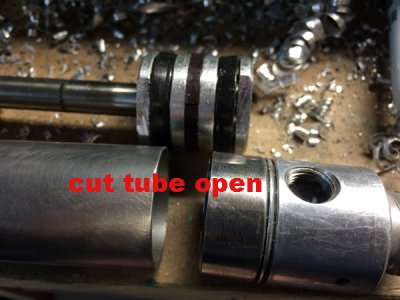
went through my box of bimba cylinders are grabbed a reasonable size one and went to work for 45 minutes..


Don't think I need to explain to much to you guys.
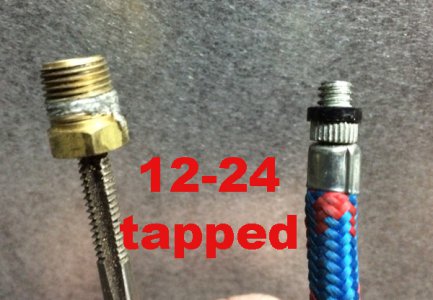
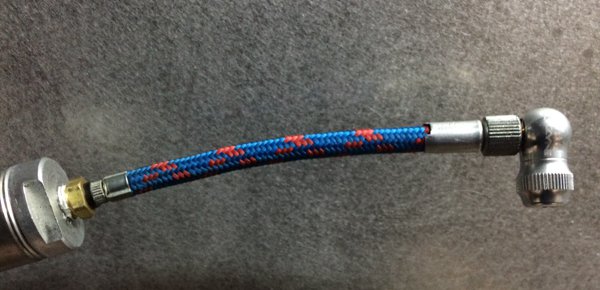
I have a braided stainless hose on the way for it too ;-)


IMG_7656-2 copy.jpg


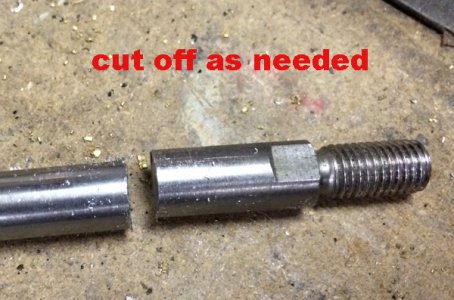
save the piece you cut off for next step...

IMG_7657-2 copy.jpg


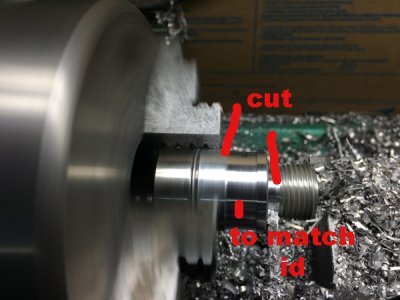
this is your new end cap

IMG_7658.JPG

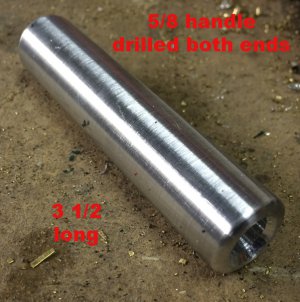
put shaft back in with cap and cut down leaving room for handle and finger space

IMG_7659-2 copy.jpg IMG_7660-2 copy.jpg
and drill hole for shaft to be press fit with locktite


IMG_7661-2 copy.jpg IMG_7662-2 copy.jpg IMG_7663-2 copy.jpg IMG_7664-2.jpg IMG_7665-2.jpg
 
As Hans and Franz say, now vee be Puumped Up. Nice job. Mike
 
so i wanted a nice high volume pump for my big bike tires...The usual ones are kinda small for fat bike tires.

Don't think I need to explain to much to you guys.


Very creative idea and nice job on the pump Mike. I am left scratching my head though, as to how the pump works without a back flow check valve to stop air getting sucked back into the cylinder from the tire on the reverse stroke, and another check valve to allow air to enter cylinder on the reverse stroke but prevent air escape on pressurizing stroke? Seems to me the pump would only push air into and then suck it out of the tire over and over again?
 
Very creative idea and nice job on the pump Mike. I am left scratching my head though, as to how the pump works without a back flow check valve to stop air getting sucked back into the cylinder from the tire on the reverse stroke, and another check valve to allow air to enter cylinder on the reverse stroke but prevent air escape on pressurizing stroke? Seems to me the pump would only push air into and then suck it out of the tire over and over again?

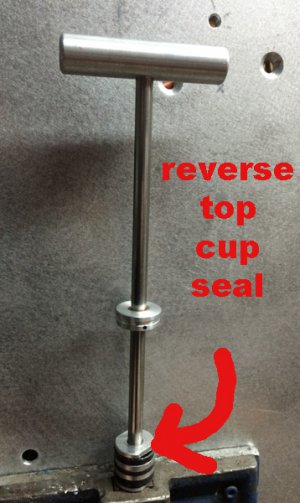
If you review the photos you'll see a note "reverse top cup seal" The cup seals work in one direction only so this acts like a one way check seal. I recently revised an Ellis band saw dashpot to use on my 4" x 6" metal cutting band saw so that it will work in reverse. I reversed the metered bypass fitting & needle valve as well as the leather cup seal so it will meter when the rod is pulled rather than pushed. If I hadn't found the Ellis cylinder for $5 @ a rummage sale (lists @ 'bout $120 online), I'd have modified an air cyl the same way as the pump.
 
the hose has a check valve in it...not that it needs it wish a presta tube valve...with a schradder it would blow back if you used a standard connector that pushes on the valve but like i said it is in the hose....as for the back stroke the cups allow air in since they are directional...just like any bicycle pump out there....


btw I am not Mike , Mike is Mike.:p
 
I finished mounting the 5C chuck Thursday night, and today I finally got around to editing the video. For those that are interested, I showed how I made the little brass tip set screws.
 
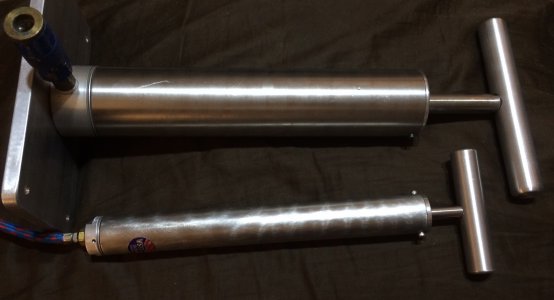
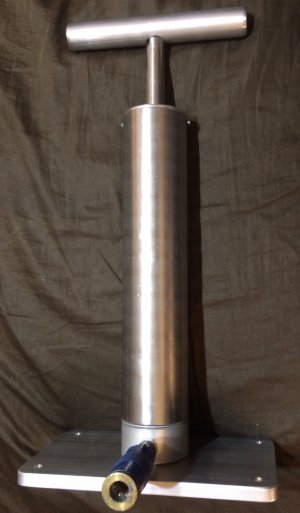
ok so I thought that pump worked so good i made another today ;-).

this one is a bit bigger , floor pump style
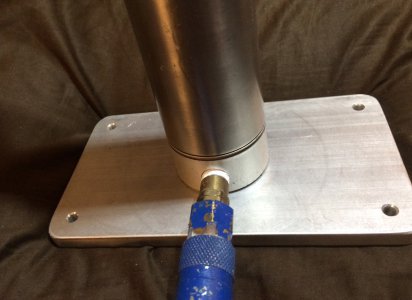
the only real difference besides the size is this one i added a check valve on output since it will be used with shop hose ect..and a oring pumper on the bottom to avoid the clang when you hit bottom...

sliced screw end of bottom to flatten and drilled a 5/16 hole and taped to 3/8 course for bottom footplate

ATTACH=full]114761[/ATTACH]

IMG_7673.jpg

IMG_7674.jpg

IMG_7675.jpg

IMG_7672.jpg
 
Back
Top