-
Welcome back Guest! Did you know you can mentor other members here at H-M? If not, please check out our Relaunch of Hobby Machinist Mentoring Program!
- Forums
- THE PROJECTS AREA
- PROJECT OF THE DAY --- WHAT DID YOU DO IN YOUR SHOP TODAY?
- Project of the Day Mega-Thread Archives
You are using an out of date browser. It may not display this or other websites correctly.
You should upgrade or use an alternative browser.
You should upgrade or use an alternative browser.
2015 POTD Thread Archive
- Thread starter jumps4
- Start date
- Joined
- Dec 11, 2014
- Messages
- 891
"Why do photos load rotated sideways?"
Mark,
Try to load the Pictures to your PC first, and use a photo editor to reorient and or resize them, then save them that way.
It will make posting a whole lot easier.
I use a free program called irfanview to resize and fix the orientation of all pictures from my phone or camera.
http://www.irfanview.com/
- Joined
- Mar 12, 2014
- Messages
- 1,531
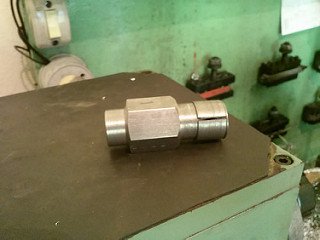
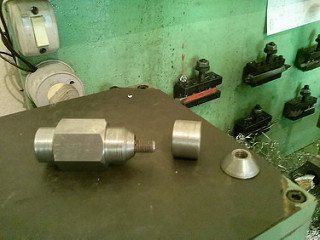
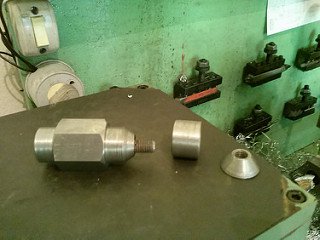
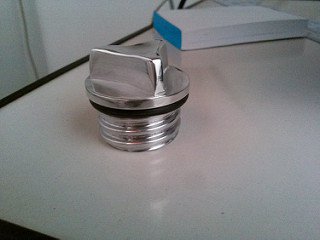
I finished my collet blocks today. Now that I have them , I probably not need them for a long time, but I always wanted a set of these.
View attachment 114771
Why do photos load rotated sideways?
Those turned out very nice Mark. I find that I use mine quite a bit actually, more than I thought I would when I bought them but needed them for one job in particular.
Mike.
- Joined
- Mar 3, 2015
- Messages
- 171
Why do photos load rotated sideways?
If you have paint on your computer it will do the resize and rotate functions too that is what I use for simple operations.
- Joined
- Jan 22, 2012
- Messages
- 655
Nice project, do you have anymore pictures of the build process?
- Joined
- May 24, 2012
- Messages
- 395
Unfortunatelly this two pictures is the only I have.Nice project, do you have anymore pictures of the build process?
Some tips:
My initial idea was to use same tapers as er collets 8/30 degrees but it had to be a very short (3/4") mandrel, so the compound was set at 35 degrees to do all tapers.(doing the fixed taper longer, inproves centralization)
The main part was made with a hex bar to give me some index capability during the milling process.
After turning the expanding bush, it was serrated.(again, because it was very short if I had more room, it was serrated alternativatelly as a real collet)
Never thigten the bolt without the part to be hold to avoid permanent deformation on the expanding bushing.
Last edited:
- Joined
- Mar 12, 2014
- Messages
- 1,531
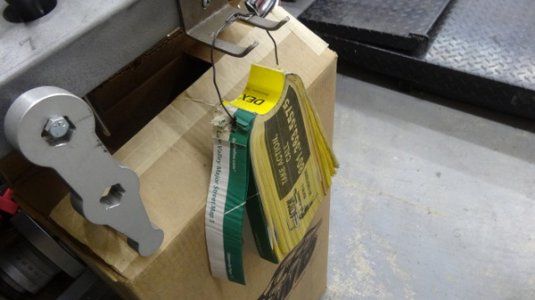
In one of my videos I had shown using a piece of old telephone book page to position an end mill alongside an edge. I had a few people inquire about that so I thought I would show what I use. It is nothing but an outdate phone book that I cut into a couple of 1.5" strips keeing the binding intact. I then drilled a hole through it in order to use a piece of wire to hang it next to my mill. When I need a piece it is quick and easy to tear off one page section. Then just discard when completed with that piece.
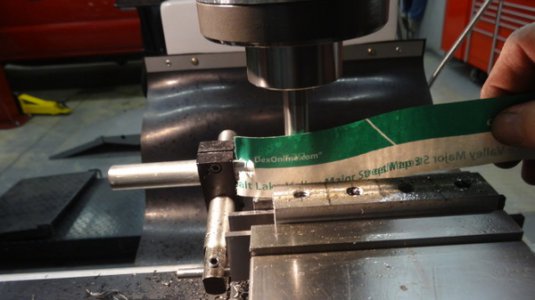
Using the piece of phone book to creep up to the side of the material. Once the end mill starts to pull the paper, I know I am approx. .003" from the edge. I then move over that dimension and zero my DRO for the cut.
After drilling and tapping four holes to 3/8"-16 I moved on to cut the steps in the nuts.
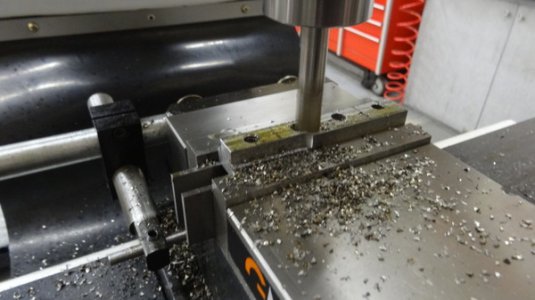
Machining processed completed, removed from the mill vise and ready to cut on the vertical bandsaw.
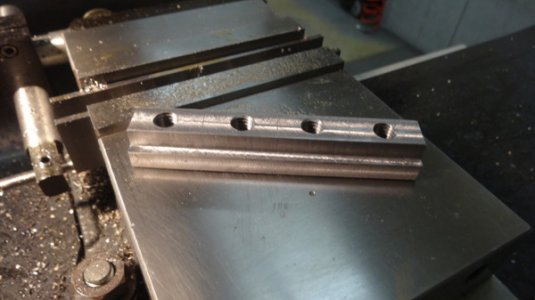
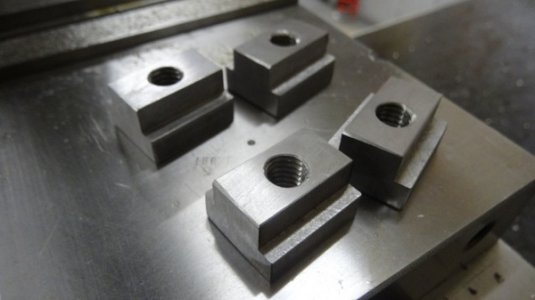
T-nuts completed.
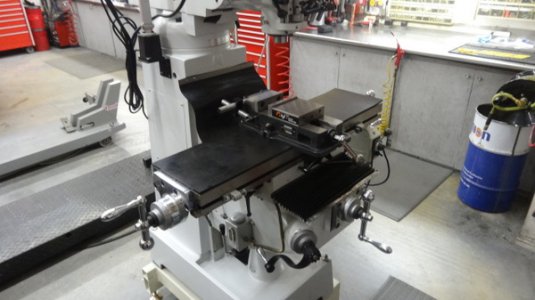
Mill cleaned off, floors swept and closed up shop for the night.
Mike.

Using the piece of phone book to creep up to the side of the material. Once the end mill starts to pull the paper, I know I am approx. .003" from the edge. I then move over that dimension and zero my DRO for the cut.

After drilling and tapping four holes to 3/8"-16 I moved on to cut the steps in the nuts.

Machining processed completed, removed from the mill vise and ready to cut on the vertical bandsaw.

T-nuts completed.

Mill cleaned off, floors swept and closed up shop for the night.

Mike.
- Joined
- Dec 8, 2013
- Messages
- 2,651
Or you could go to a head shop and buy some cigarette papers...
- Joined
- Mar 3, 2014
- Messages
- 634
That phone book idea is a good'n
While I don't have a paper mic I've used my good Starrett to keep track of regular notebook paper for many years.
It's always been 3mil and they hold the dimension very well.
Just checked my phone book and it's 2.5mill. Yep, checked multiple pages.
So fer giggles I checked the premium copy paper I recently purchased and got 4.2 mills. HUM, I had assumed it was the same as notebook paper.
The paper mills are incredibly accurate and the old paper trick works about as well as an edge finder if you are sensitive to the contact drag and know the paper thickness.
Fer those new machinists who are just learning this old method, if the cutter grabs the paper, " just let it have all the paper it wants". Let Go!!!
Have seen several people who tried to fight the cutter for the paper and almost got a finger into the mix.
It might be a good thing to offer a little blood to the great machine gods but lets not get carried away.
T
TOOLMASTER
Forum Guest
Register Today
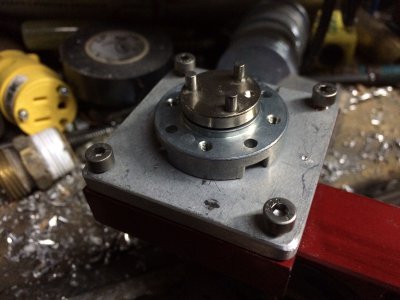
I have been avoiding this for long enough.. finally got around to making my motor fit the gear head i bought a while ago...when i bought it i was hoping it came with a 8mm or bigger input so the motor i had would just drop in..but no...it had a 6mm input..
there was a stepper motor already attached and the seller didn't want to take it apart to measure. but it was a great price so i went for it...
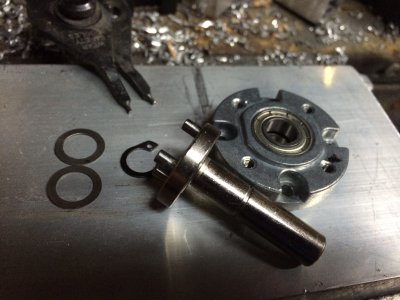
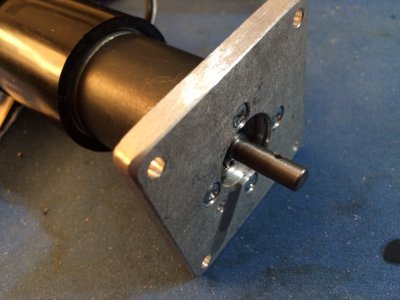
the biggest obstacle was turning down the main shaft on my motor to 6mm from 8mm...the motor face adapter was no big deal i have made a bunch of those but usually i use the same shaft size or a bushing.
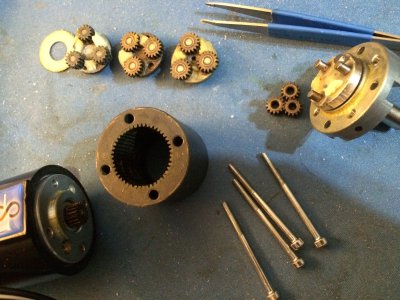
so onward to motor gear disassembly.. i was actually surprised that it was a full planetary gear head/motor. this made keeping track of gears much easier..now the shaft.
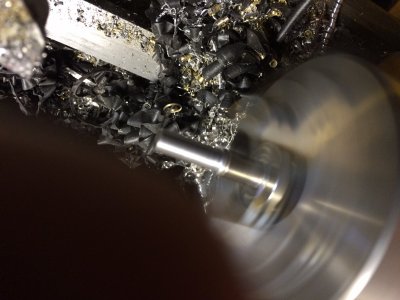
it wasn't a straight rod like i hoped..i had to clamp on the flange. but i stuck it in the lathe ...wiggled it as i tightened,and it actually centered up pretty nicely... so about 10 baby passes later it was done..all was well with the world..
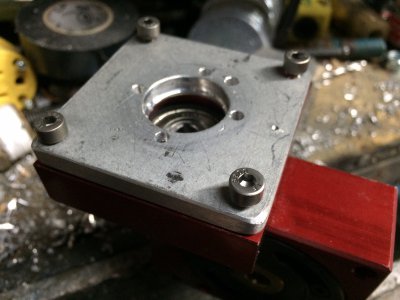
just needed a pin hole and it fit like a glove..did the face adapter and i'm in business ;-)
about a .02 rpm out...variable dc controlled


