2015 POTD Thread Archive

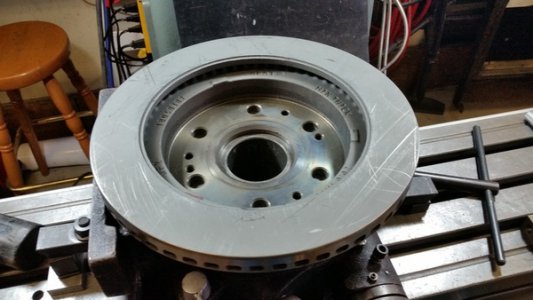
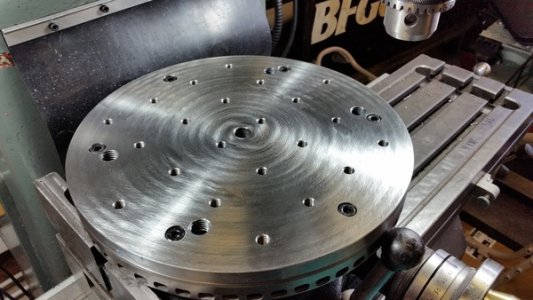
I have been trying to buy the rotary table option for my 8" Vertex super spacer and not had any luck finding one for a reasonable price. I decided to make one. I started out with a 12" round steel plate that I bought as scrap and a 13.3" GM truck brake rotor. Here's the S.S. without the chuck. as you can see there is a raised boss in the middle to locate the chuck. The boss measures 6.295" and is .200" high.
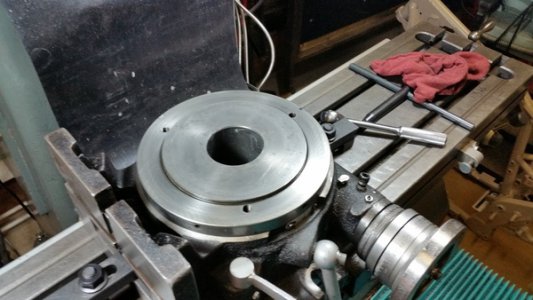
20151127_164215_zpsklwrnvar.jpg

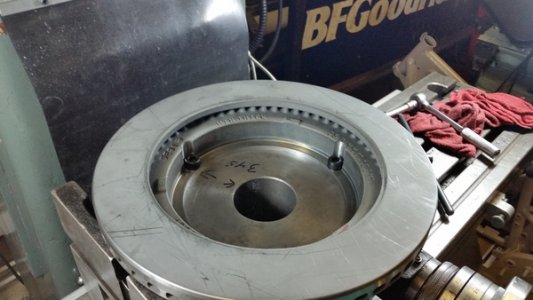
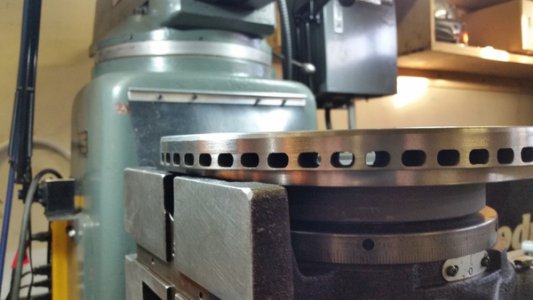
Then the brake rotor sitting on it.

20151127_150156_zpsmjjtmdb2.jpg

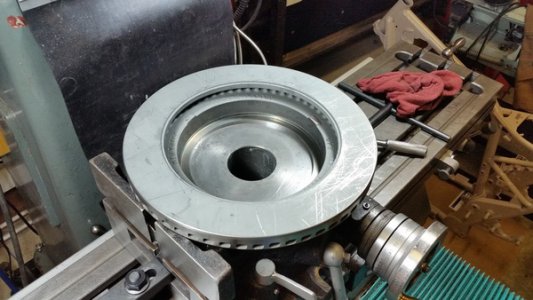
First I put the rotor in the lathe to whittle it down to 12" from 13.5" and remove most of the metal from one side of the braking surface to provide clearance on the S.S. I didn't get any pics of that process but it made a big mess of cast iron chips.
20151127_150208_zpszsvjwpfl.jpg

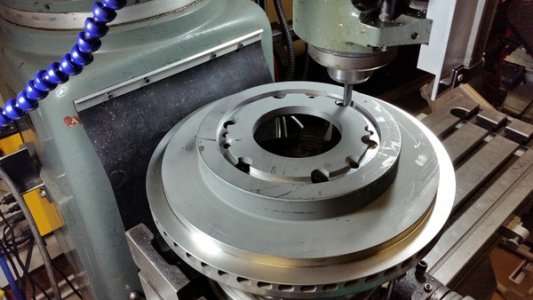
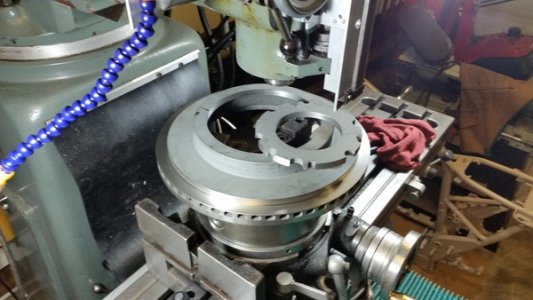
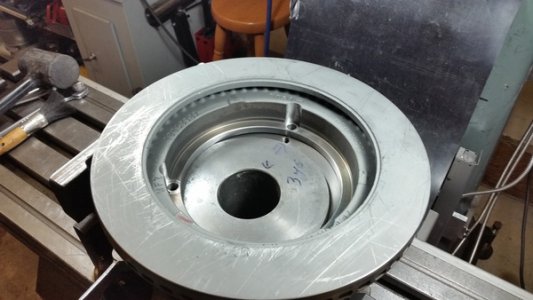
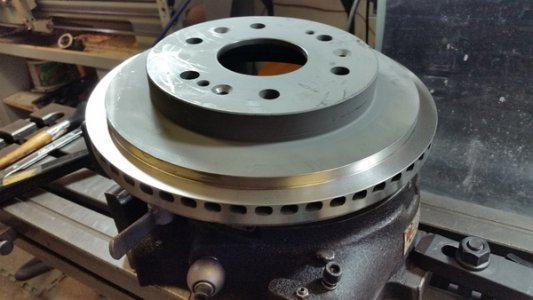
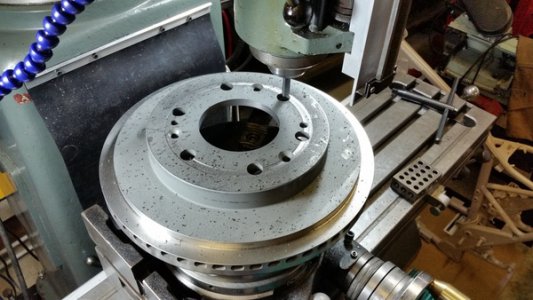
Then I mounted the chuck back on the S.S. and used the mill and a 3/8" roughing end mill to carve out the center of the rotor to a rough dimension close to the 6.297" I was aiming for then I used a finishing end mill for the final cut and hit the dimension perfectly.
20151127_150225_zps2878vvpz.jpg

20151127_160328_zpsy71r4b0p.jpg

20151127_161204_zps6zamjiyr.jpg

20151127_163358_zpsvxoyvahv.jpg

A perfect fit!

20151127_164206_zpshzrnjzym.jpg

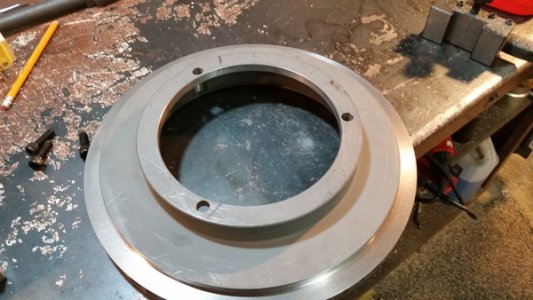
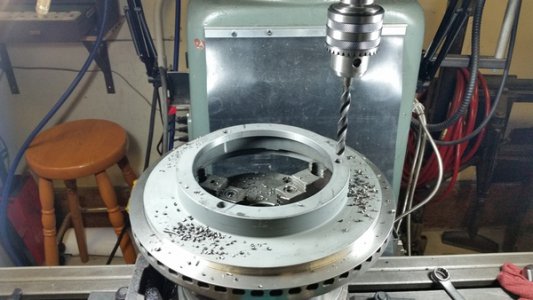
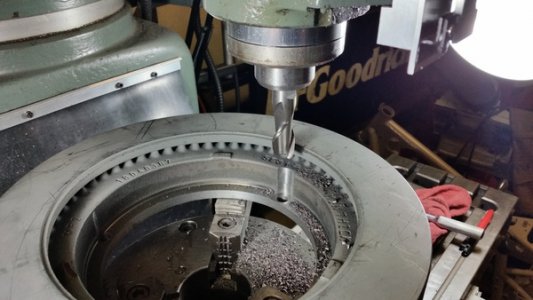
Then I located and drilled the 3 bolt holes in the rotor to align with the existing chuck bolt holes in the S.S. I then used a 3/4" end mill from the other side to provide clearance for the 10mm socket head cap screws.
20151127_170711_zpskt7eebwg.jpg

20151127_171512_zpstmagtxbq.jpg

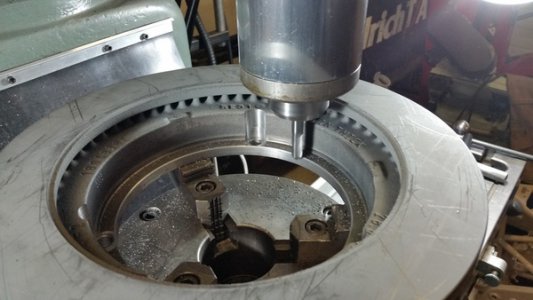
I used a 1/4 chamfer end mill to radius the edges top and bottom.
20151128_085157_zpsbrg8rwyf.jpg

20151127_173240_zpstv8lwnxt.jpg

20151128_090432_zpsziqtbget.jpg

20151128_090535_zpshagq3wxs.jpg

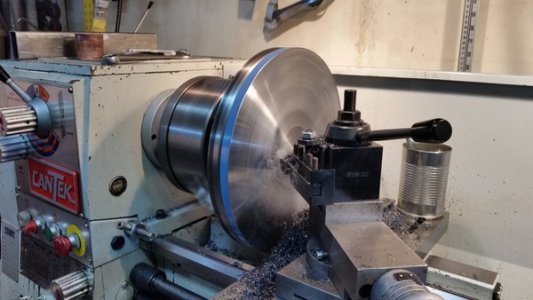
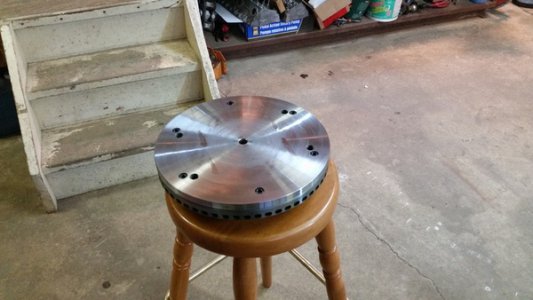
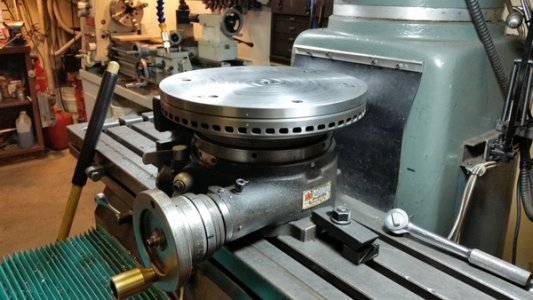
Then I drilled 6 holes for 8mm shcs's into the steel round plate and tapped the holes in the rotor and bolted the plate to the rotor and mounted the whole assembly in the lathe and faced the plate off nice and flat. the bolt heads are counter sunk .020" below the surface of the plate.
20151128_152437_zpsg5plnp0u.jpg

There are 4 existing 5/8" threaded holes on the plate and I added another unthreaded 5/8" hole to the center while it was in the lathe. You can still see some shadows from a piece that was welded to the plate but you can't feel them.
20151128_154821_zps84gd7sjl.jpg

20151128_161917_zpso8byp1im.jpg

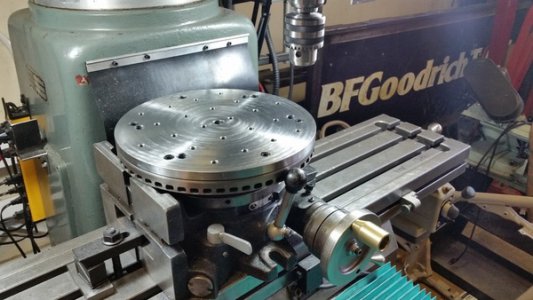
Then it went back to the mill where I drilled and tapped twenty two 3/8" holes for hold downs.
20151129_113322_zps9mudliqh.jpg

20151129_113329_zpsofgoqxc9.jpg

Now to make the hold down straps and studs, that will be another day. The I can get started on the project that motivated me to make the rotary table.
 
I recently moved and I have been setting up my shops, notice I said shops. 1 half of my basement is for the wood shop, and the other side is for the metal work side and a wall separates them. The wood shop now has 2 dust collectors, a stationary cyclone and a portable unit. It is going to be nice to have both separated now so I can do either craft. I was a wood worker first and that will always be my first love, but I do love to work metal as well and the tool collection for that is growing slowly as I learn. It is nice to be able to make tools and parts out of metal when the need arises.
Greg, nice work on your turnings and stands.
Thanks Greg,
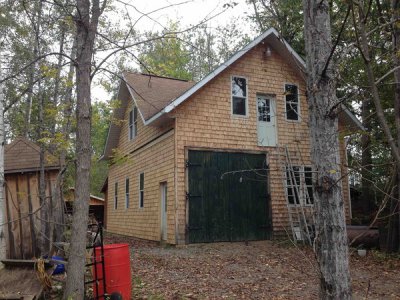
When I moved for I hope the last time I built the shop two stories, Downstairs is for metal and upstairs wood with no inside stair case. With radiant heat the two are totally sealed from each other.
A picture after I finally finished the shingles on the wall.
IMG_1896.jpg

Greg
 
Wow, that first step from the upstairs door is a doozy. LOL

Cool looking shop Greg.
 
View attachment 115269 So i made an air line addaptor, it's for a badger brand, the thread is some weird imperial / metric merger of weirdness. It's an M5 0.5 if i work it out in inches it came to 50tpi my leblond skipps that one so i cut it 52 tpi, works nicely, darn u badger airbrush co ;)

And it doesn't leek like he shop bout adaptors i was using, grrrr :)

Stuart
Stuart,
Just in case it is really a tyre vale stem fitting I put , " What is the schrader valve thread form " , into Google here is the result .

The external threaded part of a Schrader valve is 7.7 mm (.302") x 32 T.P.I. ... check the thread form with a 32tpi gauge

Digging a bit deeper :-

Schrader valves are classified by their material, diameter of intended rim hole, length, and shape.

  • TR-4, straight metal stem (8 mm dia.)
  • TR-6, straight metal stem (8 mm dia.)
  • TR-13, straight rubber stem (11.5 mm dia.)
  • TR-15, straight rubber stem (16 mm dia.)
  • TR-87, short 90° metal stem (10 mm dia.)
  • TR-87C, tall 90° metal stem (10 mm dia.)
and also:

  • TR 413, 0.453 in (11.5 mm) rim hole diam. 1.25 in (32 mm) long
  • TR 415, 0.625 in (15.9 mm) rim hole diam. 1.25 in (32 mm) long
  • TR 418, 0.453 in (11.5 mm) rim hole diam. 2 in (51 mm) long
  • TR 425, 0.625 in (15.9 mm) rim hole diam. 2 in (51 mm) long
The standard Schrader valve has the following threads:

External thread
  • Metric: 7.7 mm OD, thread root diameter is 6.9 mm × 0.794 mm pitch
  • Imperial: 0.305 in OD, thread root diameter 0.271 in × 32 tpi (threads per inch; thread density)
Internal thread (to accept the threaded valve core)
  • Metric: 5.30 mm OD × 0.706 mm pitch
  • Imperial: 0.209 in OD × 36 tpi
For refrigeration, a 1⁄4 in (6.4 mm) male flare fitting is used, with the same internal thread as above.

As a result of something I've discovered I wouldn't have bothered with the thread myself , but made the threaded bit into a push in spigot and cut off the adapter on the hose ,then pushed it in with a bit of super glue smeared on the brass spigot .
I would have also put in a small quick connect /disconnect gas fitting near to the compressor so I could use other bits of gear with the same adaptor tail off the compressor .

I think the quick release mini gas valve is about a fiver & the spigots are around 60 p each .

It works out well , I set up my gas Cadac BBQ , double gas hob/ring and tar burner etc with them a couple of years ago .
 
Last edited:
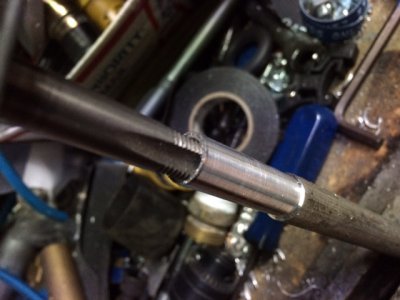
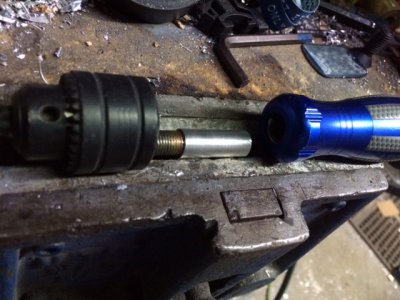
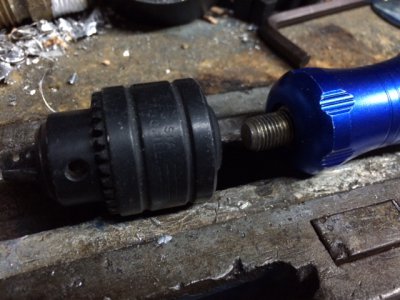
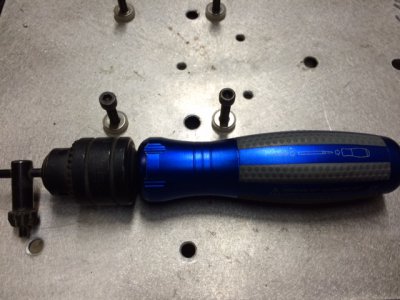
got bored..needed a hand pin/drill/tap handle


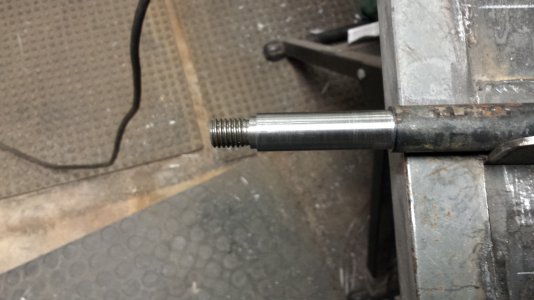
made a rod to fit into the handle i had, drill and tapped for 3/8 fine to fit chuck
IMG_7727.JPG
cut rod..lubed up with red locktite. pressed in

IMG_7728.JPG IMG_7729.JPG IMG_7730.JPG
 
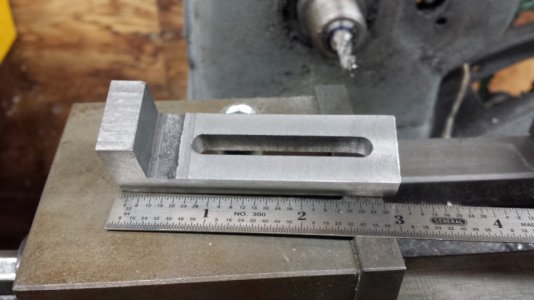
Re-purposed some scrap into a paperweight for my desk at work. It started life as a broken made-in-china XY vice that was given to me awhile back.

It's a portion of the stationary jaw, and you can just see the dovetail peeking out on the left side. The hole was where the vice jaw mounted. It's sitting on a 3" vice, for size comparison.20151128_155259.jpg

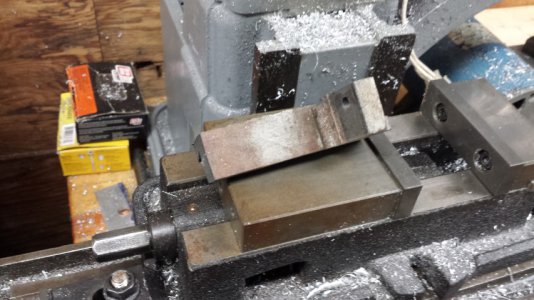
Some horizontal milling later, and I found this hidden in that ugly cast iron chunk.

20151128_215140.jpg

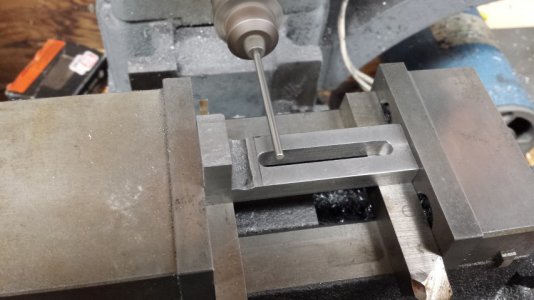
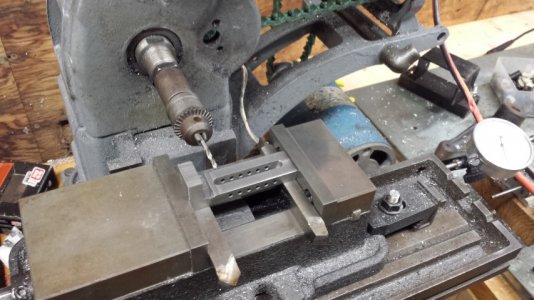
I edge-found it using a piece of 2mm ground shafting, and drilled the cross holes.

20151128_222231.jpg

20151128_225052.jpg

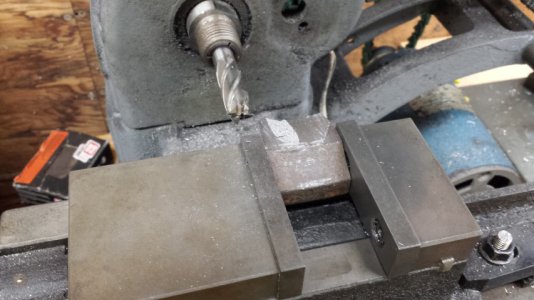
This ugly chunk of broken cast iron was found in the junk box. I cut and broke it down to a manageable size, then started carving away on it.
20151129_164246.jpg

More horizontal milling later, and here's where I'm at. Still some work left to do, and yes, I know the fixed jaw is a bit thin, but I used what was on hand. It'll be a nice paperweight, and may actually be usable as a vice in a pinch.

20151129_190951.jpg
 
I weld and fix things like lawn mowers, patio furniture for the hood and it was going to be my drive way sign. After welding the upright and the stand. The silly thing is stuck in the garage, will not clear the door.

I could have measured twice and all that but I like that it is above the folks head, they must look up to see it, adds to the effect. Right now it sit on a furniture dolly, maybe mounting casters up inside the bottom of the I beam, will lower it enough to roll it in and out of my humble shop.
View attachment 115270View attachment 115271
Are you going to move it in and out, or is it going outside to stay? You could lay it down or move it on the diagonal
 
Well I got a little shop time in in the last few days. (Despite the return of my A-flutter)
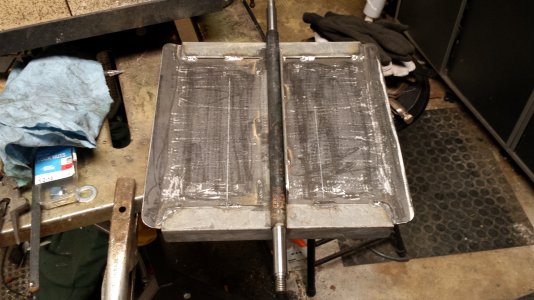
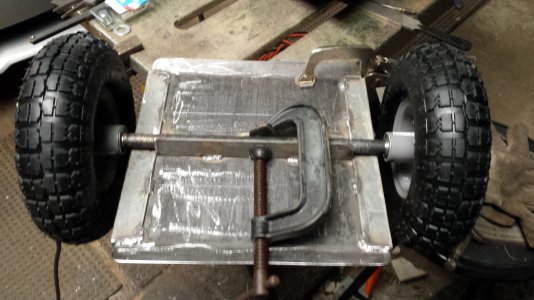
Needed a low dolly for moving unitized stairs at work. So here is what I came up with from what was laying around the garage. -the wheels
20151129_200705.jpg 20151129_201006.jpg 20151129_200520.jpg
 
Back
Top