2015 POTD Thread Archive

Nice welding table. I'll agree with the hardness of some bed rails. Built my sandblast cabinet frame out of them, then tried drilling to fasten plastic panels. Carbide drills were the only thing that would touch some sections. If I'd had to buy the drill bits it would have been way cheaper to frame it with new material.

Greg
 
As I feared, he broke the right front tool rest!
View attachment 117218

I too have had a damaged purchase from LIDL ..it's a cheapie £ 20 ( $ 32.00 USD ) small grinder with an oxide 3 x 14 inch long belt sander arm on the other end.

What annoyed me is that there is not a mark on the outside of the box , nor was the packing distorted ,or the paint work marked yet the sander arm belt adjuster device was bent to one side and the whole machine was rock solid ....... Was it like that when packed .. I guess it was .

When I purchased it there were nine of these machines on the shop stand I, happened to ask the near by manager how many had they sold , as LIDL do " Specials "on set days & I'd got there 3/4 hr after opening time . " Oh about 30 so far today " , was the managers reply .

On finding the damage I realised the likelihood of me driving back to the store & getting a replacement instead of a refund was exceedingly low .
To say I was annoyed was an understatement for I'd lined up several tasks where I wanted to use the belt sander rather than a hacksaw & files Plus I want to dedicate the grind stone end to solely doing home brazed TCT lathe tools tips instead of knackering up my decent grind stone

I had to take it apart to free the armature , strip the belt adjuster and realign a few bits with a hammer and an adjustable wrench then set it up to run true on the rollers . It now works & runs like a dream .
 
I have made more stuff out of old bed rail angle iron. Whenever I see them in the trash I grab em and just stick them in the rafters of the garage for the day when I will need them. I find that they are harder than most angle iron and will usually just laugh at a sawzall blade, cutoff wheels or a fiber chop saw are my tools of choice for cutting them up.


From what I remember from my apprenticeship days 50 yrs ago .....
Those old bed rails are often a malleable rolled cast iron that takes on a very long carbon rich grain when hot rolled , The finishing size roll was usually done almost cold .

Yes it's a beast to cut but it does drill nicely if you have a sharp drill , use pilot holes , don't go very fast and use oil as the cutting lube .
 
Last edited:
got a few bits'n'pieces done over the end of the semester, now the pace is picking up before the next semester starts and all hell breaks loose.

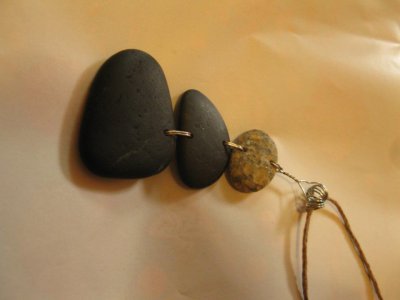
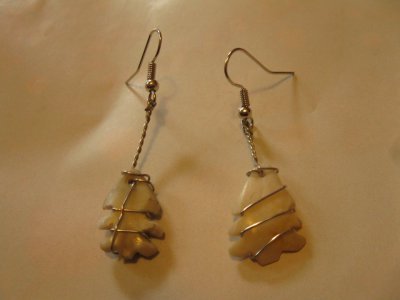
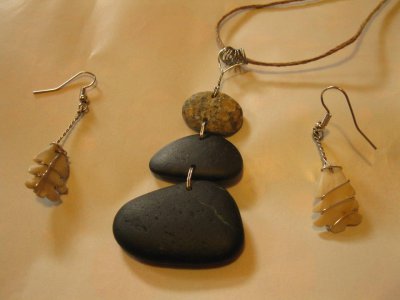
Most important thing first - my wife's present from my girls and I. Made from stones and shells we picked up on the Washington coast during our summer holiday. The girls (7+9) hand sanded and polished the stones, then they drilled the holes using a diamond bit (1.5mm I think) in the drill press. They did the drilling, I did the holding in a water filled plastic container. Couldn't feel my fingertips towards the end :) Then we used some jewelry wire to join the stones together and wrap the earrings - Sophie (9) did some of the soldering too. They just finished wrapping everything up and stuck it under the tree :)IMG_4390.JPG IMG_4391.JPG IMG_4392.JPG
 
They just finished wrapping everything up and stuck it under the tree :)

"Just-in-Time" delivery alright.
Those homemade gifts with a personal touch will be ones she will always treasure!

-brino

PS: And kudos for showing your daughters that beautiful things can be made and not just purchased.
 
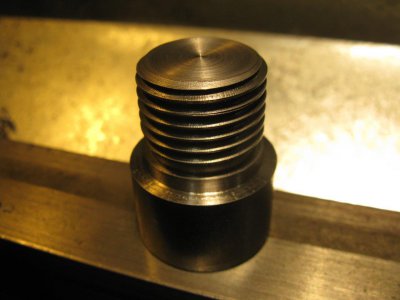
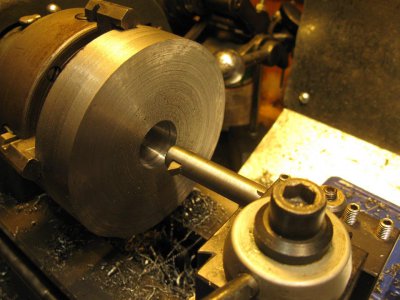
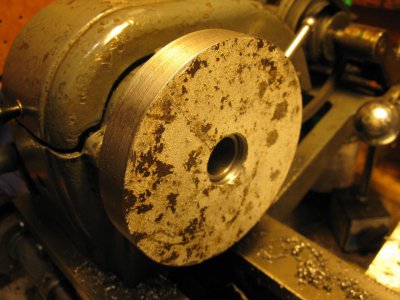
then made a copy of my lathe's spindle nose to help with making a chuck back plate - first time threading metal, woohoo!

IMG_4372.JPG
just about to start threading the back plate from hell
IMG_4373.JPG IMG_4376.JPG
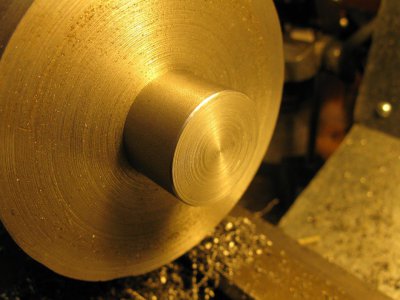
spindle plug fits! Unfortunately, I cut the register 1 thou over which wasn't quite enough for a good fit so I had to put the chuck back on (thankfully hadn't taken the backplate out of the chuck) to take a couple of thou off and deepen the register.
IMG_4377.JPG

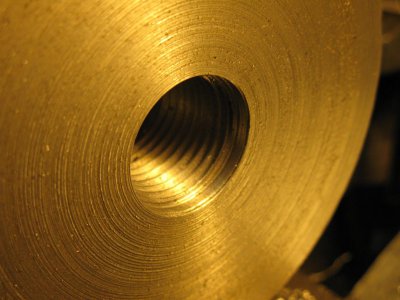
finished the back, which was a slog of tedium and dispair
IMG_4378.JPG

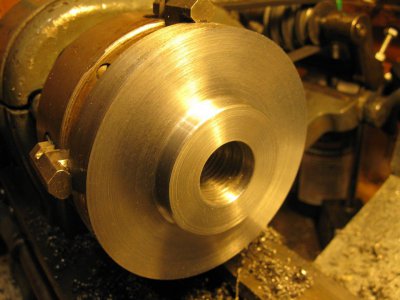
and it threads on a treat. Now need to cut the outside to size, face the front and cut the register. Then mark out, drill and thread the bolt holes.
IMG_4379.JPG

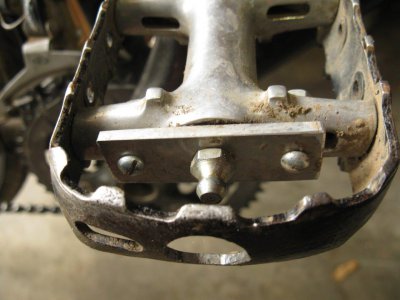
another little project. These pedals on my commuter are ancient and somewhat worn out, so they start clicking a couple of months after a regrease which is a messy pain to do. So I made up a couple of grease nipple ports and now regreasing them takes a couple of minutes at most :)
IMG_4374.JPG
 
"Just-in-Time" delivery alright.
Those homemade gifts with a personal touch will be ones she will always treasure!

-brino

PS: And kudos for showing your daughters that beautiful things can be made and not just purchased.

good job too as the other present I got for her just arrived and they sent the wrong thing :(

The girls love making stuff like this and it's awesome to see them come up with their own ideas, then make it. The twisted wire on the earrings was my youngest's idea and the bit to join the stones to the necklace was my oldest's design.

This is was they made last year, although more of it was done my my eldest that time
IMG_3676.JPG
 
Just am fyi, the register for the spindle threads is not super critical, only the register for the chuck back. All 3 of my registers are different, not hardly close to the spindles actual diameter, and my 3 jaw repeats 4 tenths
 
Back
Top