2016 POTD Thread Archive

Needed two new chuck keys for adjusting my Bison chuck, the ends are 0.280" squares. Started with 3/4" O2 steel rod for the body, was able to machine up to the collet using the electronic stop which allows one to use the machine feed without fear of crashing. Probably will not heat treat the keys, given I would rather have them wear then the chuck keyway. I also insert a 6 mm neodymium magnet in the key ends to hold both keys in while adjusting opposing jaws, and turning the chuck.
View attachment 120748 View attachment 120749

Nicely executed!
 
I got my X-Y CNC conversion done last night, and ran the first part today. Got 25 minutes in to a 28 minute run, and the oldham coupler worked it's way loose on the lead screw shaft and broke the acetal disk. No real damage, but now I have to wait for amazon to deliver more discs before I can do anything else with it...bummer. Oh well, gives me time to put flats on the lead screw shaft and use some loctite...
 
No Pix, hands too greasy to take pictures. I removed and greased (regreased) the spindle in my PM25 as per Matt's suggestion. I'd heard what sounded like a tinny bearing rattle in the top of the head, and wanted to make sure all the bearings were well lubricated. The did have some grease on them, I added more, but also put a fair amount on the spring in there. That's what I'd heard rattling. "Twas interesting to see how it was all assembled.
 
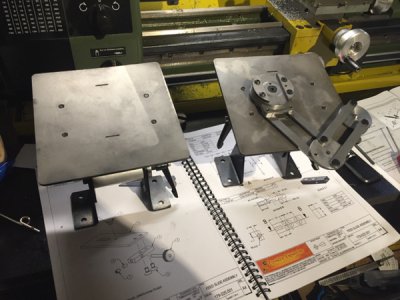
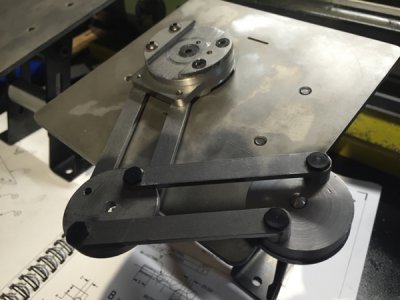
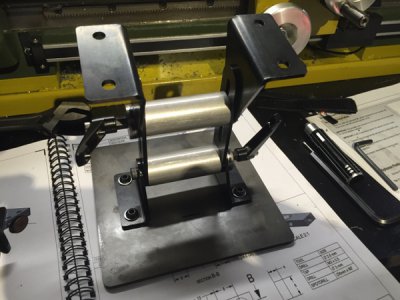
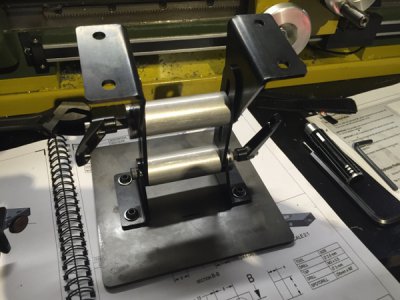
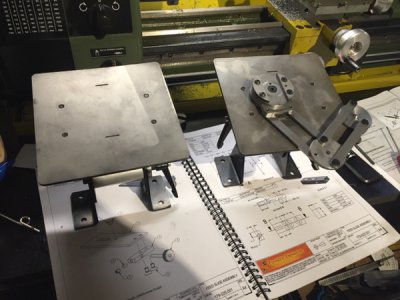
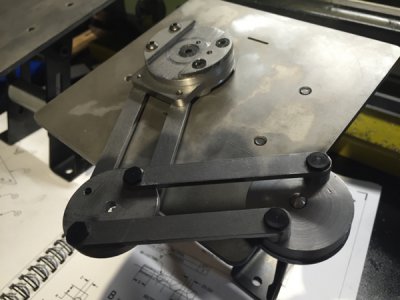
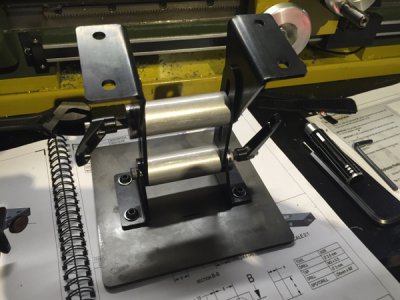
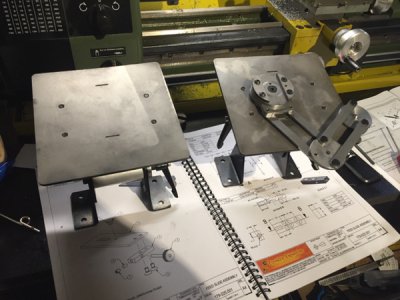
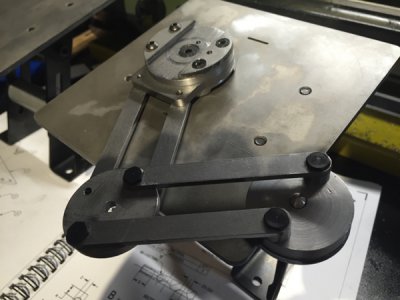
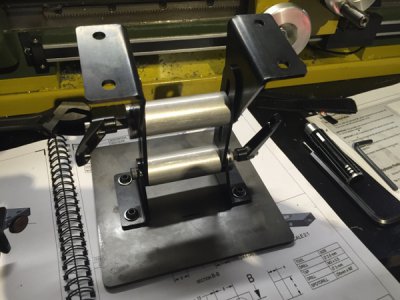
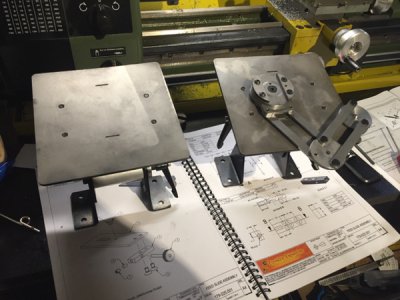
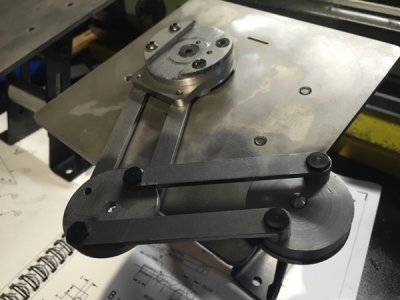
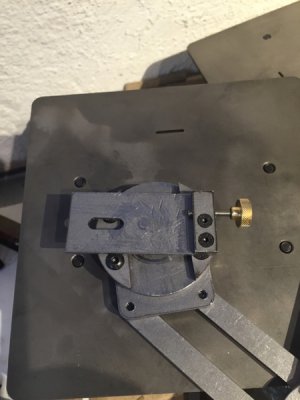
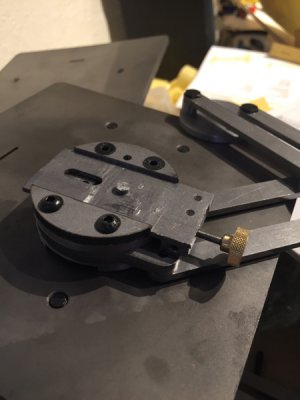
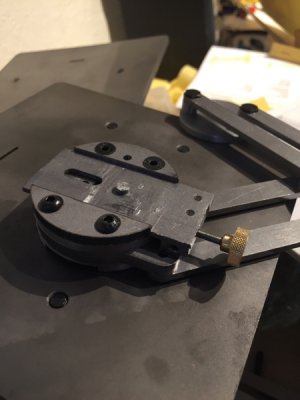
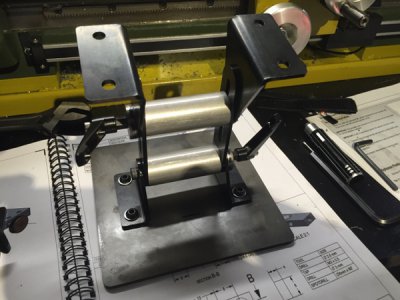
Well I finished up a number of parts for my grinder toolrest.
I finally can start assembling the parts an see what the finished thing will look like.
So far this has been a fun project, and it has given me a reason to purchase many new tools inncluding a RF-25 clone mill.
Anyway hope you like the photos :)
8ad81ebdb1117a6a362d1b7c1776cbb9.jpg838e7a287b5b5ab9a38106ba984bf014.jpg138ff2d8b5ab698d4f0cef52cccaea2a.jpg

Leif


Sent from my iPhone using Tapatalk
Leif,
Nice looking rest.
Where did you get the kit from?

8ad81ebdb1117a6a362d1b7c1776cbb9.jpg

838e7a287b5b5ab9a38106ba984bf014.jpg

138ff2d8b5ab698d4f0cef52cccaea2a.jpg

8ad81ebdb1117a6a362d1b7c1776cbb9.jpg

838e7a287b5b5ab9a38106ba984bf014.jpg

138ff2d8b5ab698d4f0cef52cccaea2a.jpg

8ad81ebdb1117a6a362d1b7c1776cbb9.jpg

838e7a287b5b5ab9a38106ba984bf014.jpg

138ff2d8b5ab698d4f0cef52cccaea2a.jpg

8ad81ebdb1117a6a362d1b7c1776cbb9.jpg

838e7a287b5b5ab9a38106ba984bf014.jpg

138ff2d8b5ab698d4f0cef52cccaea2a.jpg

8ad81ebdb1117a6a362d1b7c1776cbb9.jpg

838e7a287b5b5ab9a38106ba984bf014.jpg

138ff2d8b5ab698d4f0cef52cccaea2a.jpg
 
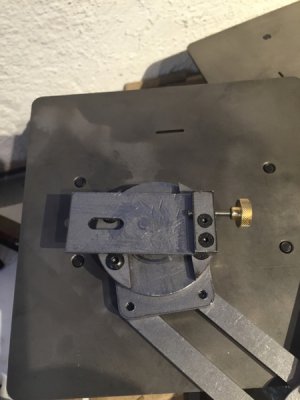
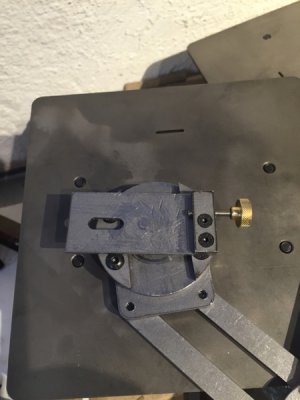
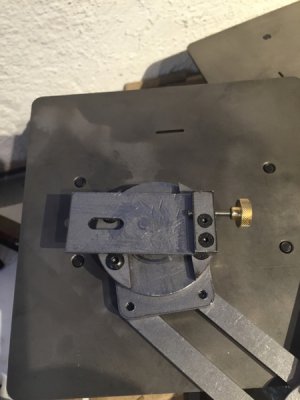
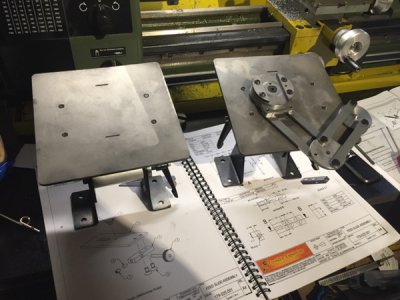
So made some more parts for my tool sharpening system today:
60df2421921247905e2b74a454155034.jpg
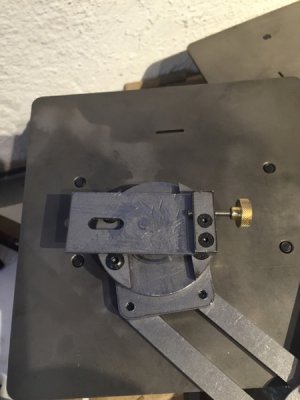
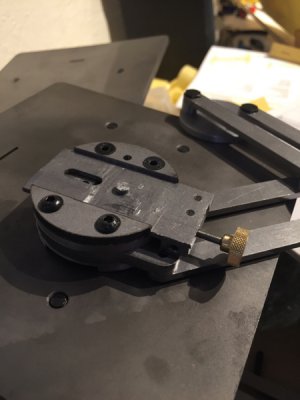
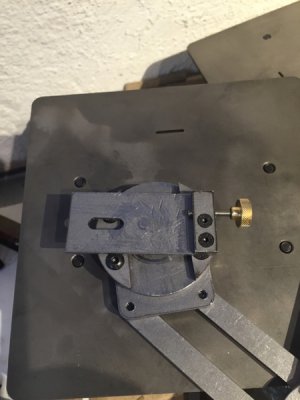
This is the slide that the tool holder rides on.
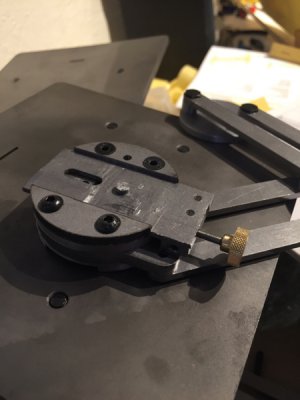
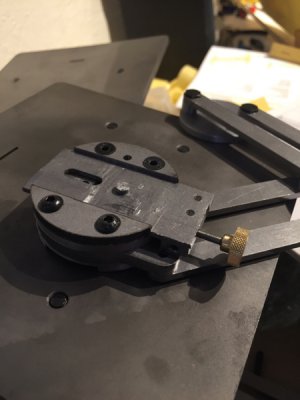
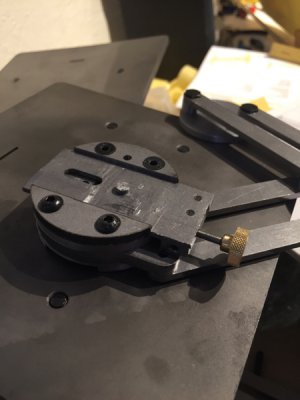
It fits into the top part like this:
ef94e231ad0cd7b535ab2cac84ec974a.jpg

With a nice setscrew for adjustment :)

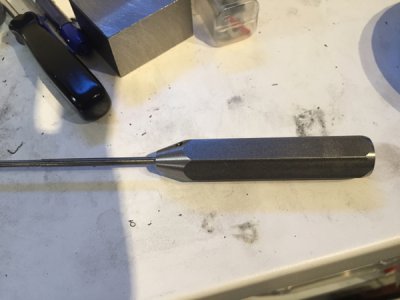
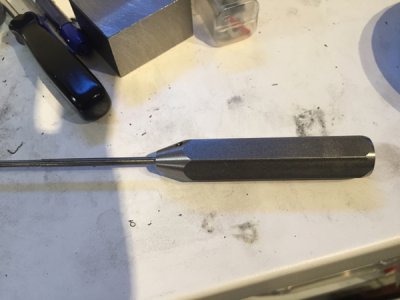
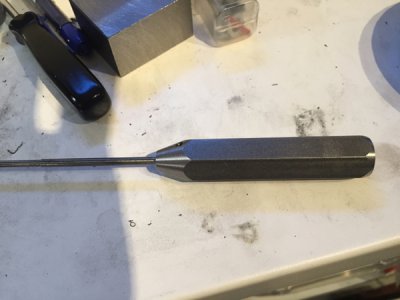
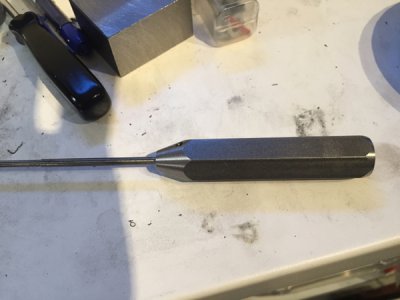
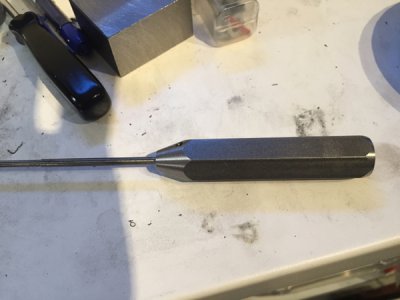
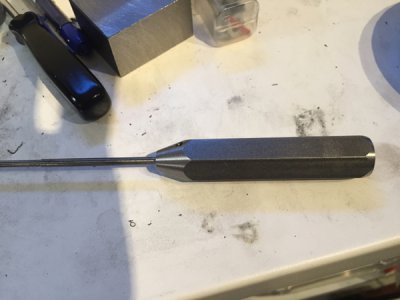
During the assembly the cheap handle for my 2,5 mm hex wrench stripped the threads for the setscrew that locks the shaft. I hva had the wrench for many years and the tip is great quality, so I quickly whipped up a new handle from some hex bar stock:
7d5bf42dc7ae9a69dc72068f6ca584b5.jpg

So yet another productive day in the shop :)


Sent from my iPhone using Tapatalk
60df2421921247905e2b74a454155034.jpg

ef94e231ad0cd7b535ab2cac84ec974a.jpg

7d5bf42dc7ae9a69dc72068f6ca584b5.jpg

60df2421921247905e2b74a454155034.jpg

ef94e231ad0cd7b535ab2cac84ec974a.jpg

7d5bf42dc7ae9a69dc72068f6ca584b5.jpg

60df2421921247905e2b74a454155034.jpg

ef94e231ad0cd7b535ab2cac84ec974a.jpg

7d5bf42dc7ae9a69dc72068f6ca584b5.jpg

60df2421921247905e2b74a454155034.jpg

ef94e231ad0cd7b535ab2cac84ec974a.jpg

7d5bf42dc7ae9a69dc72068f6ca584b5.jpg

60df2421921247905e2b74a454155034.jpg

ef94e231ad0cd7b535ab2cac84ec974a.jpg

7d5bf42dc7ae9a69dc72068f6ca584b5.jpg
 
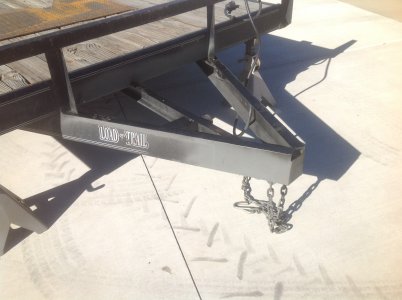
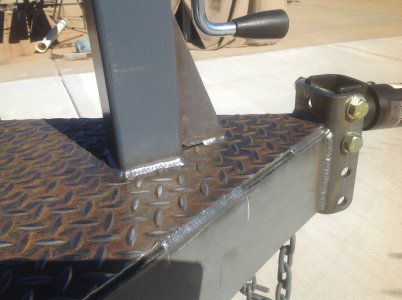
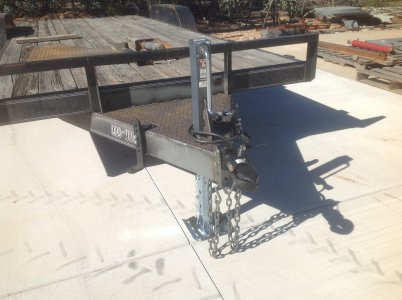
IMG_0773.JPG Repaired a trailer that was jack knifed. The tongue (5"channel) had significant twist on the right side as well as bent jack. The old coupler was removed to straighten out and new HD jack,coupler and top plate added. The owner planes on new fenders, axel upgrade and re-decking in phases.
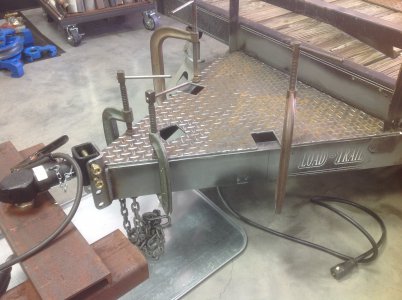
IMG_0774.JPG
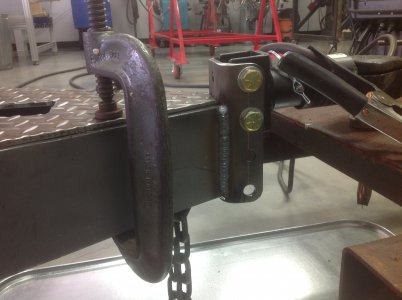
Adjustable coupler. This was welded in pulse MIG at 400 IPM vertical up for maximum penetration inside and out. IMG_0776.JPG This is the side that that was twisted. IMG_0777.JPG Setting the jack hight and plumb.
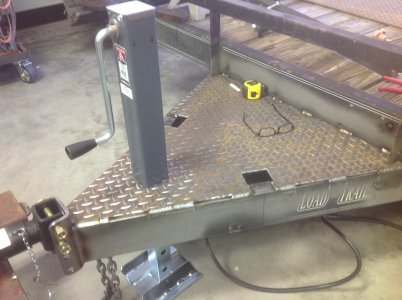
IMG_0779.JPG
IMG_0780.JPG
Took 9 hrs total to repair but turned out fine.
 
Last edited by a moderator:
Back
Top