- Joined
- Feb 16, 2017
- Messages
- 136
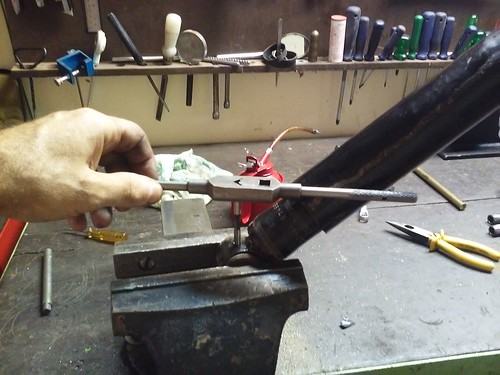
My project of the day was to get rid of some Socket Head Cap Screws (SHCS) on my Atlas 10"
Here is what I started with. A carriage stop made by a previous owner that came with the lathe. Two SHCS.
The carriage stop screws were driving me crazy!!

The thread dial is held by an SHCS too. Not an issue right now but I included it in the work today.

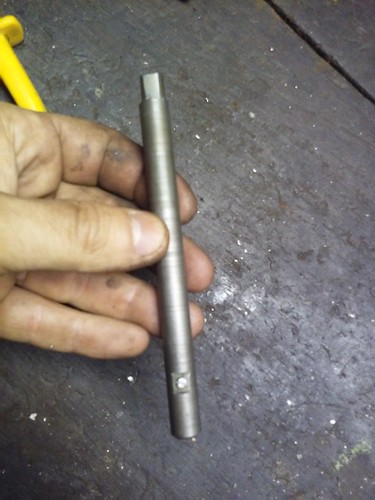
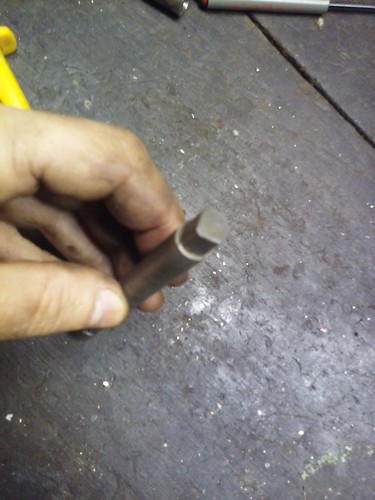
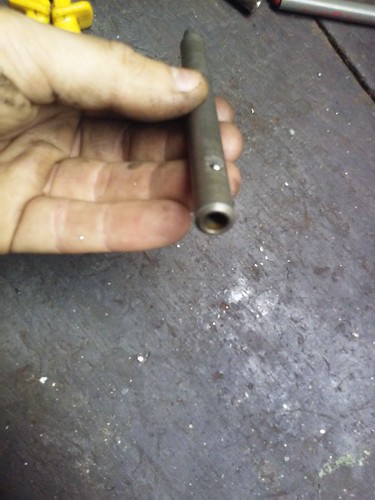
BELOW IS WHAT I MADE.

Had a lot of fun practicing cutting to dimension, cutting to a shoulder, tapering with the compound. I used dies for the threads. I don't have a cutter to single point yet.
I drilled and tapped the handle holes on my Rotex Mill. The plastic ball handle was a broken one that I resurrected for this project.
The small handles are AN3-14 bolts with the threads shortened a little and the head cut off.
The below pictures are of the POTDs in their designated spots.

The handle positions in the image above are not random. They were picked for functionality.

It was a fun day today. Surface finishes were good and dimensions were responding to the dials right from the getgo.
EDIT. Next morning I finished off a handle for the carriage lock.

Next target is a handle for the tail stock but it may present more of challenge because the current wrench swing is limited to 90 degrees and that may not be enough to get the tail stock loose enough for free sliding. Might have to move over to a cam of some sort.
Here is what I started with. A carriage stop made by a previous owner that came with the lathe. Two SHCS.
The carriage stop screws were driving me crazy!!
The thread dial is held by an SHCS too. Not an issue right now but I included it in the work today.
BELOW IS WHAT I MADE.
Had a lot of fun practicing cutting to dimension, cutting to a shoulder, tapering with the compound. I used dies for the threads. I don't have a cutter to single point yet.
I drilled and tapped the handle holes on my Rotex Mill. The plastic ball handle was a broken one that I resurrected for this project.
The small handles are AN3-14 bolts with the threads shortened a little and the head cut off.
The below pictures are of the POTDs in their designated spots.
The handle positions in the image above are not random. They were picked for functionality.
It was a fun day today. Surface finishes were good and dimensions were responding to the dials right from the getgo.
EDIT. Next morning I finished off a handle for the carriage lock.
Next target is a handle for the tail stock but it may present more of challenge because the current wrench swing is limited to 90 degrees and that may not be enough to get the tail stock loose enough for free sliding. Might have to move over to a cam of some sort.
Last edited: