A Dividing Head Anyone Can Build

You are correct , but there are several things to consider. First , I am using material that is on hand when possible. Second, I looked at doing that,but it made the whole unit too large. I need to keep it small to fit on smaller mills, like my Burke where the table is only 16 inches long. I didn't want this to be a big monster,like so many of these are. Also, I am trying to keep it as easy as possible to make so that almost any hobbyist can make it. I did make it bigger to handle a six inch swing. Originally , it was to be a four inch swing . This made it higher ( which I don't really like because the Burke mill doesn't have a lot of height ).Rotating on the worm axis would have made it way too high I think. I also considered the fact that the plates and such will move, but it is only 90 degrees and I don't think it will matter much because it is a small change in position.

I am glad to see some of you thinking on the design here and it can easily be altered for those with a larger machine like a Bridgeport.
 
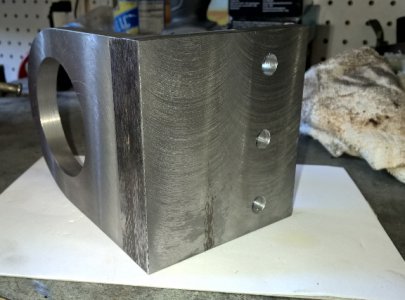
I roughed out the base on the band saw today and drilled and tapped the body for two mounting bolts.

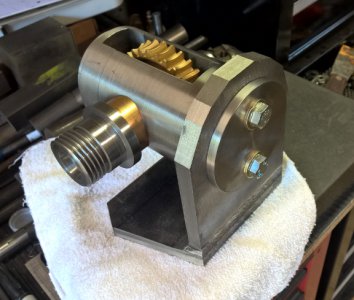
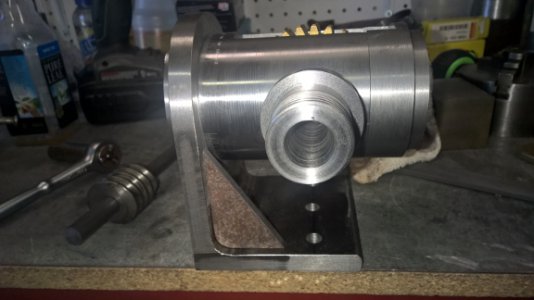
1body mounted to base plate.jpg I will round the top of the base , but wanted to test fit everything before I do. The two 3/8 bolts clamp the body and clamp plate against the base to hold its position. I designed this sort of like the Ellis dividing head, but there will be a second base arm and clamp plate on the other side ( where the Ellis only had the one). I think it is sturdy enough but I just feel better with both sides clamped. Then there will be no vibration from the body hanging on only one end.
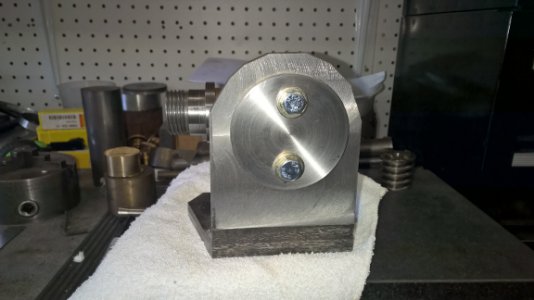
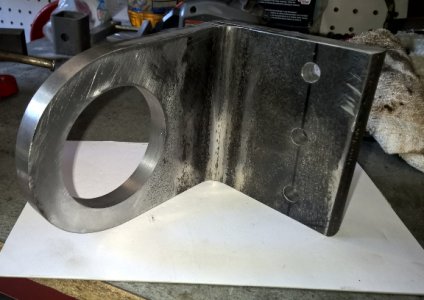
2veiw of trunion clamp plate.jpg the end view.

2veiw of trunion clamp plate.jpg
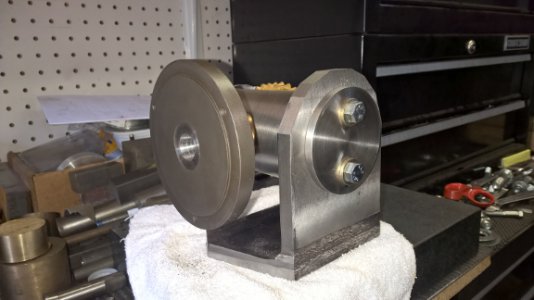
3test fitting a 6inch back plate.jpg I test fit a 6 inch back plate to make sure of clearance for a chuck. There is enough clearance to put my 7 1/4" face plate on. Now I will take it apart and finish milling the base. Then start the other trunion plate. I am still working on t he design for the worm to mount.
 
I got more done on the base today.
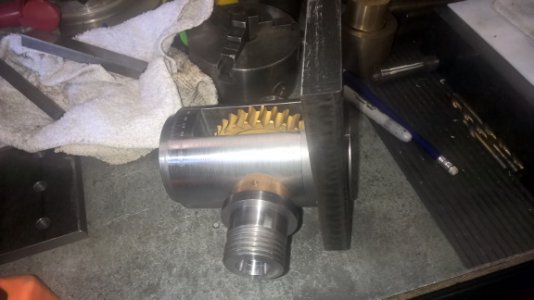
1base finished.jpg I rounded the frame and fly cut the back flat. This is now my reference surface.
2base finished.jpg The bottom is cut perpendicular to the back and the front is finished where the body clamps.
3 base finished.jpg

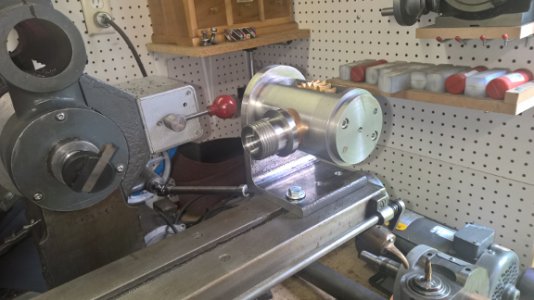
test fit on mill.jpg The unit is test fit on t he mill to check for size. Everything looks pretty good so far.
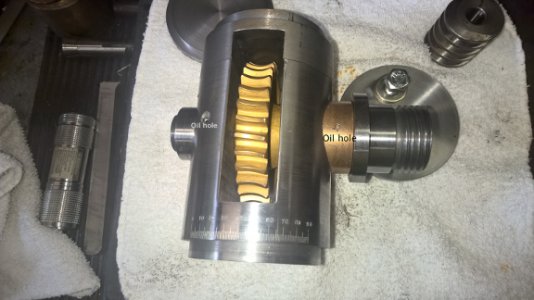
drilled oil holes.jpg While it was apart, I drilled two oil holes to lube the spindle bearings.
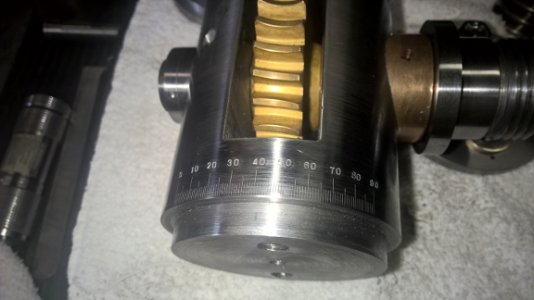
graduations.jpg I also put the graduations on the body. This is the first time I did a set and no mistakes . It came out perfect.
gussets in frame.jpg I made these gussets for the frame and was going to weld them in, but not sure yet. I was thinking if I did this the frame would be plenty sturdy with out a second trunnion. This would make the worm set up easier. Then I figured out another setup for the worm that will still allow the second trunnion, So I am a little undecided here. ( this happens when you build by the seat of your pants). I am still leaning towards putting the second trunnion on. I know there will be no vibration that way. ( I actually think it would be fine with the gussets also). I have four 1/4 inch plates to make hole plates with and a 1" thick plate to turn a chuck back plate. all are 5" in diameter. I am also working on parts to mount the worm. I want to be able to disengage it for simple indexing. I also have to make a draw bar for the 3C collets.
 
Mark
Looking good to me. Follow your gut and Go with the second trunnion.
you know the old saying nothing to strong ever broke.:encourage:

Tomh
 
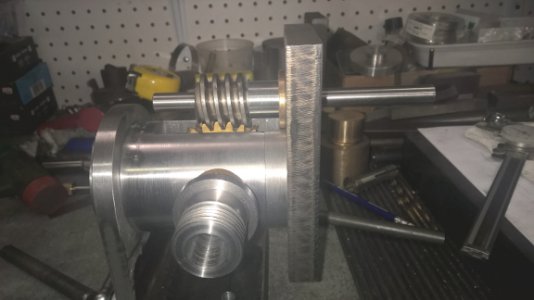
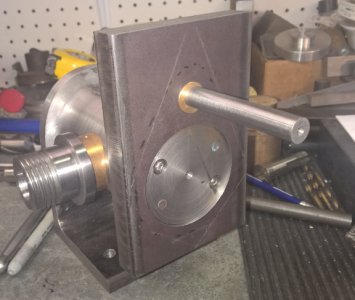
I started working on mounting the worm for the gear set. I started by making a plate 7/8" thick and boring a hole to fit the end of the body. It is also counter bored to register on both diameters on the end of the body.
1worm mounting plate.jpg

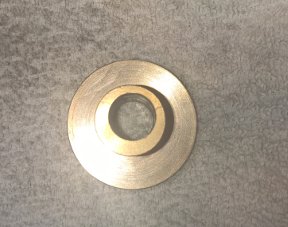
2eccentric bushing.jpg I made an eccentric brass bushing to mount the worm shaft in. It is .063" eccentric and will allow the fit of the gears to have no back lash. I also turned a steel shaft for the worm to mount on.

worm mock up1.jpg This is the set up all mocked up.The shaft turns easy and free. I was going to make a setup to disengage the worm to do simple indexing. I started thinking about an eccentric to dis engage and the switched to a two piece shaft to slide the worm and disengage it. Both of these were getting complicated ,but doable, when I realized none of this is needed. the gears are not enclosed so all I have to do is remove the one nut that will be on the rear end of the shaft ( it holds the worm on) and slide the worm off to do simple indexing. To go back to dividing, just slide the worm back on and replace the nut.
worm mock up2.jpg This is the end view of the mock up. The next time yo see this plate, it will be cut down, shaped and polished. It rotates nicely with the body and the change in position for the index shaft is minor. that is why I didn't complicate things by rotating on the worm axis. The idea is to keep it simple but make a quality piece of tooling. So far , I am impressed with the project.

The plates I have for the index plates will get machined. I kind of wanted to have them surface ground before drilling them, but all the local machine shops are gone in this area. I know of one place that may be able to do them ( you out there Mike?). I will check on that tomorrow. The other option is to face them on the lathe maybe.
 
Beautiful work, Mark!

The graduations came out looking fantastic.

I'm a tiny bit confused -

If I'm imagining it right, the second trunnion goes to the inside of the plate that secures the worm gear shaft, correct? I can see the layout lines on the worm gear shaft plate, and it would have to be affixed to the body of the indexer, correct?

How much space is there between the bottom of the worm gear shaft eccentric and the top of the indexer body? Looks close in the pictures, but that can be deceiving.

I really like this project. Is it going to get the black wrinkle finish same as the tool grinder?

Can't wait for the next installment!

I think I will answer your question in the next post. It is confusing because that photo you saw the plate is not all the way on the body.

Thank you for mentioning the finish. I have been contemplating what to do. I like the black wrinkle finish and it is durable. I was also considering hammer tone paint, but it is not as durable. Any suggestions?
 
Was a hard day in the shop, but an enjoyable one. The first thing I did was cut the excess off the worm mounting plate.
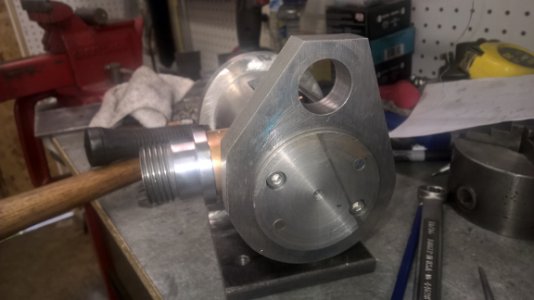
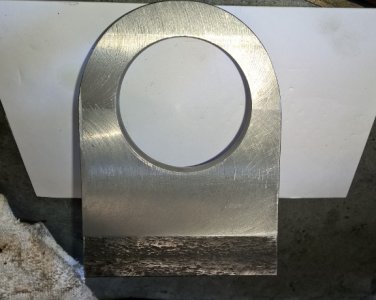
end view of plate.jpg If you notice , the worm hole (hee-hee) was bored out form .750" to 1.063". In this photo , the plate is all the way on the body. This was confusing in the previous photo yesterday. The trunnion sticks through .150". when the trunnion is clamped the worm plate will be sandwiched between the body and trunnion . The reason for making the hole larger is a major revision. My plan for disengaging the worm failed miserably and I had no back up plan. After 4 hours of thinking and machining blindly, I came up with a new plan, Thus the bigger hole.

Notice the plate has been trimmed and rounded, and sanded smooth. This plate will attach to the body with two set screws. The trunnion also captures the plate. it is a very sturdy setup. When the body is rotated, the plate rotates with it. There is a flat on the left side of the plate. I have plans for that. the flat on the top is there in case I need it later. If not the top will get rounded also.
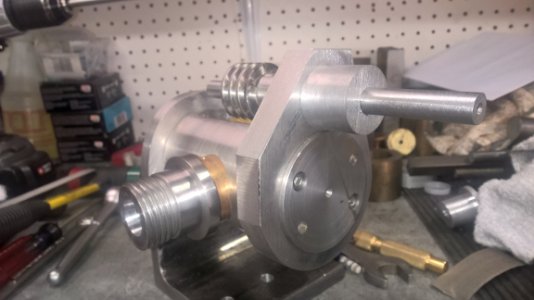
worm  mounted.jpg Here the worm is mounted with the eccentric. There is another piece that goes on the shaft to hold the index plates and sector arms. I had started it as one piece but because it was 3.375" long, it was hard to bore the .500" shaft hole the length, so I made it in two pieces and ill lock-tite them together.
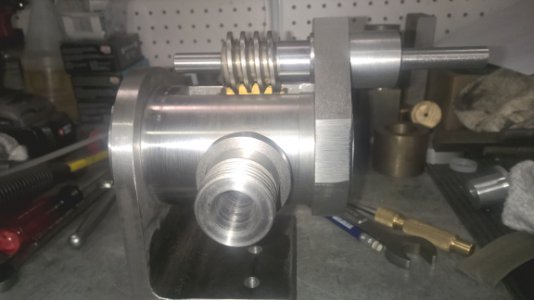
worm engaged.jpg In this photo , the worm is engaged. By turning the eccentric bushing 90 degrees, the worm disengages as in the next photo.
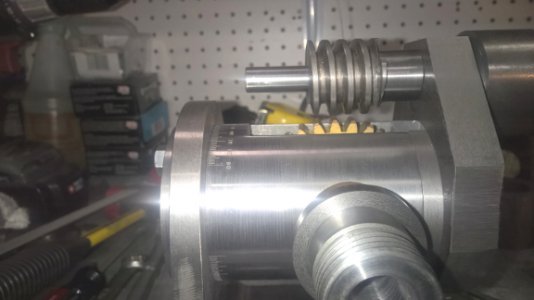
worm disengaged.jpg Here the bushing has been rotated 90 degrees and the spindle free turns for direct indexing. There will be a small lever to accomplish this. I think I will also spring to have the local engraving shop make me a couple plates. the first one will say "WORM" and have "IN at one end and "OUT at the other. I will put it on the flat on the top of the plate or on the top curve if I round it. I will also have a few tiny plates engraved that say "OIL" to install by the oil holes. I have oilers with a lift up cap I was thinking of using or look for some ball oilers. they would be nicer. I need to cut the end off the worm shaft and thread it for a nut. another option I am considering is a groove and "e" clip to hold the worm on the shaft.

So far there is about $30 in this project. I have built it from scraps mooched from scrap bins at a local industry and my own scrap box. The gears were supplied by my friend Nelson Collar and I designed around the gears. I wanted to keep it cheap, but I am so impressed with the way it is turning out I am going to spring for about $30 worth of brass to make the sector arms and index handles from brass. And another $30 for engraved plates. It will make it look real nice.
 
I never cease to be impressed by your work Mark! Whatever mistakes you make your projects always end up looking like professionally made pieces :)
 
Back
Top