- Joined
- Feb 3, 2014
- Messages
- 39
Note:
I recently posted this in the "Project of the day" tread but realized it probably wasn't the right place.
Also, I'm planning to post some more from this project later on, so I started a new thread here instead.
Hi
I'm into customizing motorcycles and I'm currently building a new rear end for my Kawasaki H1.
Early in the project I decided to use a rear wheel hub from a 78 KZ750. After a while I decided that this hub is uglier than a monkey's armpit, so I set out to modify the hub just to make it look better.
Here are some pictures taken during the process.
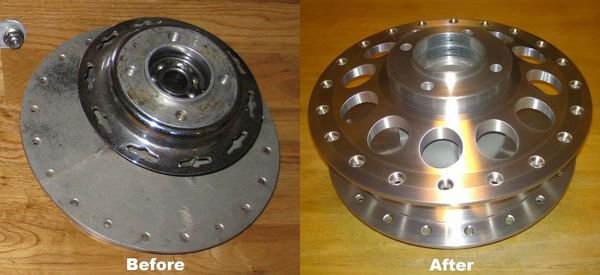
First the "before and after" picture.
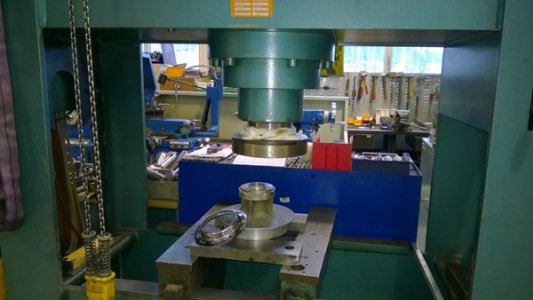
I used the big press at work to get that ugly flange off.
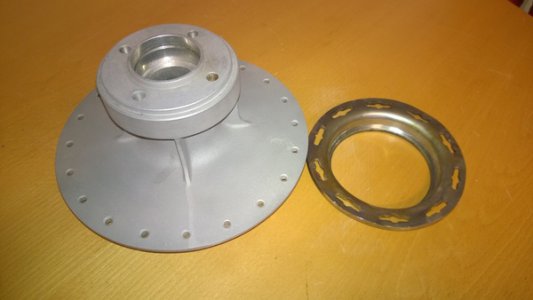
Flange removed and hub sand blasted.
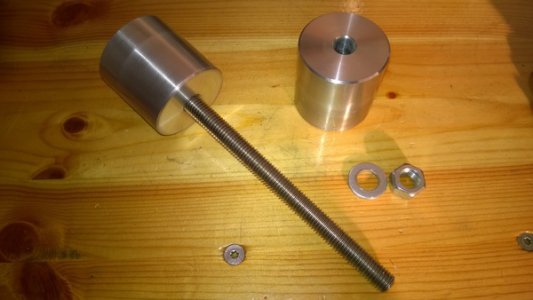
I made a two-piece mandrel for chucking the hub in the lathe.
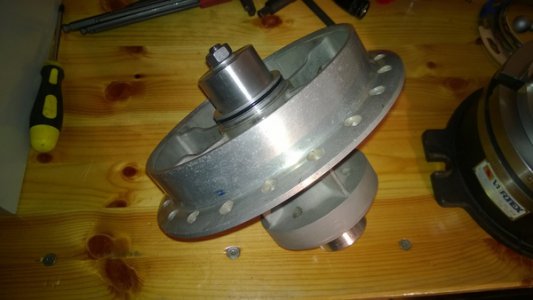
Mandrel fitted.
Center drilled in the other end.
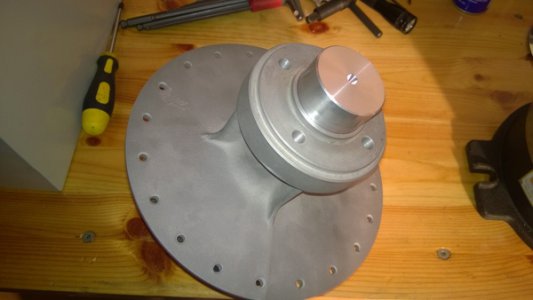
This is close to maximum diameter for my small lathe.
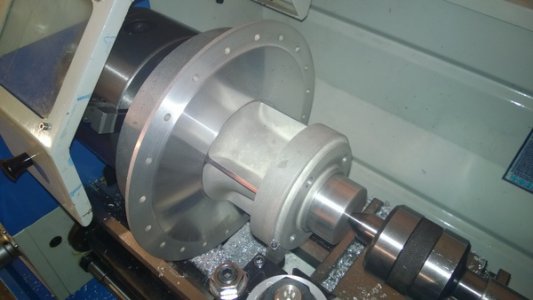
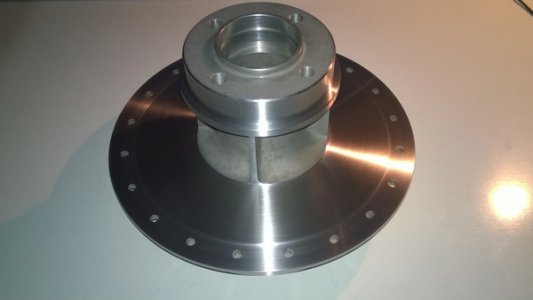
Finished hub machining.
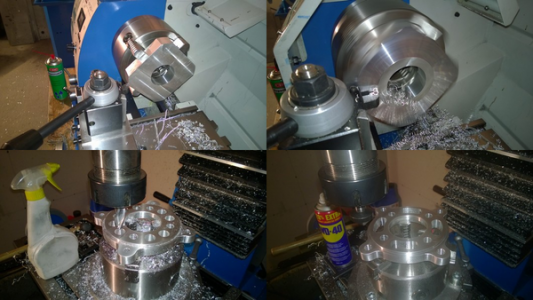
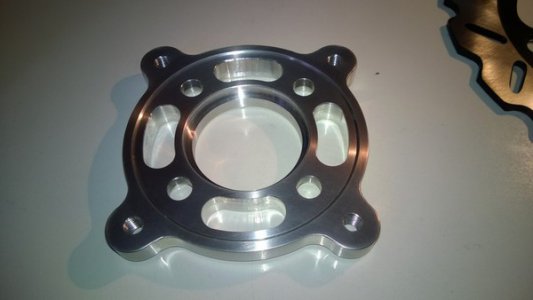
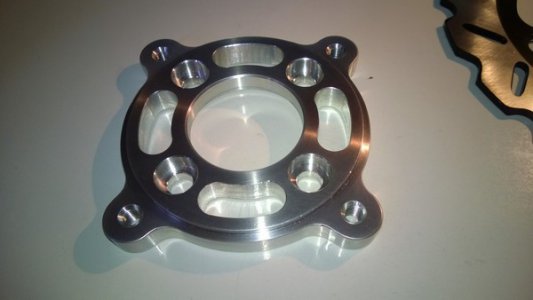
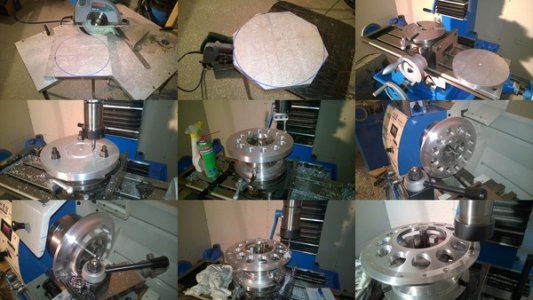
In this mosaic picture I'm making a new flange to replace the one I removed. The flange is made out of 20mm thick cast aluminum plate.
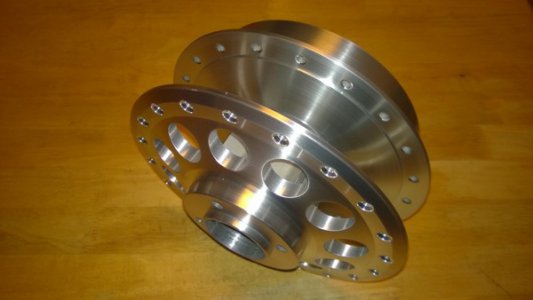
The finished flange.
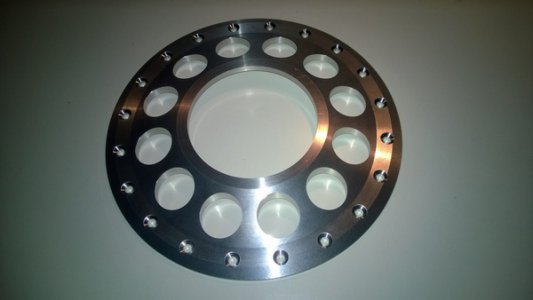
I made an interference fit between the flange an the hub. The flange will be heated to 200 deg celsius before placing it on the hub.
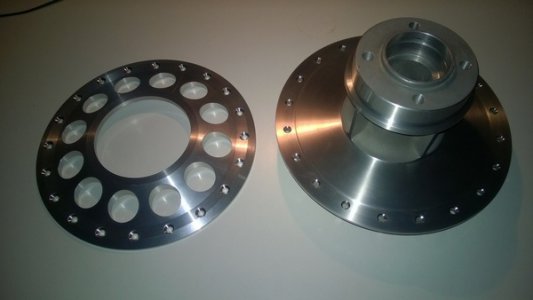
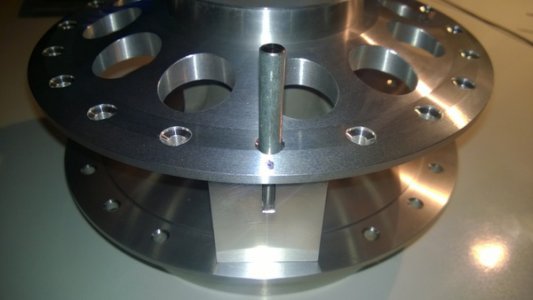
A guide pin was used to "synchronize" the spoke holes.
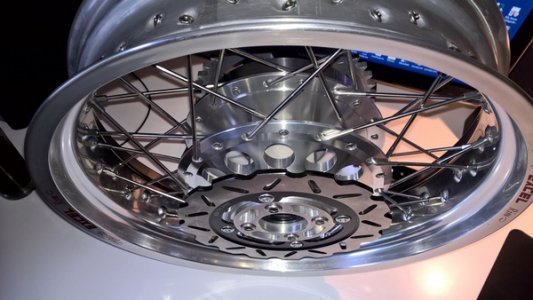
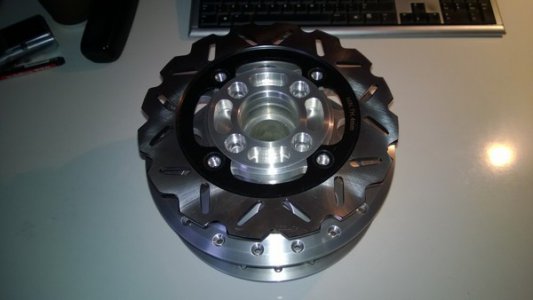
The finished hub, drive side.
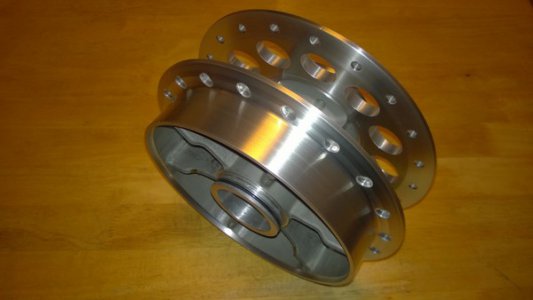
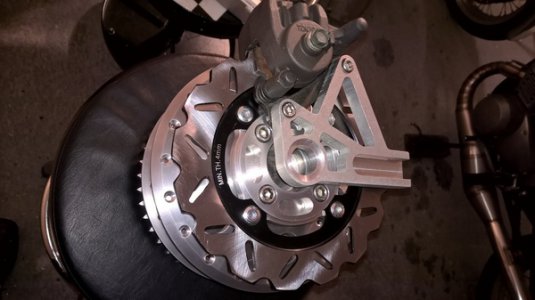
The finished hub, brake side.
.
I recently posted this in the "Project of the day" tread but realized it probably wasn't the right place.
Also, I'm planning to post some more from this project later on, so I started a new thread here instead.
Hi
I'm into customizing motorcycles and I'm currently building a new rear end for my Kawasaki H1.
Early in the project I decided to use a rear wheel hub from a 78 KZ750. After a while I decided that this hub is uglier than a monkey's armpit, so I set out to modify the hub just to make it look better.
Here are some pictures taken during the process.
First the "before and after" picture.

I used the big press at work to get that ugly flange off.

Flange removed and hub sand blasted.

I made a two-piece mandrel for chucking the hub in the lathe.

Mandrel fitted.

Center drilled in the other end.

This is close to maximum diameter for my small lathe.

Finished hub machining.

In this mosaic picture I'm making a new flange to replace the one I removed. The flange is made out of 20mm thick cast aluminum plate.

The finished flange.

I made an interference fit between the flange an the hub. The flange will be heated to 200 deg celsius before placing it on the hub.

A guide pin was used to "synchronize" the spoke holes.

The finished hub, drive side.

The finished hub, brake side.

.


