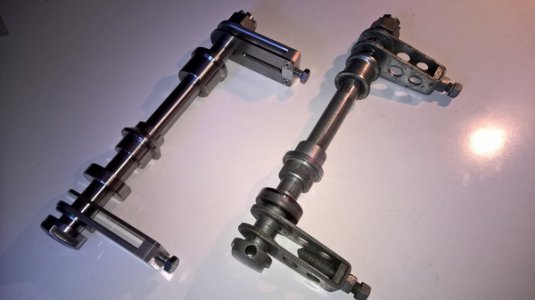
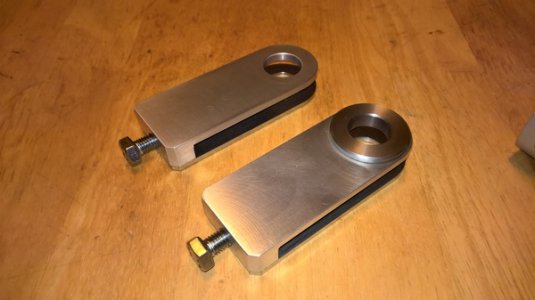
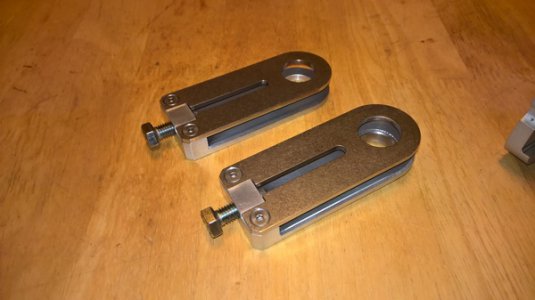
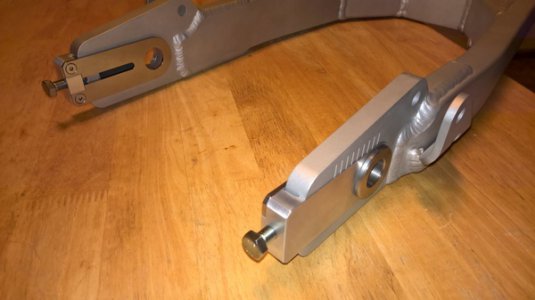
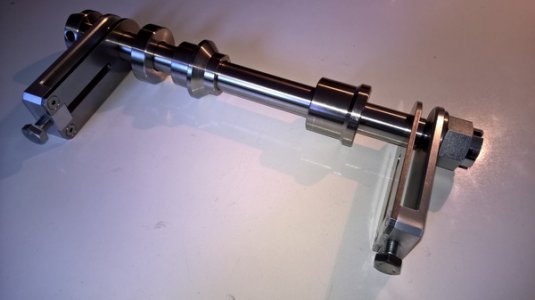
Here's another bunch of pictures. This time it's all about modifying the swing arm to suit my needs.
The modifications are as follows:
- I wanted to use a double needle bearing kit that comes with everything including the seal caps. It's actually an upgrade kit for a Z900. I needed to turn down the ends of the swing arm tubes to fit the seal caps, and since I couldn't put the swing arm in the lathe, I had to do it in the mill.
- I wanted treads in the lugs where the shock absorbers are attaches and I used M10 x 1.25 Timeserts for this. The problem was installing the timeserts from the correct side because the swing arm has some welded on support brackets at the shock mounts.
- I needed a stopper to prevent the caliper bracket from rotating when braking. I wanted two treaded M8 x 1.25 holes for mounting this stopper (again Timeserts). The challenge here was drilling inside the swing arm.
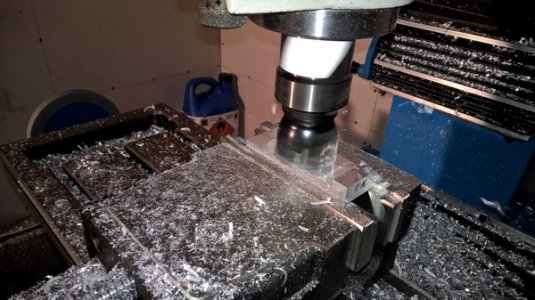
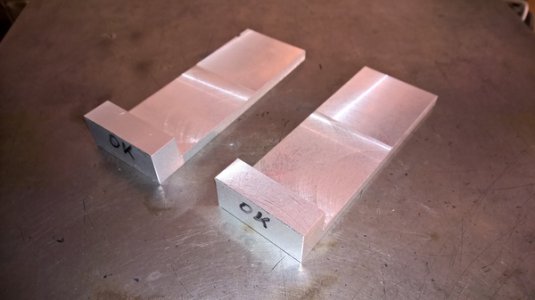
I made this tool to hold the swing arm on the mill table. Not the most rigid setup but plenty good enough for what I'm doing here.
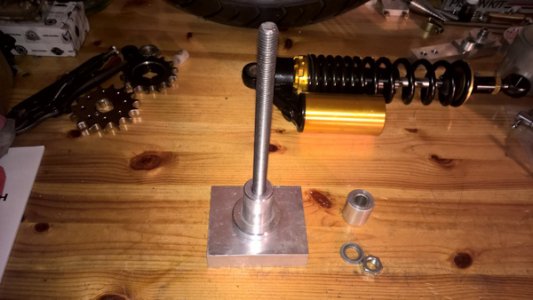
I like to use a coaxial indicator. I find it easier than using a test indicator and it's accurate enough for most applications.
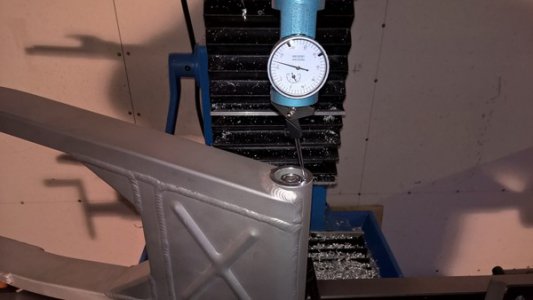
I'm not sure what this is called so I'm just gonna call it "outside boring". I have to be careful here because we're running in reverse here and there is a risk of the boring head unscrewing from the arbor. I have loctited the head to the arbor just to be on the safe side.
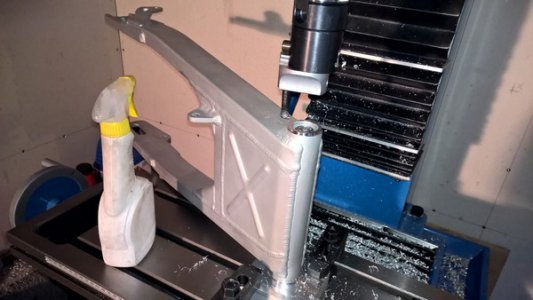
The finished tube end. I had to go a little bit into the weld on this side of the swing arm.
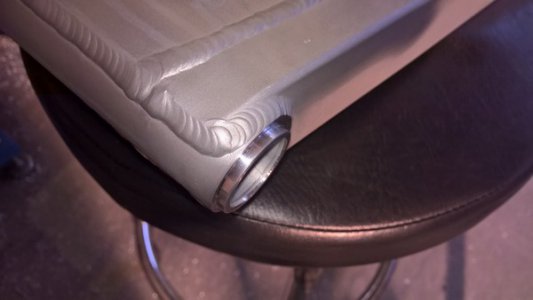
Now the seal caps fit perfectly on the tube ends.
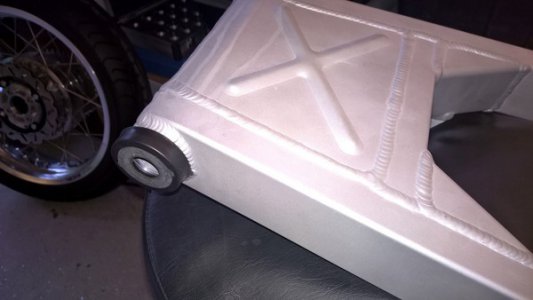
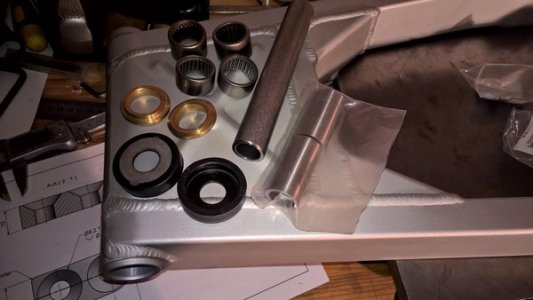
Here is the needle bearing kit I'm gonna use. The Kawasaki H1 is originally fitted with bronze bushings. This bearing kit is a nice upgrade to improve handling in addition to the much stiffer aluminum swing arm.
Time to add M10 x 1.25 threads to the shock absorber mounting lugs. I wanted to install the inserts (Timesert) from the outside but the welded on support bracket was in the way.
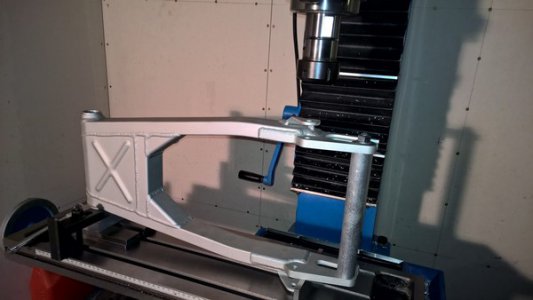
It turnes out the tap drill for the M10 x 1.25 Timeserts is 10.3mm (13/32'') which is perfect hole clearance for an M10 bolt, hence I could drill from the outside through the welded on brackets.
The second lucky coincidence was that the shank for the counter bore tool was 10.25mm so if I could only disassemble the tool I should be able to do the job. Luckily the cross pin attaching the cutting sleeve to the shank was made out of soft steel so I could drill it out.
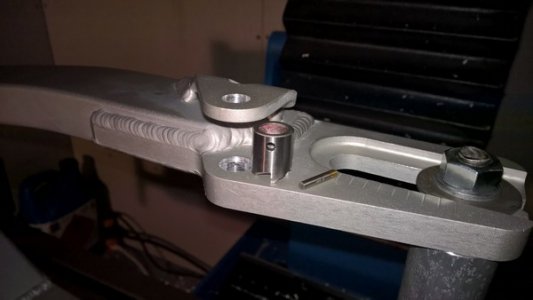
So now I'm able to counter bore the hole using a temporary pin to drive the cutting sleeve on the shank.
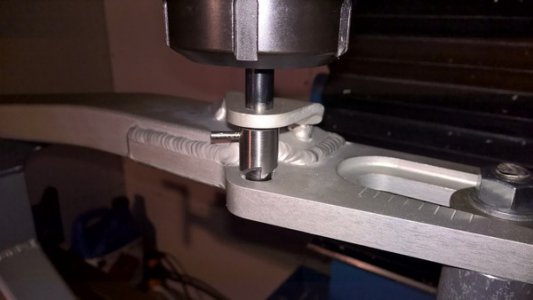
Perfect result and ready for threading. Threading was done from the opposite side.
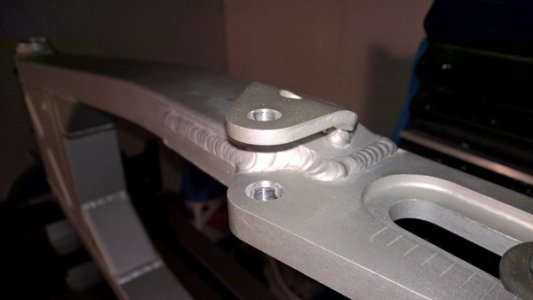
And here we have the end result, perfectly square.
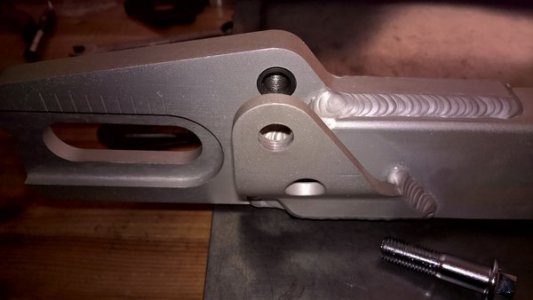
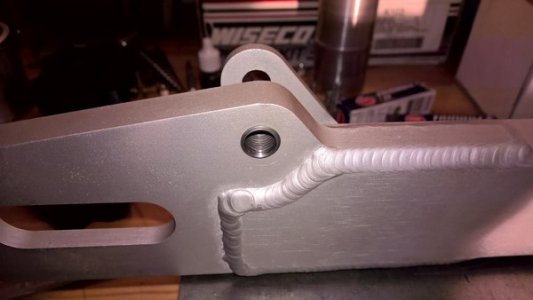
The insert sticks out a little bit on the back but that's OK, it doesn't interfere with anything.
It is the end of the insert that expands and locks it in place when driven in using the supplied tool. Since this part of the insert is partially outside the hole, I decided to use Loctite, just in case.
And now, the holes for the caliper bracket stopper. Here I wanted to use M8 x 1.25 Timeserts. I needed to drill holes inside the swing arm so I bought this cheap wobbly angle gear for use with my drill motor. I tried fitting Timeserts to an aluminum test piece using this angle gear and it was impossible bore straight and with any positional accuracy.
I needed to make a drill guide tool...
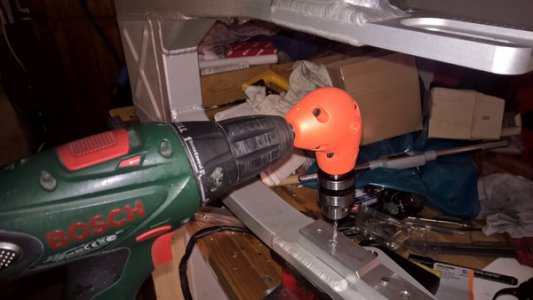
... and here it is.
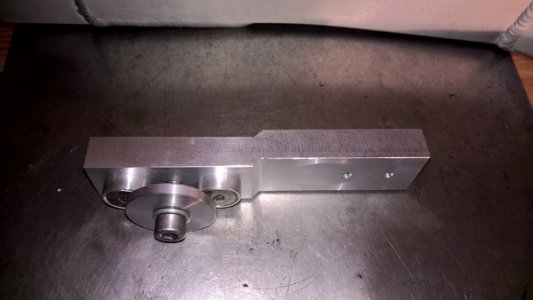
It registers in the axle slot on the swing arm.
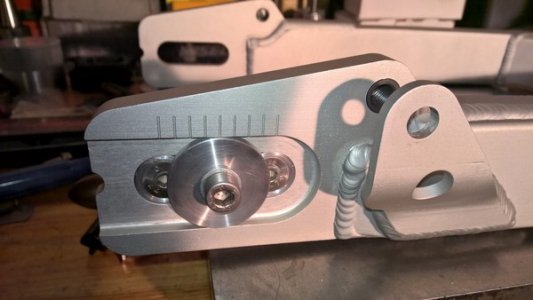
The guide is attached and I'm ready to drill 4.0 mm pilot holes. Between each operation I took the drill guide tool back to the mill and modified it.
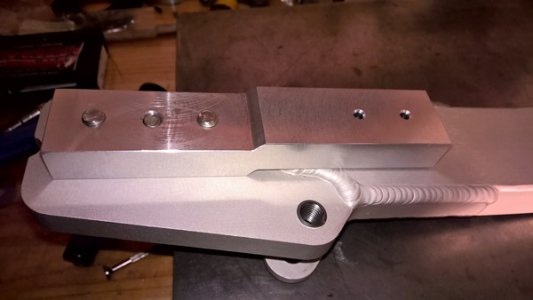
The drill guide holes have been enlarged in the mill using the tap drill bit form the Timesert kit, and we're ready to drill the swing arm.
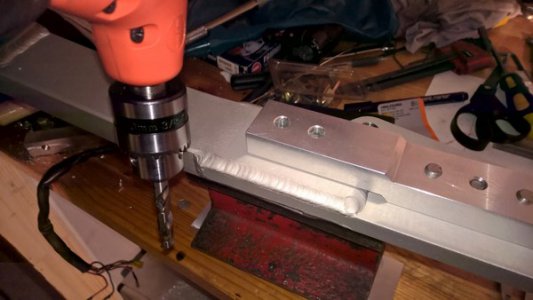
I took the drill guide back to the mill and tapped the holes using the tap from the Timesert kit. Now I could use it as a tapping guide on the swing arm.
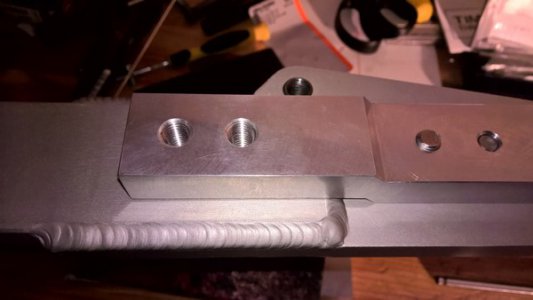
The holes are finished, perfectly square and perfectly positioned.
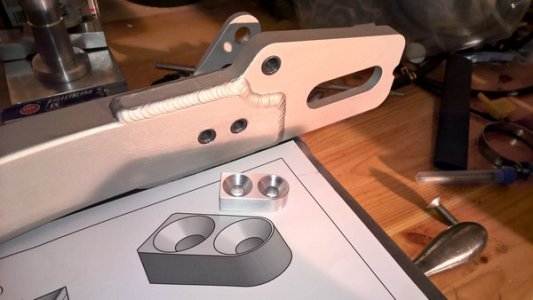
The stopper bolted in place using M8 countersunk bolts...
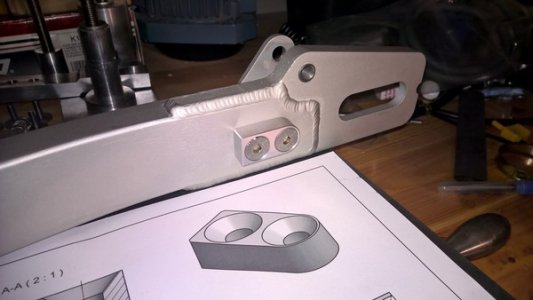
... and there is how the stopper interfaces with the caliper bracket.
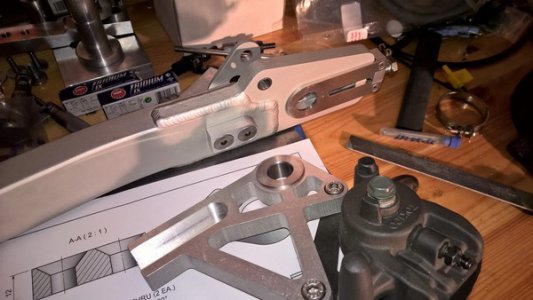
The rear end is finished and ready to go on the bike. Once on the bike I will have to check alignment with the front wheel, which hopefully it is spot on. Then I have to align the front and rear sprockets which will be achieved by a combination of turning material off the rear sprocket carrier and spacing out the front sprocket.
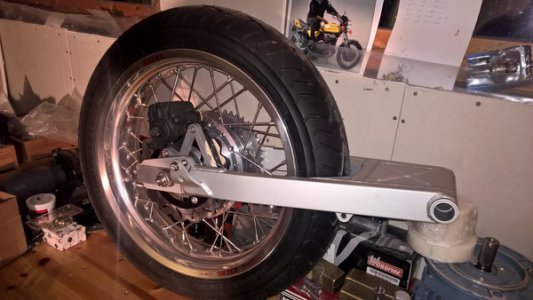
And that's it. This is where I'm at now. I will post some more pictures once it's on the bike. Don't know when but probably within a couple of weeks.


